
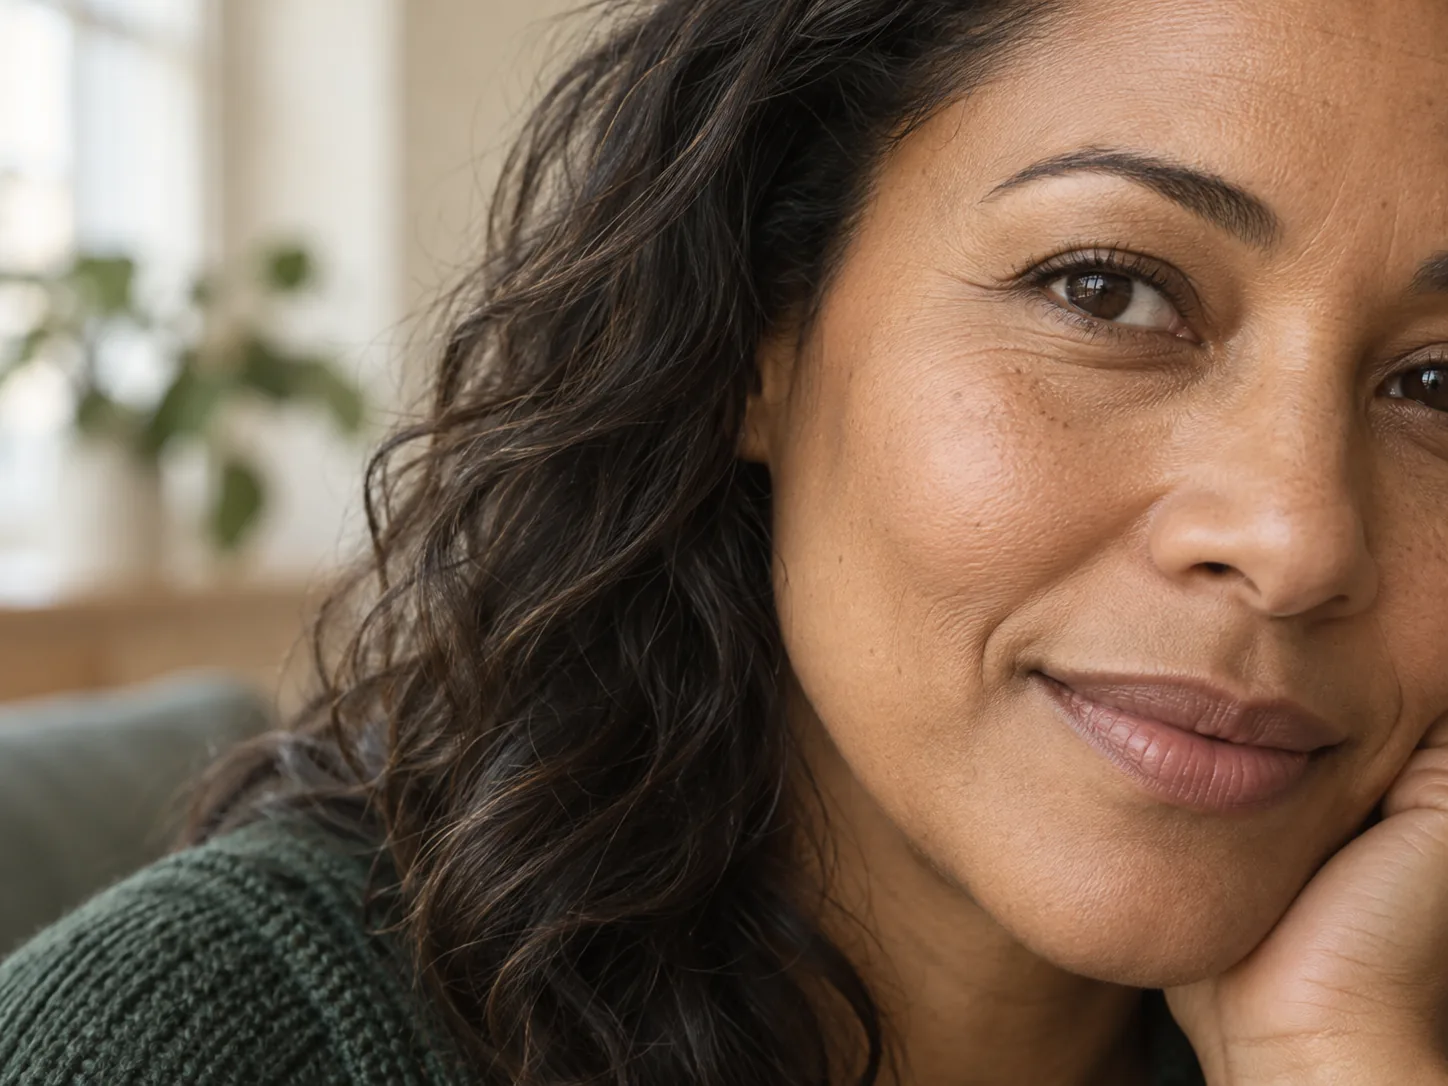
Before you start
Start a headshot retouch by deciding what should remain. You can request cleanup of a specific temporary distraction without asking for uniformly smooth skin, altered facial contours, or removal of recognizable features. Keep the original and make each proposed change easy to reject.
Adobe's Photoshop Express guidance warns that over-smoothing can make a portrait look unrealistic. That supports reviewing the actual result; it does not establish a universal slider amount for every face or photograph. Adobe's Smooth Skin guidance
Separate texture, tone, and identity
Texture describes small surface detail. Tone describes variations in brightness and color. A permanent feature, such as a mole or scar, may involve both but should not automatically be treated as something to erase.
Do not infer whether a mark is temporary from the photograph alone. Ask the person pictured to identify what they want changed. Freckles, moles, scars, facial hair, and expression lines can be important to how someone recognizes themselves. Leaving them intact is a useful default unless a specific change has been agreed.
A bright forehead or dark cheek may be a lighting problem rather than a texture problem. Compare the source before smoothing a large area. The skin-shine and highlights guide addresses that distinction. For the eye area, use the under-eye retouching boundaries to separate limited tonal changes from structural reshaping.
Write a limited-edit agreement
Replace “make my skin perfect” with a short list of changes and things to preserve. The following is a hypothetical agreement for an adult's professional portrait, not a report of a retouching session:
| Category | Example instruction | Review requirement |
|---|---|---|
| Retain | Keep freckles, the identified mole, facial hair, and expression lines | Compare their positions and shapes with the original |
| Temporary cleanup | Reduce one makeup smudge identified by the person | Keep surrounding skin texture continuous |
| Ask before changing | Any other mark or broad color adjustment | Obtain a specific preference rather than guessing |
| Outside this edit | Face reshaping, eye changes, or blanket skin smoothing | Leave unchanged in this candidate |
A copy-ready brief could read: “Reduce the small makeup smudge I marked. Keep my freckles, mole, skin texture, facial contours, and expression. Show a separate candidate beside the original; do not make additional skin changes without asking.”
This agreement defines the review, regardless of the editor used. It is not a guarantee that an automated tool will follow every instruction. Check the output against the brief.
Keep changes reversible
Retain an authorized original and work on a copy. Where your editing application supports layers, masks, or edit history, preserve those controls so the skin adjustment can be reduced without undoing unrelated work. If an application only returns a rendered candidate, keep it separately and return to the source when rejecting it.
Make a limited first pass. Avoid combining skin smoothing, face reshaping, color changes, and background replacement before reviewing anything. A narrower candidate makes it easier to see which operation changed the portrait.
If comparing smoothing amounts, hold crop, exposure, and color consistent. A brighter candidate may appear different for reasons unrelated to texture. There is no useful universal setting such as “always use half strength”; the source, output size, and person's preference all affect the decision.
Review at 100% and at the intended size
At 100%, inspect local transitions rather than searching for every visible pore to remove. Look at the cheeks, forehead, nose, jaw, and neck, as well as transitions into eyebrows, hair, and glasses. Texture need not be identical across these areas. The question is whether the edit introduced an abrupt or implausible change.
Use this checklist:
- Does one cheek look waxy while the other retains the source detail?
- Does a smooth patch end at an obvious boundary?
- Are there repeated texture patterns that were absent from the original?
- Have small features disappeared or moved?
- Have eyebrows, facial hair, or glasses edges become soft?
- Does the face look processed differently from the neck or ears?
Then view the actual export at its intended profile or page size. Check expression, recognizability, and whether the requested distraction still draws attention. A difference visible only at extreme enlargement may not justify further work. Equally, a small thumbnail should not be used to excuse a conspicuous smooth patch in a larger destination image.
The headshot comparison workflow can help keep the source and candidates aligned for review. Compare the same crop and resist selecting a result solely because it looks more polished in isolation.
Decide whether to reduce, revert, or recapture
If the requested cleanup is acceptable but the surrounding area looks artificial, reduce or undo that local adjustment. If several areas have changed unpredictably, return to the original and narrow the brief. Adding more smoothing to make the whole face match a damaged patch spreads the problem.
Consider another source or a new capture when harsh light, missed focus, or inadequate detail forces the editor to invent a convincing surface. Adjusting the light or camera position may be a better next step than rebuilding texture. Do not treat generated pores as proof of what the camera recorded.
LookScene offers outfit, hair, and scene previews from your own adult photo; it should not be treated as a dedicated skin-slider interface. Inspect skin in any returned candidate even when your requested change concerns something else. Keep only a result that respects the agreed limits and remains recognizably you, with the original retained for comparison.
Style options to compare
Use these illustrated directions to plan what to try. They are not verified before-and-after results; inspect the review checklist on each page.
- Clean studio portrait — Compare the eyes, jaw, hairline and skin against the original. Crop for your intended profile size after reviewing.
- Warm studio — Check that warm background color does not unnaturally tint the face.
- Garden light — Inspect hair edges and ensure foliage does not cross the face.


