
Before you start
By LookScene editorial team · Updated September 30, 2026. AI-assisted editorial guide; examples and cover images are illustrative, not product test results.
When skin appears shiny in a headshot preview, the instinct is often to open an image editor and paint over the bright patches. A heavy edit can remove useful detail along with the bright patch. Eliminating highlights entirely flattens facial contours, wipes out real pore structure, and leaves skin looking like artificial plastic.
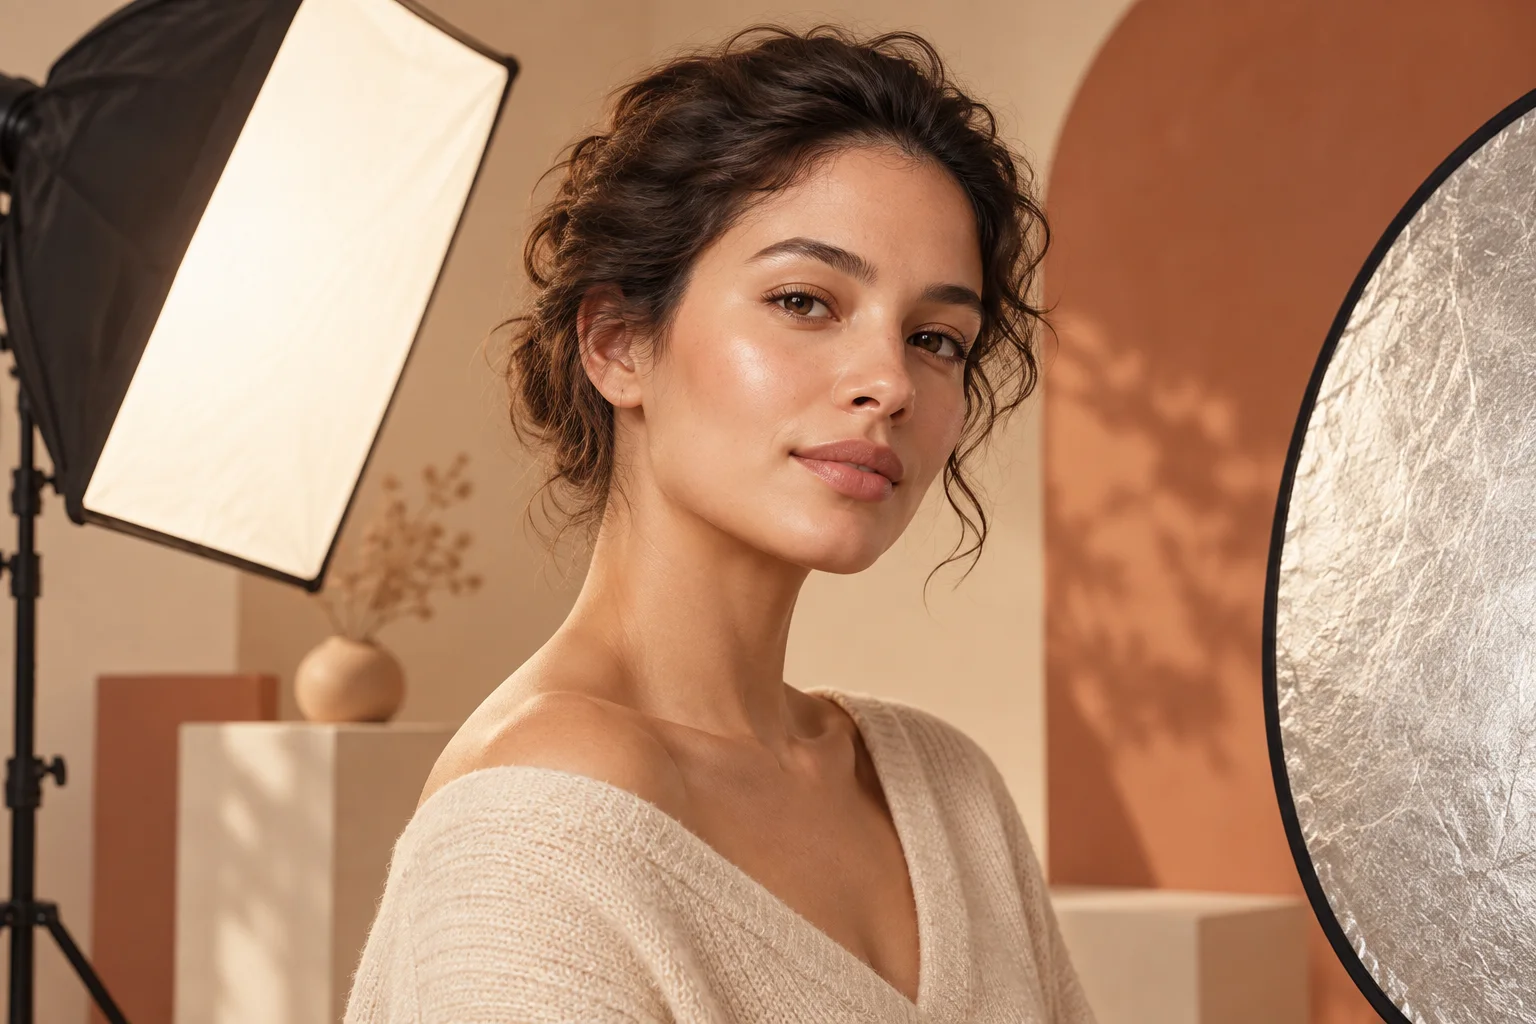
The practical solution starts before capture: adjust the geometry and diffusion of your light source to control specular bounce, rather than scrubbing highlights away in post-production. Real human skin naturally reflects light. Compare how lighting changes the highlights while retaining visible texture; a lighting adjustment does not guarantee identity preservation.
Specular Highlights vs. Skin Texture: Why Faces Shine
Skin is not a flat matte surface. It is a textured, translucent organ coated with natural moisture and oils. When light strikes a face, it produces two distinct visual responses:
- Diffuse Reflection: Light scatters across and slightly beneath the skin surface, contributing to the recorded tone and color, which also depend on light and processing.
- Specular Highlights: Surface reflections can appear as bright highlights; their appearance depends on the source, viewing angle and skin surface.
In portrait photography, subtle specular highlights along the cheekbones, bridge of the nose, and brow ridge provide critical visual cues about three-dimensional bone structure. The problem occurs when a direct light source turns those subtle accents into broad, blown-out white patches.
Phone processing can change the appearance of highlights. Compare the original and processed frames before assigning a cause. An individual portrait-critique discussion provides visual context, not measured prevalence or an authoritative skin-treatment recommendation.
The Softbox Misconception: Why Bigger Isn't Always Better
A common assumption is that attaching a larger softbox or standing in front of a giant diffuser automatically cures harsh skin shine. While diffusion softens the transition between light and shadow, it does not magically eliminate specular reflection.
Physics dictates that the angle of incidence equals the angle of reflection. When you position a broad, diffused light source directly in front of a subject's face, the physical area reflecting back into the camera actually expands. Instead of a small, bright hotspot on the forehead, you can end up with a wide, glassy glaze stretching across the entire T-zone.
Diffusing the light softens shadow edges, but repositioning the light may change where and how strongly reflections appear; check the actual face and frame.
Four Adjustments to Make Before Touching Retouching Tools
If you are setting up your own lighting or taking a professional headshot at home, implement these physical adjustments first:
1. Shift the Key Light 30 to 45 Degrees Off-Axis
If your primary light is placed directly above or alongside your camera lens, it bounces specular reflections straight back down the barrel. Move the light 30 to 45 degrees to the side and slightly above eye level. Use that angle as a starting comparison, not a guarantee that reflections disappear.
2. Feather the Light Source
Instead of pointing the center of your light fixture directly at your forehead, rotate the fixture slightly away so that only the softer, outer edge of the beam (the "feathered" light) washes across your features. Retake a frame and check exposure and highlights; feathering may change both.
3. Use Simple Oil-Blotting Paper
Before reaching for heavy powders or cosmetic products you are unfamiliar with, use standard oil-blotting paper or a clean, dry tissue. If blotting is already part of your familiar preparation, use it gently and check the result. This guide does not establish a cosmetic or dermatological benefit. Avoid introducing unvetted cosmetic creams or skincare treatments right before a portrait session.
4. Back Away from Reflective Walls
If you are working in a compact room with glossy white walls, stray light bounces back onto the sides of your face, multiplying secondary highlights. Increasing the distance between yourself and surrounding reflective surfaces may change reflected light; compare before and after.
Lighting Adjustment vs. Post-Capture Editing
Understanding the trade-offs between physical adjustments and software edits helps prevent irreversible portrait damage:
| Area | In-Camera / Physical Adjustment | Heavy Software Retouching |
|---|---|---|
| Forehead & Brow | Compare the highlight position and visible texture after a light adjustment. | Cloning or blurring removes pores, creating an unnatural airbrushed band. |
| Cheekbones | Preserves localized specular sheen to define facial depth and structure. | Removing highlights flattens cheek contour into a single uniform tone. |
| Nose Bridge | Feathering softens reflection into an authentic dimensional gradient. | Erasing the highlight causes the nose to blend indistinctly into the cheeks. |
| Image Fidelity | Maintains native sensor data and dynamic range for downstream styling. | Heavy frequency separation or AI smoothing often alters perceived identity. |
Hypothetical Walkthrough: Calibrating a Glare-Prone Desk Setup
Consider a hypothetical professional, Jordan, preparing a headshot in a home office.
- The Problem: Jordan places a circular LED panel directly atop an external computer monitor, positioned at eye level. Reviewing the initial test exposure, Jordan notices bright, distractingly white spots across the center of the forehead and the tip of the nose.
- The Failed Edit: Jordan opens an editing app and applies a clone-stamp tool combined with a heavy skin-smoothing filter. While the white glare disappears, the forehead now resembles flat construction paper. The authentic texture of Jordan's skin is gone, and the eyes look unnaturally disconnected from the flat brow.
- The Physical Fix: Jordan discards the edit and returns to the physical setup. Jordan raises the LED panel 14 inches higher on a stand, tilts it downward at a 45-degree angle, and shifts it two feet to the left. Jordan then presses a plain blotting tissue against the T-zone.
- The Result: The secondary shot retains a gentle, localized sheen on the high point of the left cheekbone, providing some dimensional detail in this imagined result, while the forehead glare is reduced in this imagined result. Inspect the new frame for focus and real texture rather than assuming the setup guarantees them.
The Retouching Limit: Preserve Features and Hair Texture
When post-capture adjustments are useful—such as slightly lowering highlight values in RAW conversion software—the goal is controlled reduction, not erasure. A highlight slider cannot recover detail that was not captured; use a new exposure when necessary.
- Never blur skin to remove shine: Blurring destroys high-frequency surface detail, such as pores, fine lines, and natural skin grain.
- Protect the hairline: Excessive skin cleanup around the forehead frequently bleeds into the hairline, dissolving fine baby hairs and generating a smudged silhouette.
- Retain identity: A headshot must represent how you look in person. Erasing every hint of natural moisture creates an artificial caricature that can feel untrustworthy in professional settings. Reviewing an AI portrait quality checklist can help you spot when smoothing algorithms have crossed into plastic distortion.
Next Steps: Compare Previews Against Your Original Photo
If you plan to explore different clothing, styling, or background options, using photo-based style tools like LookScene lets you preview variations quickly. However, automated styling tools should complement a well-lit photograph, not compensate for improper capture geometry. LookScene does not offer dedicated HDR balancing or identity verification, and it will not reconstruct authentic skin pores if an aggressive editing pass wiped them out beforehand.
Capture your source portrait with balanced light angles, maintain your natural skin and hair texture, and inspect any generated style previews directly against your unedited original to ensure your authentic professional identity remains intact.
Style options to compare
Use these illustrated directions to plan what to try. They are not verified before-and-after results; inspect the review checklist on each page.
- Clean studio portrait — Compare the eyes, jaw, hairline and skin against the original. Crop for your intended profile size after reviewing.
- Warm studio — Check that warm background color does not unnaturally tint the face.
- Garden light — Inspect hair edges and ensure foliage does not cross the face.


