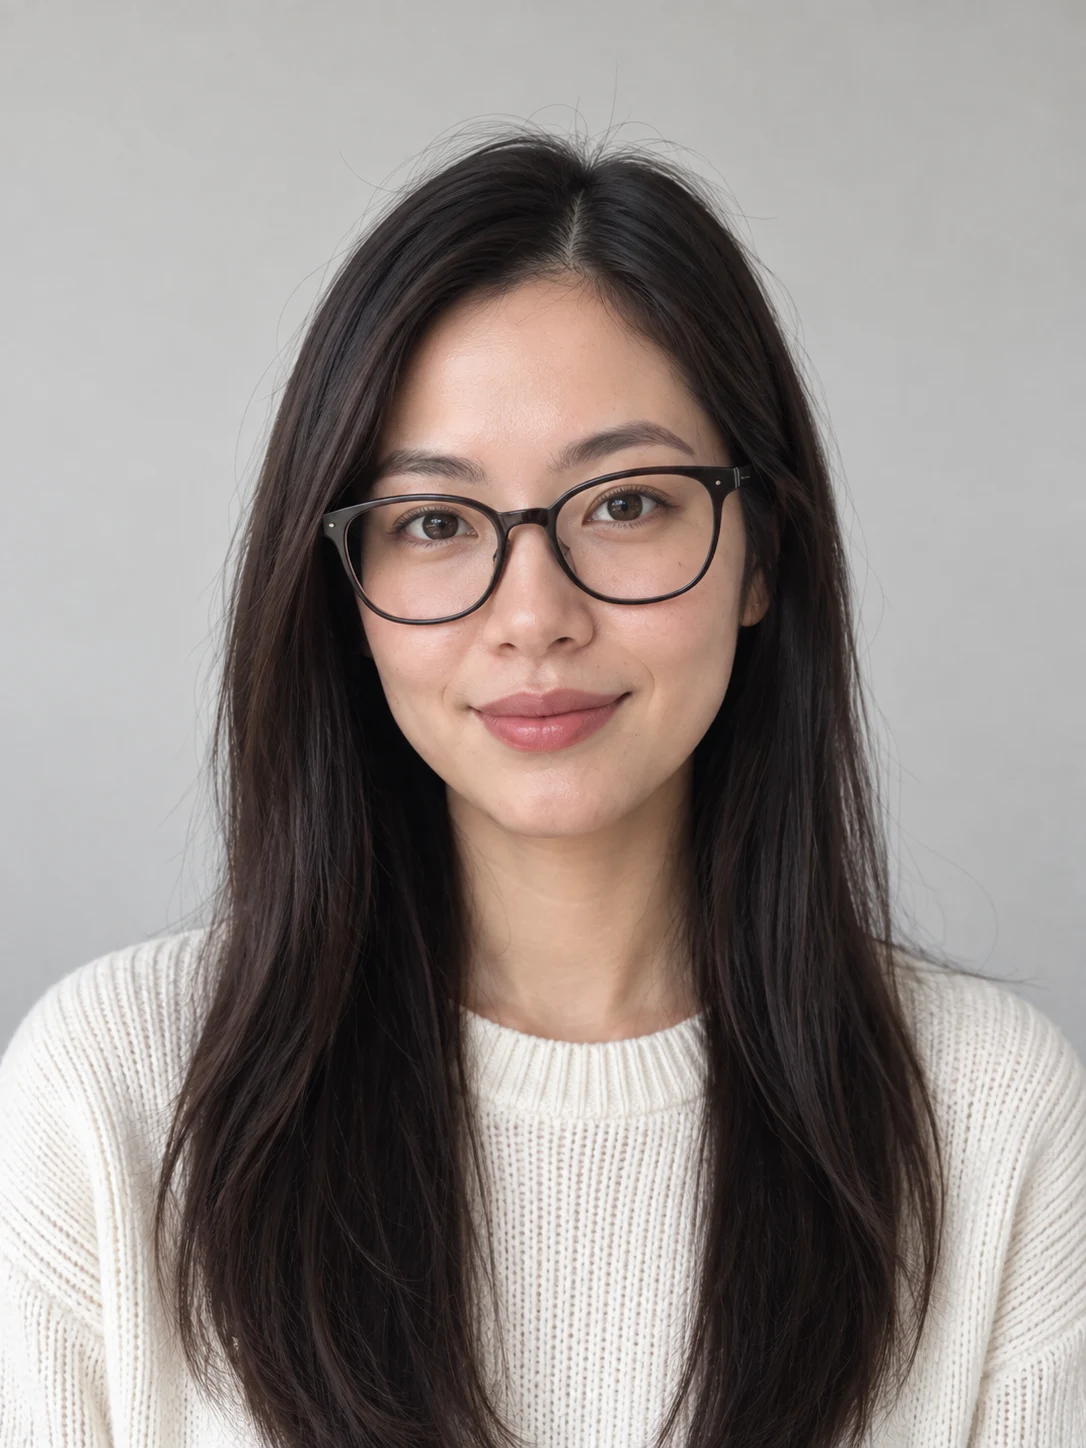
Start with the CV photo requirements
Before taking a CV photo at home, check where the image will appear. A small résumé or team-directory portrait and a large portfolio portrait have different needs. At avatar size, the face needs to remain recognizable inside a small circle. On a portfolio, the background and clothing may have more room to contribute. Decide on the intended crop before choosing a scene. Keep a copy with extra space around the head so you can make several crops without cutting into the hair.
This guide describes a photo and review workflow. It is not a claim that an AI headshot improves hiring outcomes, and the examples are not verified customer results.
Set up a simple CV photo at home
Stand or sit facing a window with soft light. Place the camera near eye level, step away from a busy background and use a timer or tripod if that helps you keep the camera steady. Avoid mixing a strongly colored lamp with daylight. Wear clothing with a clear neckline so you can judge how it meets the face and shoulders.
Take several original photographs before selecting one. Look for a natural expression and visible eyes, not the most dramatic pose. Check sharpness on the eyes at full size. If your glasses reflect the window, adjust your position slightly instead of relying on an edit to invent the hidden eye.
Choose the background for the intended use
| Setting | Useful starting point | Detail to review |
|---|---|---|
| Team directory | Neutral headshot | Face still reads at a small size |
| Personal portfolio | Warm studio | Background color does not overpower skin |
| Creator introduction | City afternoon | Background does not suggest a false workplace |
| Relaxed personal site | Garden light | Light on the subject matches the setting |
Browse the neutral headshot, warm studio and city afternoon briefs. Use an illustrative setting honestly; do not imply that you attended a location or worked at an organization merely because it appears behind you.
Write a brief that protects recognizable details
Create a simple editorial headshot with a neutral pale-gray background and soft, even light. Preserve this person's face, age appearance, skin texture, glasses, expression and natural proportions. Leave space above the head and around the shoulders. Avoid logos and text.
For the first comparison, keep the clothing you already have in the input. If you also want to explore a jacket, make that a second decision. Changing everything together makes it harder to spot facial drift or understand which edit improved the portrait.
Review at two sizes
First, compare the eyes, nose, mouth, jaw and glasses against the original at a useful detail size. Reject an image that changes your recognizable features, even if the lighting is appealing. Then reduce the preview to the size it will occupy on the destination page. Check the crop in both a circle and a square if both might be used.
- Look for a complete glasses frame, plausible ears and a continuous hairline.
- Check that clothing edges, collars and buttons are coherent.
- Keep enough shoulder space for a small circular crop.
- Inspect skin texture rather than judging only apparent smoothness.
Use this final check before choosing the file:
- The eyes are sharp and both sides of the face are visible.
- The camera is close to eye level, without an exaggerated wide-angle view.
- The crop leaves room above the hair and around the shoulders.
- The background is quiet and contains no private documents, screens or other people.
- The destination accepts an edited or AI-assisted portrait; otherwise use the suitable original photo.
Keep an honest final image
Save the original and your selected image separately. A professional-looking portrait should still be a recognizable representation of you. Some destinations have their own image rules, so check the destination before publishing. For a systematic review, follow the AI portrait quality checklist; for a cleaner source, use the input photo guide.