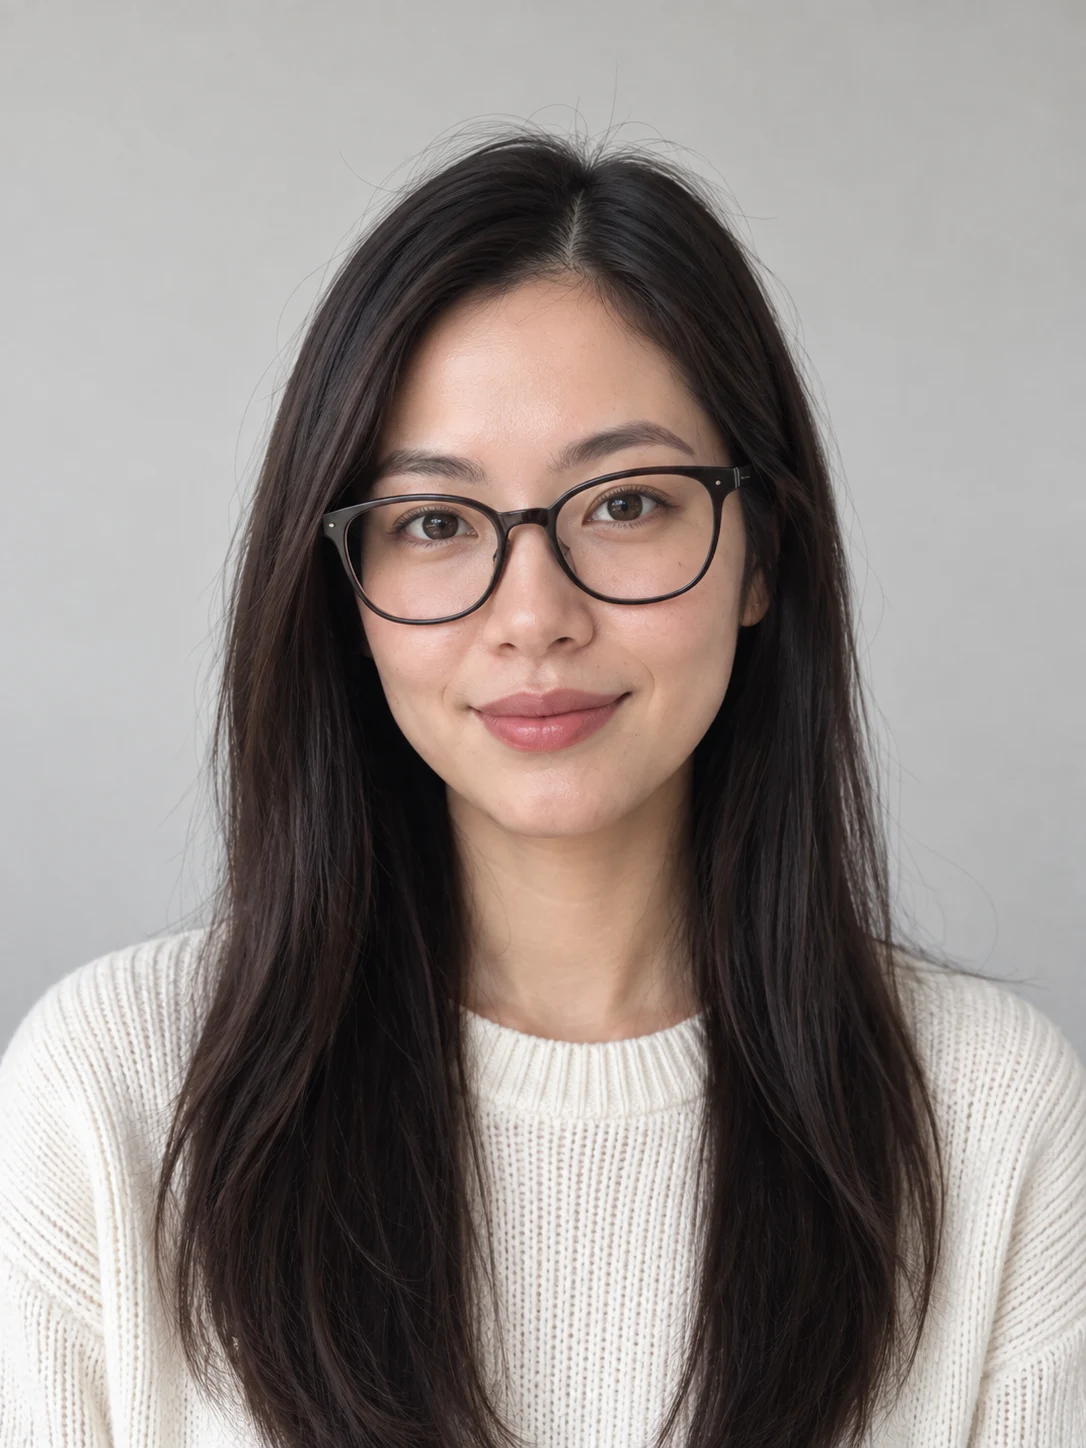
What photo should you upload?
Use one clear photograph of yourself as an adult, in even light, with the entire area you want to change visible. LookScene accepts JPEG, PNG and WebP up to 10 MB. A hairstyle needs the full head; an outfit edit needs the relevant clothing and body area. Selecting the file previews it locally; submitting Create uploads it for processing.
What photo should you upload?
Use one clear photograph of yourself as an adult, in even light, with the entire area you want to change visible. LookScene accepts JPEG, PNG and WebP up to 10 MB. A hairstyle needs the full head; an outfit edit needs the relevant clothing and body area. Selecting the file previews it locally; submitting Create uploads it for processing.
Look for soft, even light
Face a window or stand in open shade. Check that you can see both sides of your face without bright highlights hiding detail. A simple original gives you a clearer baseline when comparing changes.
Frame for the change you want
A hairstyle preview needs the top and sides of your head. An outfit preview needs the relevant part of your clothing. A new background needs a clear outline around you. Leave a little room around those areas rather than cropping tightly.
Start from the original file
Use the camera photo if you have it, instead of a screenshot of a compressed social post. Avoid filters and collages. This preview accepts JPEG, PNG and WebP up to 10 MB; convert HEIC to a supported format first.
Check the result at full size
Look closely at eyes, glasses, hands, hair edges and fabric. A small thumbnail can hide changes that become obvious at full size. Compare the result with your original before deciding to save or share it.
Choose where to use it
A generated scene is an illustration of a possible setting, not evidence that you visited it. If the context calls for an unedited or current photograph, use a suitable original instead.
Match the source to the task
| Intended edit | Include in the photo | Avoid obscuring |
|---|---|---|
| Haircut or fringe | Entire head, hairline and shoulders | Forehead, ears and glasses |
| Jacket or neckline | Neck, shoulders and torso | Collar and sleeve edges |
| Trousers or full outfit | Body down to the shoes | Waist, legs and hands |
| Portrait setting | Clear subject outline and extra space | Hair and outer body edges |
A tighter photo is not always a better photo. If the requested edit needs a region outside the frame, the model will have to invent it. A larger source with clear details is more useful than an enlarged screenshot with softened edges. Take another photograph when the relevant area is missing.
A two-minute preparation routine
- Choose one photograph containing only the person being edited, with their permission.
- Open it at full size and check the eyes, hairline and clothing edges.
- Confirm that the intended edit is actually visible in the crop.
- Keep a separate unedited copy for comparison.
- Write one sentence describing the change before choosing a template.
Do not judge a source only by how flattering it is. A natural, evenly lit image may support a more useful comparison than a dramatic selfie with heavy shadows. If your first result changes too many features, revisit the source before adding more instructions. More elaborate wording cannot reliably recover a hidden eye, a cropped ear or an unseen garment.
Know what this preview does with the file
Selecting a photo first creates a local browser preview. In the current LookScene service, after you sign in, confirm consent and press Create with sufficient credits, the photo is uploaded privately and a generation job is submitted. Review the job in your gallery and compare the delivered image with your original. Website samples remain separate AI illustrations, not transformations of the file you selected. Read the upload and generation workflow and photo privacy rules before submitting.
Once you have a suitable source, try a focused photo-edit brief. Use the portrait quality checklist to evaluate the result, including the exported file rather than just its thumbnail.