
Before you start
When reviewing a professional headshot, noticing dark shadows beneath your eyes often triggers an immediate urge to edit them away entirely. However, completely removing under-eye shadows is one of the quickest ways to ruin an otherwise credible portrait. The human face relies on subtle orbital hollows to convey three-dimensional depth, eye shape, and authentic expression. When an editor or automated filter erases that shadow completely, the lower eyelid flattens into the upper cheek, leaving a smooth, mask-like finish that looks visibly altered.
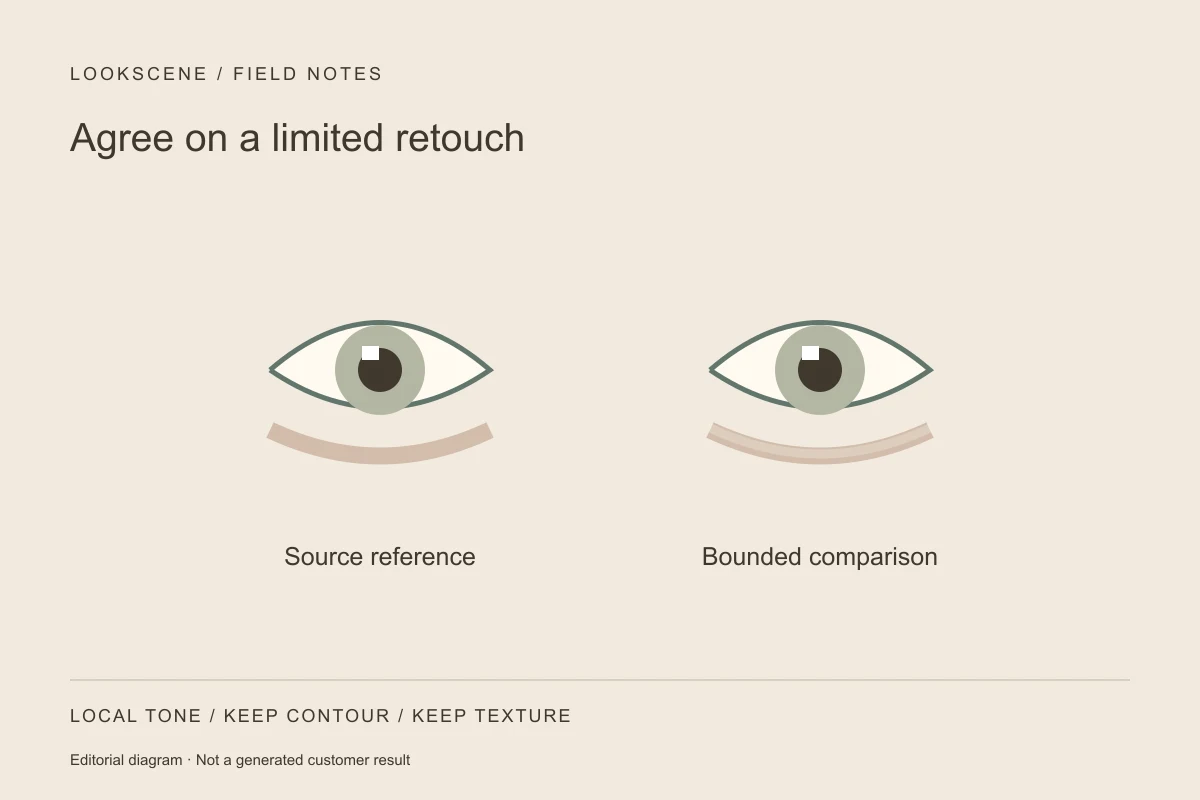
The solution is not to ignore distracting shadows, but to agree on a strict, limited retouching boundary before any adjustments begin. The goal of professional headshot retouching is tonal softening—reducing harsh contrast caused by overhead lighting while keeping the underlying facial structure, skin pores, and natural tear trough contours intact.
Why Headshot Lighting Exaggerates Under-Eye Darkness
Lighting direction and image processing can alter the appearance of under-eye areas. A photograph alone cannot establish why an individual area looks darker or how it appears under every condition.
When a headshot is captured under ceiling fixtures, midday ambient light, or high-positioned studio key lights without an adequate fill reflector, the brow bone and lower orbital rim cast downward shadows. The infraorbital hollow—the natural anatomical groove between the lower eyelid and the cheek—sinks into shadow. Camera sensors record these recessed contours with sharp tonal falloff, making ordinary structural lines look deeper and darker than they appear to the human eye in motion.
It is critical to distinguish photographic lighting issues from skincare or cosmetic concerns. A headshot edit deals strictly with exposure balance and image pixels; it is not a medical assessment, dermatological treatment, or promise of a youthful transformation. Treat this as an image-editing decision: compare lighting and tone while preserving the source features, rather than diagnosing skin or reconstructing the face.
In digital editing environments, standard corrective techniques involve lifting dark values or blending adjacent pixel tones. According to Adobe's documentation on photo retouching and correction tools, correcting tone and distracting marks typically relies on blending sampled pixels or localized lightening rather than flat surface replacement. However, digital tools do not automatically guarantee a natural result without careful operator control, and tool availability in specific software packages does not translate to guaranteed fidelity across different platforms.
Defining the Boundary: Tonal Softening vs. Structural Reshaping
To protect your professional likeness, you must separate subtle tonal cleanup from destructive structural reshaping.
- Tonal Softening (Acceptable Cleanup): This involves testing a small local tonal change and comparing it with the original; there is no universal percentage. The shadow remains visible, but it no longer draws the viewer's eye away from your gaze. Fine micro-texture, individual skin pores, and the natural fold of the lower eyelid remain untouched.
- Structural Reshaping (Excessive Retouching): This occurs when an editor fills the tear trough depression, paints over the shadow with a single flat color, or blurs the transitional zone between the eye and cheek. Removing the anatomical hollow alters your apparent bone structure, making your eyes look smaller, puffier, or detached from your cheekbones.
If you are planning your session independently, addressing these shadows during capture is far safer than heavy post-processing. Learning practical home headshot lighting adjustments can help you position a simple bounce board or adjust window angles to fill orbital shadows before taking the shot. If post-capture editing is necessary, communicating clear boundaries with specific photo editing instructions gives you criteria to review the delivered photo rather than a plastic cutout.
Headshot Retouching Decision Checklist
Use this comparison table to evaluate whether an edit respects natural anatomical boundaries or crosses into over-processed territory:
| Facial Feature | Natural Retouch Boundary (Target) | Over-Processed Warning Sign (Reject) |
|---|---|---|
| Tear Trough Contour | Shadow density reduced; structural crease remains identifiable. | Crease completely eliminated; under-eye blends seamlessly into cheekbone. |
| Skin Grain & Texture | Individual pores and subtle micro-lines remain visible at 100% crop. | Skin appears airbrushed, blurred, waxy, or smudged. |
| Lower Eyelid Margin | Defined boundary under lower lashes preserved with natural depth. | Lower lash line looks floating or pasted onto a flat field. |
| Shadow Transition | Smooth gradient from shadow to midtone across several pixels. | Abrupt edges or halo artifacts from aggressive brushwork. |
| Facial Symmetry | Both eyes retain their natural, slight anatomical asymmetry. | Symmetrical clone-stamping that creates an uncanny, artificial match. |
Hypothetical Walkthrough: Reviewing an Edited Headshot
Consider a hypothetical scenario: Alex receives a set of corporate headshots taken under downward office lighting. In the raw images, dark crescents under the eyes create an exhausted impression. Alex requests an edit but wants to verify that the portrait remains authentic before publishing it.
- Zoom to 100% for Texture Verification: Alex zooms in directly on the under-eye area. If tiny skin pores and natural creases are visible beneath the lash line, this supports checking retained texture; visible pores alone do not prove which editing technique was used.
- Zoom Out to 25% for Contextual Balance: Alex zooms out to viewing size. The dark crescent no longer commands primary visual attention, but the eye socket still clearly sits in front of the cheek.
- Side-by-Side Comparison: Alex places the edited image beside the original source image. The edit looks like Alex on a well-rested morning under diffused lighting, not an artificial composite. Using a systematic portrait quality evaluation checklist helps identify any subtle warping or texture loss before the photo is uploaded to professional directories.
Common Pitfalls and Trade-Offs
The most frequent mistake in under-eye retouching is prioritizing cosmetic perfection over professional credibility. A headshot is a functional tool used for client meetings, speaking bios, and job interviews. If your photo eliminates all natural orbital depth, compare the edited version with your current appearance rather than assuming others will react in a particular way.
Another common pitfall is aggressive color desaturation. The photographed area may include multiple tones. Aggressive desaturation can create a gray patch that differs from the source; do not use the color in a photo to draw a health conclusion. Retouching should maintain normal color warmth while simply balancing relative luminance.
Next Steps: Inspecting Previews Against Your Original Photo
Before finalizing any corporate portrait, always test edits incrementally. If you use exploratory tools like LookScene to evaluate different styling or presentation options, remember that LookScene provides photo-based style previews rather than dedicated high-dynamic-range exposure controls, automated identity verification, or guaranteed faithful corrections.
Always toggle back and forth between any edited preview and your unedited source photo. When the under-eye area retains its real anatomy, natural hair texture, and genuine skin grain, you have a clearer basis for checking likeness; this does not guarantee a particular professional impression.
Style options to compare
Use these illustrated directions to plan what to try. They are not verified before-and-after results; inspect the review checklist on each page.
- Clean studio portrait — Compare the eyes, jaw, hairline and skin against the original. Crop for your intended profile size after reviewing.
- Warm studio — Check that warm background color does not unnaturally tint the face.
- Garden light — Inspect hair edges and ensure foliage does not cross the face.


