
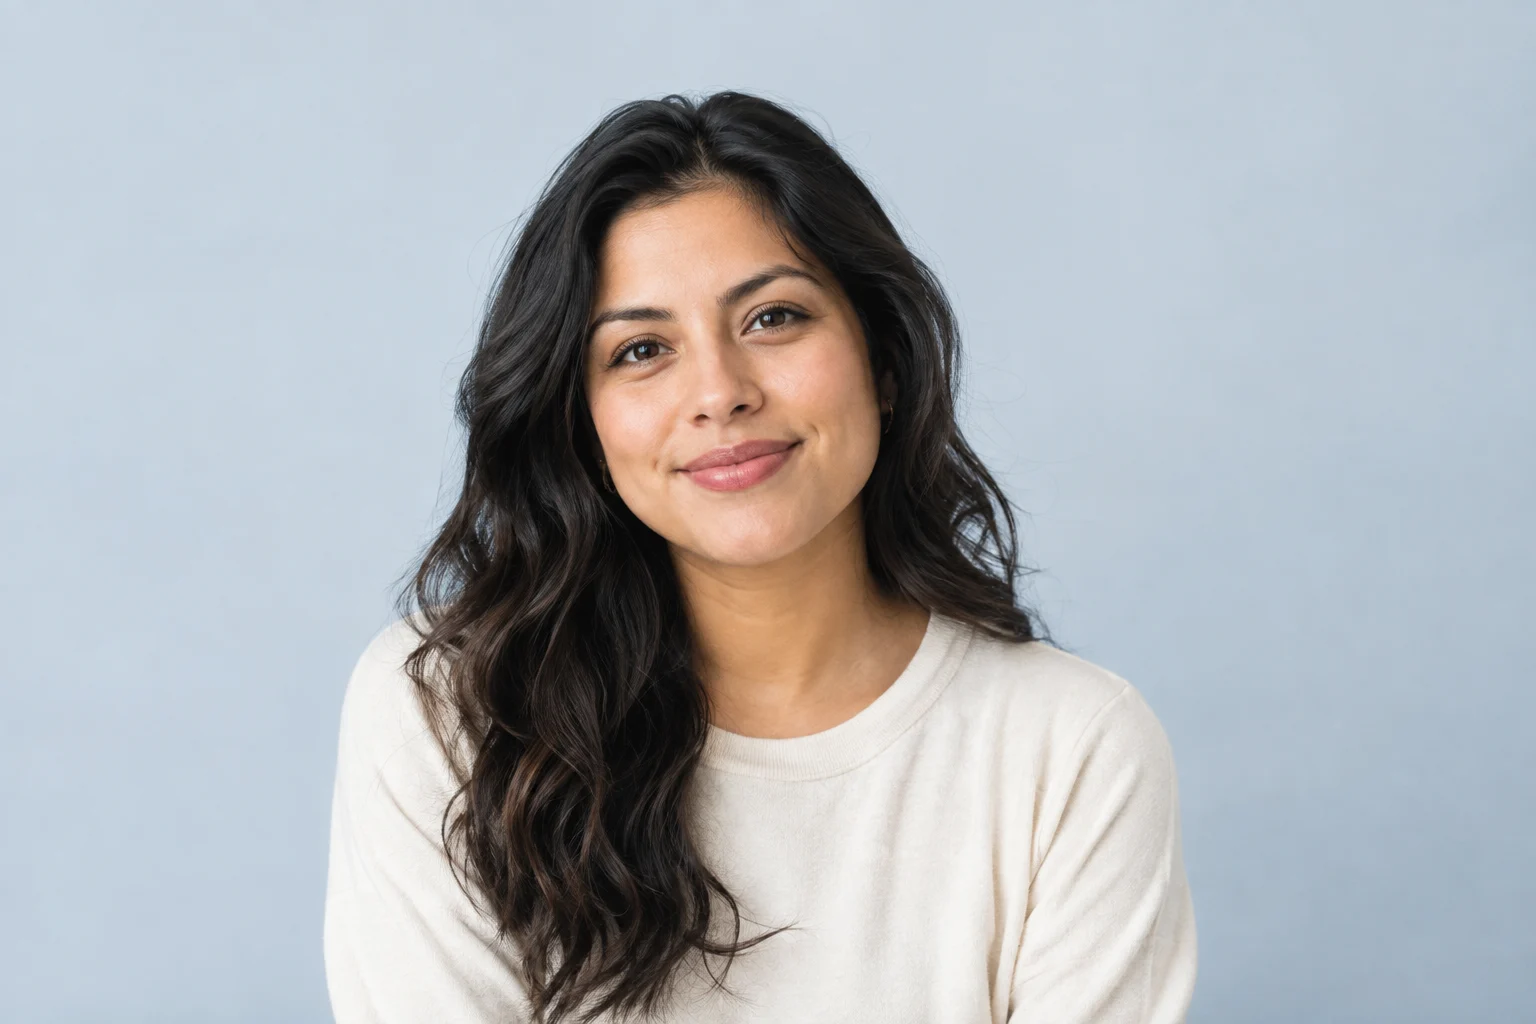
# Crop One Profile Photo for Circles, Squares and Website Cards
To crop a single profile photo across modern platforms, follow four core rules: keep an uncropped master, build a square working copy with head and shoulders visible, preview a circular mask to protect facial features, and test the result at tiny avatar scale before exporting.
Most profile cropping issues stem from geometry. When platforms apply a circular mask to a tight square crop, they shave off hair volume, cut through chins, and remove the shoulders that anchor a portrait. Conversely, forcing that same square crop onto website team cards or speaker bios leaves the subject looking cramped.
Adapting one portrait across touchpoints requires a systematic workflow that balances circular safe areas, square masters, and separate rectangular layouts.
Prerequisites: Protect Your Source Image
Before adjusting crop handles, secure your baseline assets:
- Select a roomy, sharp source: Start with an original portrait where the subject is not already cropped near the elbows, shoulders, or hair. Extra background gives you room to reposition the frame. If shooting your own portrait, review techniques for a professional headshot at home and set balanced portrait background lighting to keep hair distinct from the backdrop.
- Duplicate rather than overwrite: Keep the original file untouched and save a working duplicate named
profile_master_square. That preserves a high-resolution source for future crops.
Step 1: Create a 1:1 Square Working Master
A 1:1 square is the universal foundation because platforms use it as the base container for both square cards and round avatars.
- Open your duplicate file in your image editor and set the crop tool to a fixed 1:1 square ratio.
- Frame head and shoulders to the 60% standard: Official LinkedIn guidance recommends that the face fill roughly 60% of the frame. This proportion keeps facial expressions recognizable on mobile feeds while preserving visible neck and shoulder lines. Avoid fragile platform-size claims; focus on framing proportions rather than specific pixel numbers that platforms update periodically.
- Center the face without forcing symmetry: Position the eye line roughly one-third down from the top edge and align the nose along the vertical centerline. Do not force artificial symmetry. Natural head tilts add visual depth; simply balance visual weight so the head does not crowd either side.
- Preserve collar and shoulder lines: Verify that the bottom edge passes across the upper chest, keeping clothing visible. Ensure adequate color separation against the backdrop, as outlined in our guide on what to wear for a LinkedIn photo.
Step 2: Establish the Circular Safe Area
An inscribed circle discards roughly 21.5% of a square, trimming away all four corners. If essential facial features sit outside this inscribed circle, round masks will slice them off.
To protect your portrait against circular cropping:
- Leave ample headroom: Keep clear space between the top of the hair and the upper border. Aligning hair flush with the top edge causes the circular mask to slice through your hairstyle.
- Maintain lateral clearance: Leave breathing room between outer hair, ears, and side borders. This prevents curved borders from flattening voluminous curls or textured hair.
- Inspect vulnerable focal points:
- Glasses: Ensure frames and temple pieces sit well inside the circular boundary.
- Hair: Confirm stray flyaways and styled volume remain inside the circle.
- Shoulders: Make sure the bottom arc cuts smoothly through both shoulders, retaining a balanced base.
Step 3: Preview with a Mask and Test at Thumbnail Scale
A crop that appears balanced on a large monitor can fail completely at icon dimensions.
- Apply a circle preview: Place a circular mask or round overlay over your square crop to inspect round boundaries before saving.
- Downscale for verification: Scale your view down to thumbnail dimensions—roughly 32 to 48 pixels across. This simulates mobile app comment feeds and email notification icons.
- Verify readability: Confirm that your eyes and expression remain recognizable at a glance, and that the head does not look boxed in. If cramped, pull crop edges outward; if the face is lost, crop slightly closer while keeping the face near 60% of the frame.
Step 4: Cut a Separate Crop for Website Cards
Do not stretch or pad a square avatar to fit rectangular website layouts. Team directories, author cards, and event programs frequently require landscape or portrait rectangles (such as 4:3, 3:2, or 16:9). Return to your uncropped master file:
- Open your untouched master source image.
- Set your crop tool to the target rectangular ratio required by the website template.
- Frame a wider composition showing the head, full shoulders, and upper torso. A wider crop provides environmental context suitable for desktop browsing without altering your square avatar.
Step 5: Export Once to Prevent Compression Artifacts
Repeatedly opening, cropping, and re-saving JPEG files causes generation loss, introducing compression artifacts that soften eyes and hair:
- Export final assets directly from your master project file.
- Save clean, high-resolution files (such as 1000×1000 pixels or higher for square masters) in PNG or high-quality JPEG, letting platform algorithms handle downsampling.
- Label your files systematically: save the square avatar as
profile-avatar-square.pngand the wider card asprofile-website-card.png.
Practical Next Step
Create a dedicated Profile Assets folder. Open your uncropped source image, save a duplicate, and generate two standardized exports: one square master with safe-area clearance for circular avatars, and one wider rectangular version for website cards. Upload the square asset to your main profile, review the platform's round preview dialog, and verify that your hair, glasses, and chin remain fully intact before publishing.


