Before you start
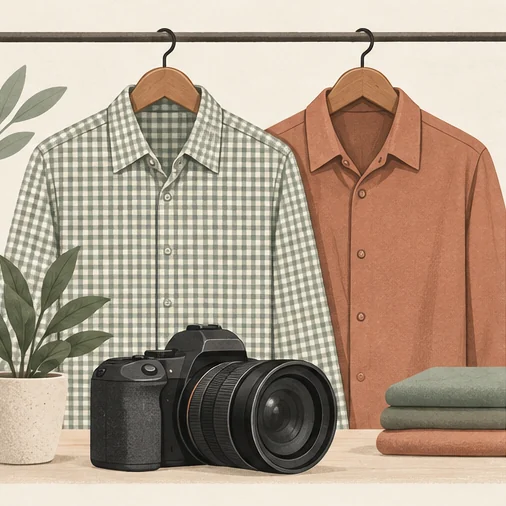
A finely patterned dress shirt or blouse may look polished in your mirror, but on camera, tight stripes, micro-checks, and textured weaves can create distracting wavy lines or odd color patches known as moiré. If you plan to wear a patterned shirt in an upcoming professional portrait, inspect the physical fabric under actual camera capture and at your intended display size before finalizing your wardrobe. While bold prints and solid fabrics rarely cause issues, micro-patterns can easily clash with digital camera sensors and screen downsampling.
Why Patterns Create Moiré and False Color
Moiré is an optical interference pattern that occurs when two repetitive, high-frequency grids overlap. In digital photography, one grid is the fine weave or printed pattern of your shirt; the other is the grid of light-sensitive pixels on the camera sensor.
When fine repeating textile structures align closely with sensor sampling frequency, they produce interference that manifests as wavy bands or synthetic chromatic shifts known as false color (Nikon). For wardrobe testing, use the actual capture and delivery setup rather than a universal stripe-width rule. Whether moiré appears depends on a shifting combination of fabric density, distance between camera and subject, sensor resolution, and subsequent image downsampling.
Everyday photo sharing reveals how unexpected this phenomenon can be. Portrait wearers frequently notice strange shimmering rings, rippling distortions, or phantom rainbow bands across shirts only after an image is compressed, cropped, or uploaded to digital channels (Reddit r/whatisit, Reddit r/firstworldproblems). A shirt can appear crisp and clean on a high-resolution camera screen, only to produce vibrating interference once scaled down to fit a social profile card or website directory.
Step-by-Step: How to Test Your Shirt Before Headshot Day
Do not wait until you sit under studio lighting to discover that your favorite shirt interferes with the camera. Follow these practical steps to verify your outfit beforehand:
- Take a Realistic Test Photo: Put on the shirt and take a test shot using the camera distance and lighting setup you expect to use. If you are preparing your own portrait setup, review practical techniques for capturing a professional headshot at home to match your test distance and lighting to real-world conditions.
- Inspect at 100% Zoom on a Desktop Screen: Transfer the image to a computer monitor and zoom in to full resolution (1:1 pixel view). Carefully examine the collar, placket, and chest planes for irregular swirling lines, herringbone distortions, or faint green and magenta tints.
- Export and Preview at Delivered Dimensions: Resize the test image to its final destination dimensions, using the destination’s requested dimensions and crop. Web browsers and mobile operating systems use downsampling algorithms that frequently trigger secondary moiré on images that looked acceptable at raw resolution.
- Test Slight Distance and Angle Changes: Take a second shot one step closer and one step further away. Because interference depends on the spatial relationship between the fabric pattern and the sensor grid, subtle framing adjustments can cause moiré to appear or disappear.
- Pack an Artifact-Resistant Backup: If your chosen shirt shows even faint shimmering during testing, bring a solid-color alternative or a layering piece—such as a tailored blazer or fine-knit cardigan—to your portrait session.
Pattern Decision Guide: Assessing Risk Levels
Not all patterned garments behave the same way on digital sensors. Use this reference to assess which fabrics require extra verification before your shoot:
| Pattern Category | Moiré Risk Level | Camera & Display Behavior | Recommendation |
|---|---|---|---|
| Micro-gingham & pin-check | High | Tight grids easily trigger chromatic shimmer and swirling bands | Run a test shot at final crop size; prepare a solid backup |
| Fine pinstripes & hairline stripes | High | Closely spaced lines interact with sensor rows, causing false color | Verify at thumbnail resolution; check the actual exported file |
| Micro-houndstooth & fine herringbone | Moderate to High | Diagonal weaves can blur into uneven, vibrating fabric patches | Check collar and shoulder contours on a desktop display |
| Wide windowpane & broad stripes | Low | Generous spacing allows the sensor to resolve lines distinctly | Often lower risk; still test; balance pattern scale with jacket contrast |
| Solid wovens (twill, broadcloth, oxford) | Minimal | Clean surfaces without repetitive high-frequency geometric lines | A useful comparison garment; fine weave can still produce artifacts |
A Hypothetical Walkthrough: Evaluating a Wardrobe Choice
To see how this process works in practice, consider a hypothetical professional, Morgan, who is preparing an updated headshot for a company website and conference bio.
Morgan selects a light-blue micro-check dress shirt. To confirm the choice before the shoot, Morgan follows a simple evaluation workflow:
- The Test Capture: Morgan sets up a phone on a desk mount at chest height, stands three feet away in soft window light, and captures a test frame.
- Full-Resolution Inspection: On a desktop monitor at 100% zoom, the fabric looks sharp and clean. No immediate visual distortion is evident.
- The Thumbnail Downsample: Morgan crops the photo and exports it at 350×350 pixels to match the firm's directory format. At this reduced scale, the downsampling algorithm creates a noticeable rainbow pattern across the chest pocket.
- Testing an Adjustment: Rather than attempting to edit out the moiré in post-production, Morgan adds a solid navy blazer over the shirt. The jacket covers the wide expanses of fabric where the interference was most pronounced, leaving just a clean check visible at the collar. Morgan also tests a solid light-blue shirt as an alternative.
- Final Selection: The solid option renders consistently at every display size without any digital shimmering. To evaluate overall portrait clarity beyond wardrobe, consult our AI portrait quality checklist for step-by-step image evaluation.
Common Wardrobe Mistakes and Technical Boundaries
Avoiding camera artifacts is straightforward once you recognize where evaluation commonly fails:
- Relying Only on the Camera LCD: Camera screens and mobile displays compress images on the fly. They can either mask real moiré that will appear later on desktop screens or generate temporary screen artifacts that do not exist in the underlying file. Always check files on a standard desktop monitor.
- Confusing Moiré With Image Compression: Blocky square artifacts stem from heavy file compression (low-bitrate JPEG artifacts), whereas moiré consists of continuous, wavy contours or rainbow-like chromatic shifts caused by physical or downsampling interference.
- Assuming Digital Previews Guarantee Fabric Behavior: Digital styling tools such as LookScene allow you to compare outfit colors on the same photo to evaluate palettes, collar shapes, and scene contrast. However, digital styling previews serve as visual planning aids, not physical fabric simulations or guaranteed proof that an actual textile will avoid moiré under a specific camera lens and sensor. Real optical capture depends on physical sensor mechanics.
- Banning Patterns Unnecessarily: You do not need to avoid patterns entirely. Broader or lower-contrast patterns may work well, but the actual file and display determine the result.
Next Steps: Plan Your Styling and Validate Early
Preparing a strong professional headshot involves thoughtful planning rather than rigid wardrobe restrictions. Use digital previews as an exploratory planning aid to test colors, contrast, and overall styling directions against your intended background. Once you establish your visual direction, validate your physical clothing choices with a quick test photo evaluated at your final delivery size. Testing your shirt before your shoot helps your portrait highlight your professional presence rather than an optical glitch.
Style options to compare
Use these illustrated directions to plan what to try. They are not verified before-and-after results; inspect the review checklist on each page.
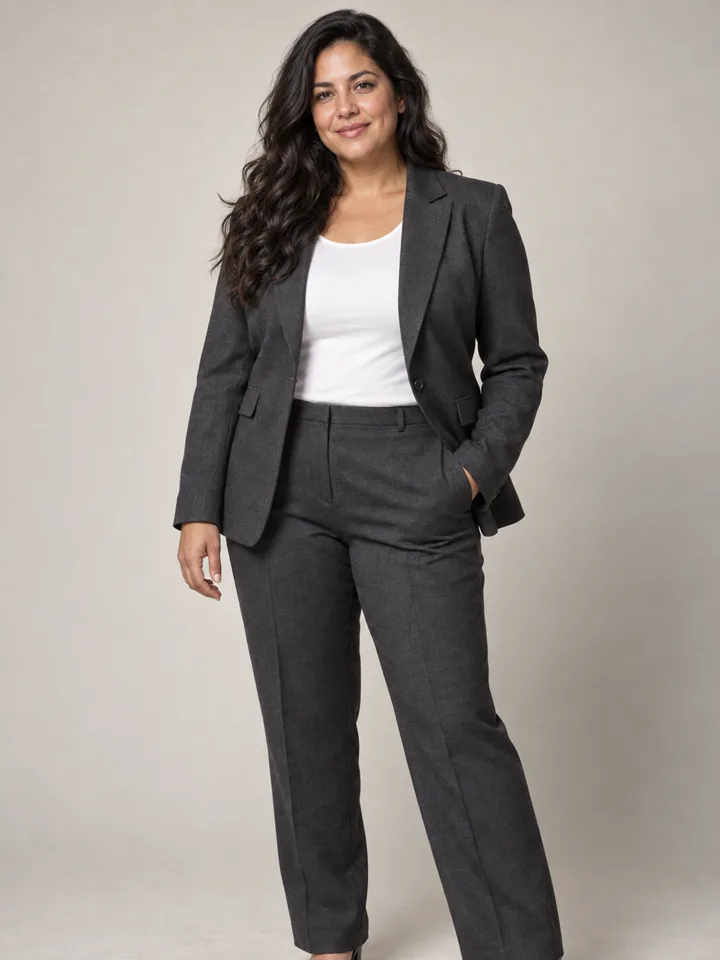
- Relaxed tailoring — Inspect shoulder width, lapels, cuffs and waist; this is a styling idea, not a garment fit prediction.
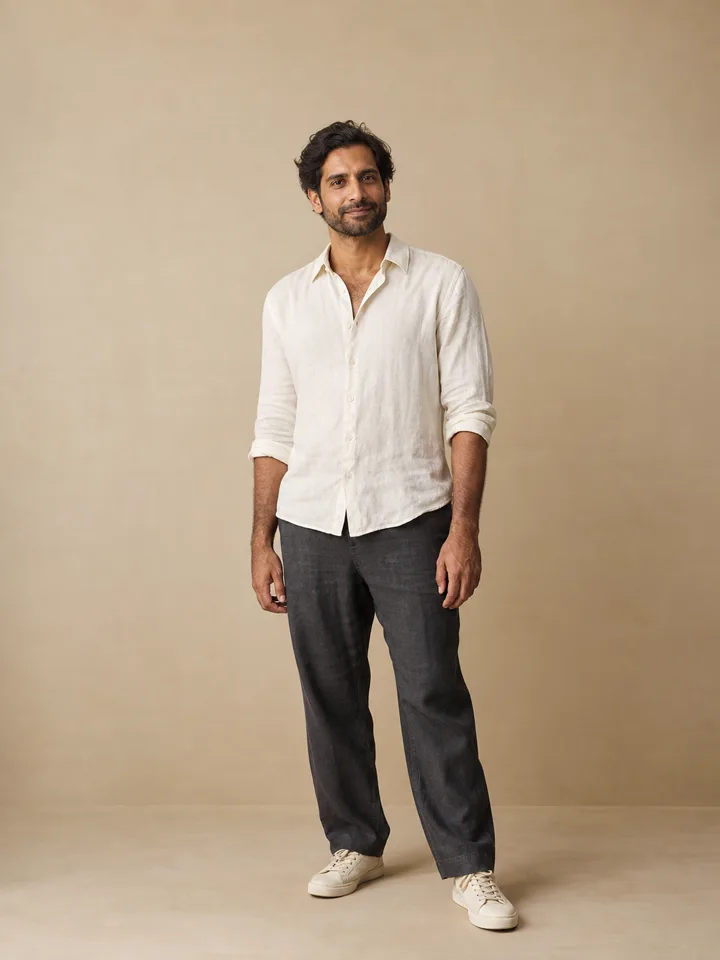
- Weekend linen shirt — Check collar shape, believable folds and arm boundaries without changing body shape.
- Everyday knit — Inspect the neckline, shoulder width and where sleeves meet the hands.