
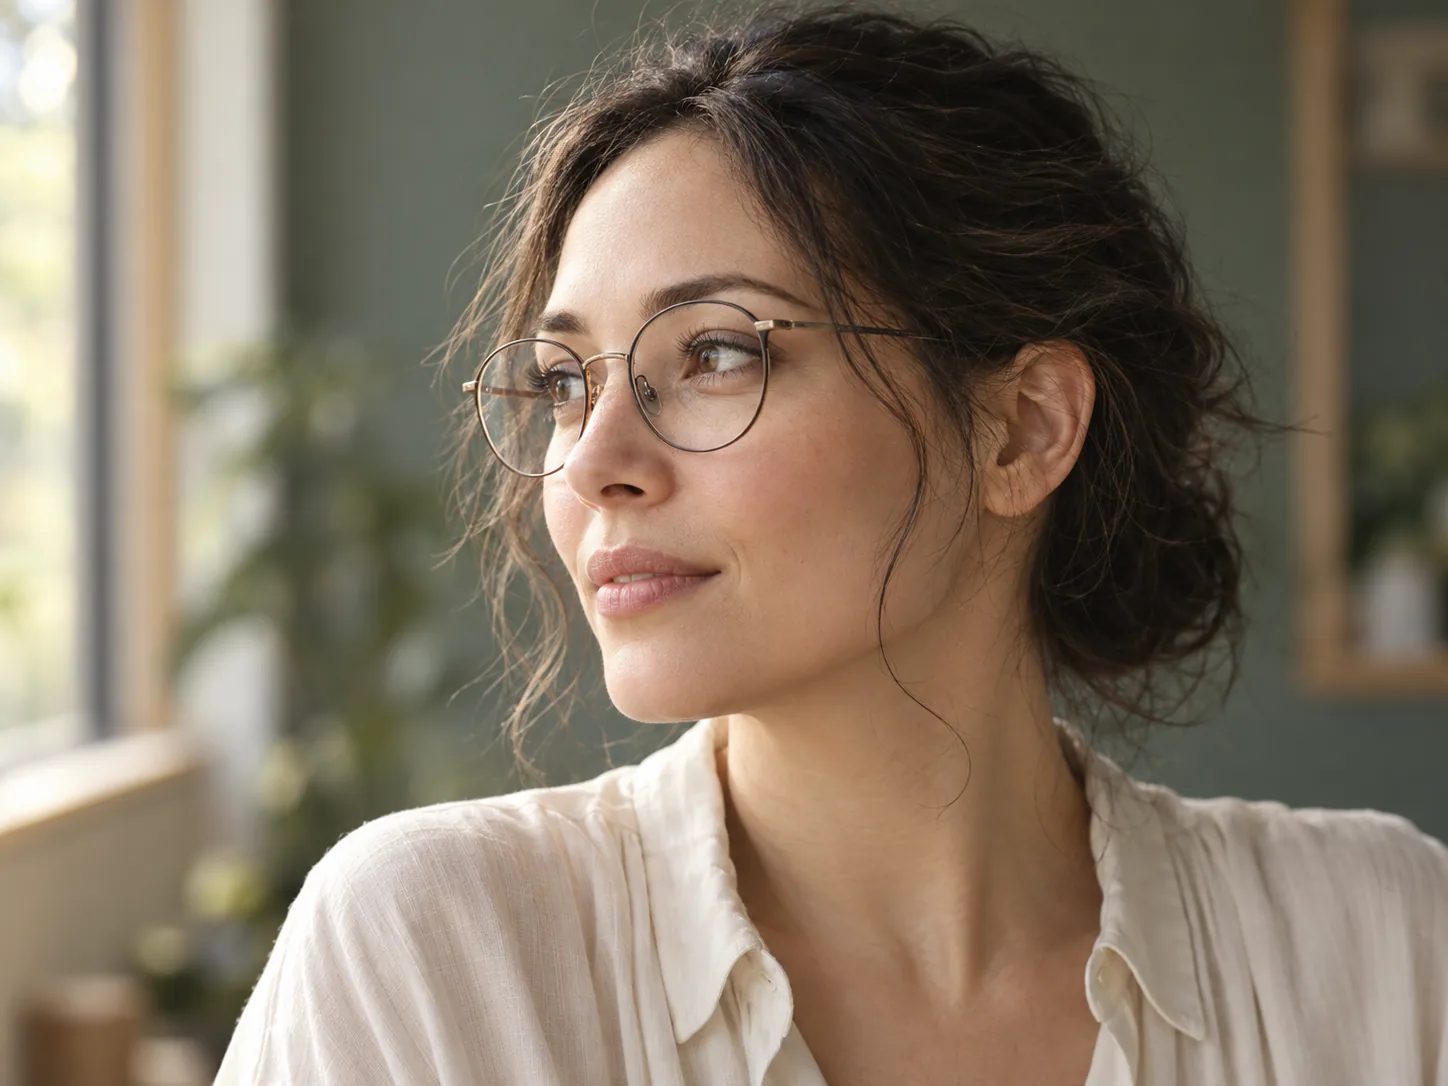
Before you start
Background blur is optional in a headshot. If it cuts into hair, softens part of a glasses frame, or leaves a sharp patch behind an ear, compare the same photograph with less blur and with the effect disabled where supported. Keep the version with believable boundaries, even if more of the background remains visible.
Apple documents background-blur adjustment and removal of the Portrait effect for supported photos. Availability depends on the device and photograph; these controls do not apply to every image saved on a phone. Apple's Portrait mode guide
Establish whether the blur is editable
Start with the original photograph in its capture library, not a screenshot or a downloaded profile image. Keep an authorized original before making comparisons. Check whether the photo exposes Portrait or depth controls in its supported editor.
An editable portrait effect is different from background softness captured by the lens. Disabling an added effect does not refocus everything in the scene. Likewise, an exported copy may not offer the controls available with the original photo; check the actual file rather than assuming its blurred background proves depth editing is available.
If the eyes are soft with the effect off, treat that as a separate source-quality problem. Changing the background effect does not establish missing eye detail. If a bright hair rim remains unchanged, examine the lighting: the backlit hair-edge guide distinguishes captured rim light from an artificial border.
Compare off, low, and current blur
For a supported iPhone portrait, Apple's documented route is to open the photo in Photos, choose Edit, and use Depth Control to adjust background blur. To remove the Portrait effect, select Portrait while editing and save the change. The effect can be reapplied. Follow the guide for your device and software if the interface differs. Apple's editing instructions
Use those controls to make a comparison, not to chase a particular simulated aperture number. Keep crop, exposure, and other edits unchanged. Review the current setting, a reduced effect, and the effect-off version of the same capture. If your photo supports only some of those options, compare the available versions without inventing a missing control.
Inspect at full resolution to locate the problem, then at the size the headshot will actually appear. A tiny irregularity visible only under heavy enlargement may not matter for the destination; a missing glasses arm or clipped curl can remain distracting even in a small profile image.
Inspect five boundaries
- Loose hair: Look for strands that disappear, become abruptly thick, or turn into a continuous soft fringe.
- Glasses: Follow both lens rims and arms. Check whether blur crosses an edge or leaves an isolated sharp background patch.
- Ears: Look for abrupt changes where the ear meets hair and background.
- Shoulders and clothing: Check jacket corners, collars, and the outer shoulder line for missing or softened sections.
- Small gaps: Inspect background visible between hair strands or around glasses, comparing its treatment with adjacent background.
Transparent lenses and fine gaps deserve individual inspection; do not assume every region inside a frame should receive identical blur. Use the original as the reference for what was actually visible. For other lens and frame issues, use the headshot-with-glasses checklist rather than treating glare and background separation as the same problem.
The following hypothetical comparison card illustrates decisions, not a tested phone result:
| Version | Edge observation | At intended profile size | Decision |
|---|---|---|---|
| Current blur | A curl is clipped; one glasses arm looks soft | Both remain noticeable | Reject this setting |
| Reduced blur | Curl and frame are more continuous | Background is mildly distracting | Compare with effect off |
| Effect off | Source boundaries are intact | Background is acceptable | Use the original-style version |
Your result may differ. Less blur can make a boundary error less conspicuous without repairing the underlying separation. Accept the visible photograph, not the assumption that moving a slider has corrected its depth information.
When a new capture is the better option
Retake the photo if none of the available versions preserves important features, or if the source itself lacks the detail you need. Try a simpler background, move away from clutter when practical, and keep the camera and subject steady. Take an ordinary photo as well as a portrait-mode candidate so you have a comparison that does not depend on the added effect.
Avoid asking an editor to invent hair strands or rebuild a glasses frame solely to conceal a blur error. A clean background is not worth changing your recognizable features. Review the new capture before leaving the setup, including the eyes and both sides of the head.
Keep phone controls separate from LookScene previews
Depth Control belongs to the supported Apple photo workflow. LookScene offers photo-based outfit, hair, and scene previews; it should not be treated as a dedicated depth-mask repair tool.
If you use your own adult photo for a preview, start with the cleanest usable source and request a limited change. Apply the AI portrait quality checklist to the result, comparing face shape, glasses, hairline, and shoulder boundaries with the authorized original. Keep only a candidate that remains recognizable and suits the intended use. A preview is a comparison aid, not a guarantee of faithful identity or a prediction of a real hairstyle.
Style options to compare
Use these illustrated directions to plan what to try. They are not verified before-and-after results; inspect the review checklist on each page.
- Clean studio portrait — Compare the eyes, jaw, hairline and skin against the original. Crop for your intended profile size after reviewing.
- Warm studio — Check that warm background color does not unnaturally tint the face.
- Garden light — Inspect hair edges and ensure foliage does not cross the face.


