
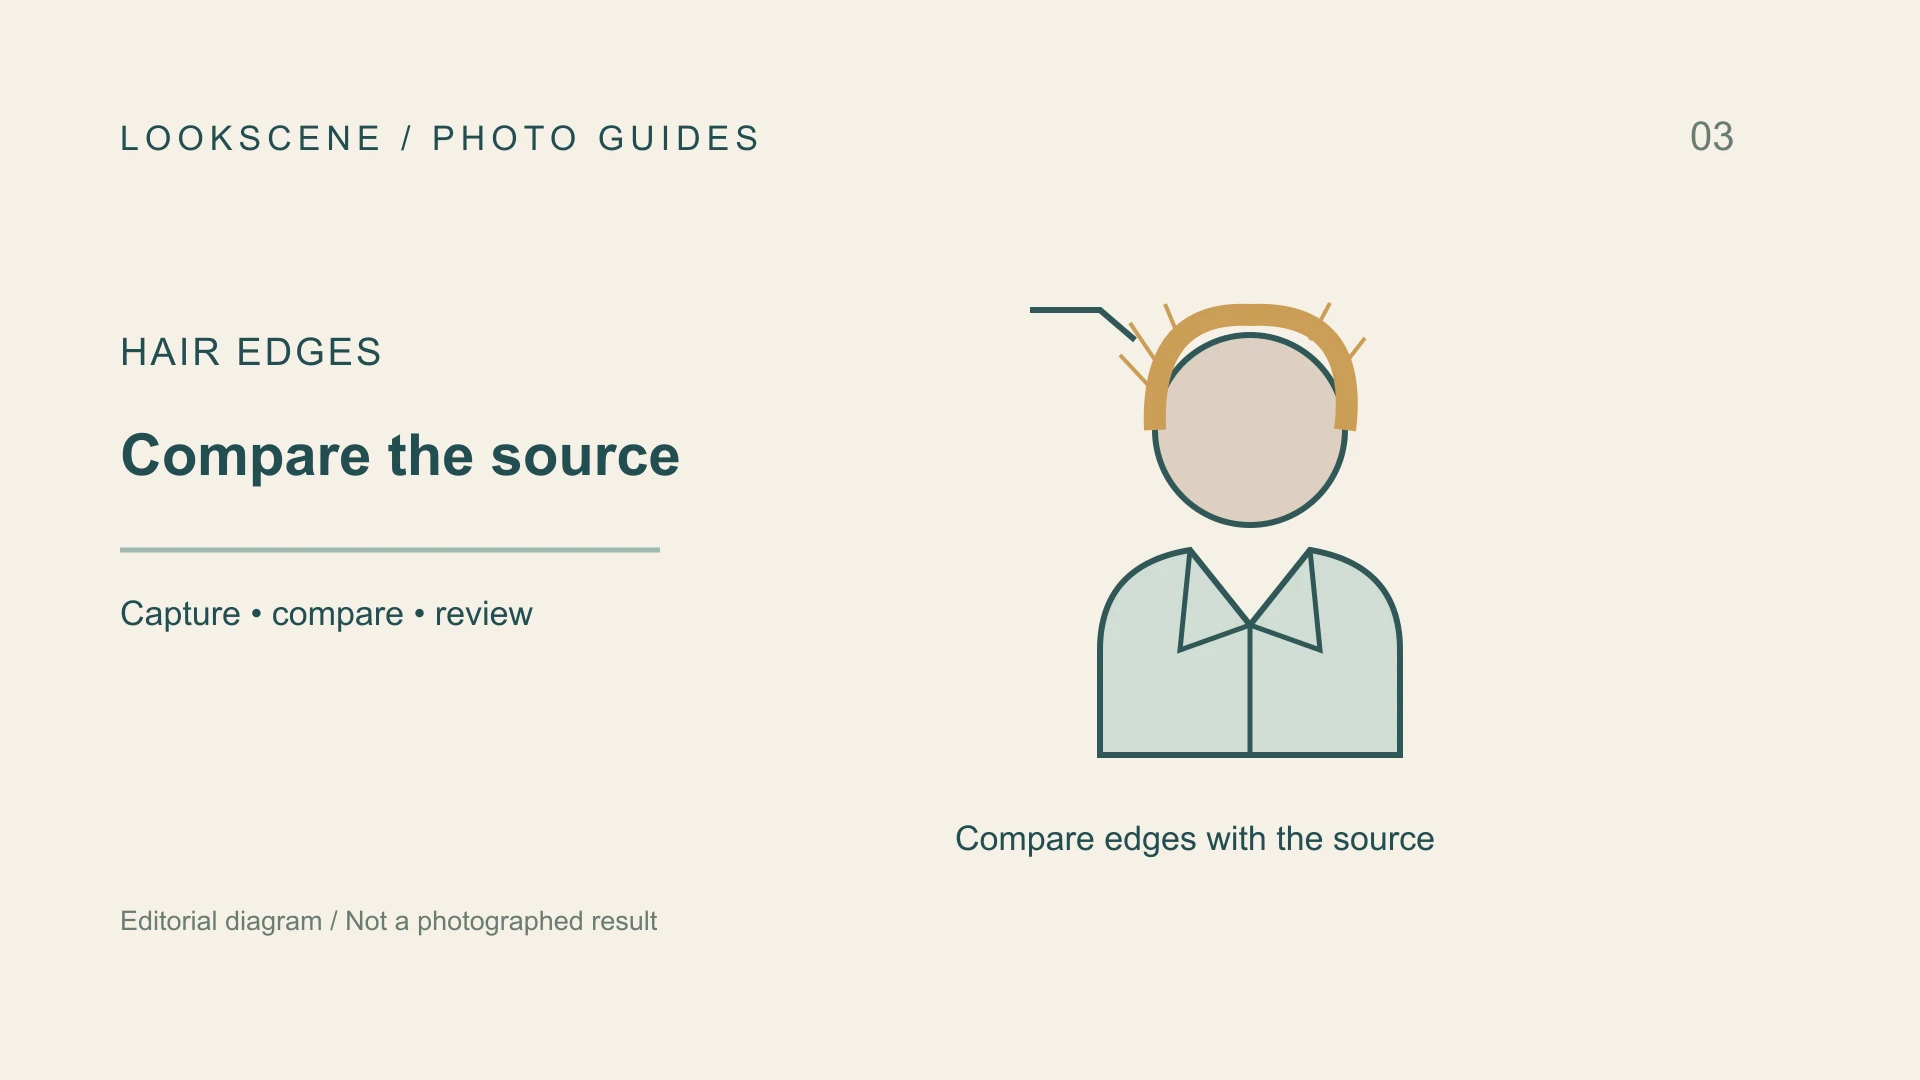
Before you start
By LookScene editorial team · Updated October 1, 2026. AI-assisted editorial guide; examples and editorial diagram covers are illustrative, not photographed product results.
When evaluating a professional headshot, strong backlighting can provide clean separation between your shoulders, hair, and the background. However, automated portrait filters, phone cutout tools, and aggressive post-processing frequently mistake backlight highlights for image boundaries. The result is often a synthetic halo—a blurry, plastic fringe or hard cutout artifact that traces the scalp instead of authentic hair texture.
Before accepting a backlit portrait for your professional profile, inspect the hair perimeter at full resolution. Natural rim lighting illuminates real strands from behind; it does not erase fine flyaways or encase your head in a solid, glowing border. Identifying the difference between intentional optical rim light and an edge-matting error ensures your headshot looks credible and polished.
Mechanism: Natural Rim Light vs. Cutout Halos
Understanding how camera optics and digital segmentation handle backlit edges explains why edge artifacts appear in portraits.
How Natural Rim Lighting Functions
In portrait photography, a backlight placed behind or to the side of the subject casts directional illumination along the contours of the body and head. Because hair consists of individual, semi-translucent fibers, backlighting strikes the outer strands at varying angles. Some hairs capture intense highlights, while adjacent strands remain in soft shadow.
As Adobe's portrait photography guide observes, lighting, focus, and framing remain variables without a single universal outcome. On a well-captured portrait, this variability creates nuanced contrast: the hair edge softens naturally into the background, revealing organic spacing, stray hairs, and subtle shifts in brightness.
How Cutout Algorithms Produce Synthetic Halos
When software attempts to isolate a subject, remove a background, or apply synthetic depth-of-field, it creates an alpha mask. Hair edges present a difficult challenge for automated segmentation because fine strands blend into background pixels.
When matting algorithms process backlit hair, common failure modes emerge:
- Color Contamination and Smearing: The algorithm interprets bright backlight spilling around hair shafts as background light, smudging the transition into a semi-transparent band.
- Aggressive Edge Clipping: The tool treats delicate flyaway hairs as background noise, cutting them away and leaving a blunt, helmet-like perimeter.
- Invented Hairlines: Some automated filters generate a continuous, artificial rim of uniform brightness to mask edge indecision, creating an unearned halo effect.
When reviewing hair boundaries, practical guidelines for headshot flyaway hair edits emphasize that natural stray strands provide essential authenticity, whereas digital smoothing flattens three-dimensional depth.
Four Steps to Inspect Hair Boundaries
Examine your candidate headshot using the highest-quality available original or export on a desktop display rather than relying on a small phone screen.
- Magnify the File to 100%: Open the exported image at actual pixel dimensions. Center your view on the transition where hair meets the backdrop at the crown and temples.
- Trace Fine Strand Continuity: Look for delicate strands that taper naturally into the space around the head. Abrupt strand endings or haze are reasons to compare the source and edited file; focus, clipping and compression can produce similar symptoms.
- Check Luminance Consistency: Examine whether the edge light matches the scene's light source. Genuine rim light corresponds directly to the angle and intensity of the backlight. A synthetic halo often maintains identical brightness and thickness across the entire perimeter, even in shadowed areas.
- Inspect High-Contrast Junctions: Pay close attention to areas where dark hair crosses over bright background elements. Artifacts frequently cluster at these junctions as faint white borders or jagged pixel steps.
Comparison Checklist: Genuine Rim Light vs. Mask Artifact
Use this checklist to determine whether your backlit portrait displays authentic photography or digital matting flaws:
| Visual Element | Natural Rim Lighting | Synthetic Mask Halo |
|---|---|---|
| Edge Texture | Defined by individual strands and natural gaps | Blurred, smeared, or unnaturally rigid |
| Strand Definition | Fine hairs taper and overlap organically | Strands are clipped off or merged into solid blocks |
| Light Distribution | Varies according to backlight direction and angle | Uniform thickness and brightness encircling the head |
| Color Fidelity | Retains natural hair tone with optical highlights | Displays desaturated white, gray, or chromatic fringes |
| Hairline Silhouette | Irregular, realistic human hair boundary | Artificially smoothed, helmet-like contour |
Hypothetical Planning Example: Elena's Outdoor Corporate Headshot
Consider a hypothetical scenario where Elena, a management consultant, reviews proofs from an outdoor portrait session taken during late afternoon sunlight.
Elena chose an outdoor setup where low sun provided backlight against a leafy courtyard. When viewing proofs on her phone, one image stood out because her hair seemed distinctly separated from the background.
However, when Elena inspected the full-resolution file on her computer, she noticed anomalies along the upper curve of her hairstyle:
- The directional sunlight originally came from her upper left, but a bright white line encircled both sides of her head evenly.
- Her natural wavy texture had been smoothed into a continuous, rigid contour.
- Individual curl definition near her temples had disappeared into a uniform, translucent haze caused by an automated portrait mode filter on the capture device.
Elena reviewed the original source capture alongside the filtered proof. The source photo possessed slightly lower edge contrast but preserved realistic curl separation and authentic texture. Rather than accepting the synthetic halo, Elena selected the original file with subtle, natural light falloff, preserving her authentic appearance.
Common Mistakes and Realistic Limitations
- Mistaking Edge Blurring for Soft Focus: Hair can lie outside the focus plane in a genuine photograph. A blurred edge alone cannot identify a faulty mask; compare the source and surrounding depth cues.
- Accepting Inconsistent Light Angles: Broad sources, reflected light, multiple lights, lens effects and exposure can create highlights on both sides. A symmetric rim alone does not prove an artifact; use the original photograph as the reference.
- Overlooking Platform Boundaries: Tools such as LookScene offer photo-based style previews for exploring different looks and settings. Inspect every preview against the original; it does not certify unchanged identity or recovered source detail. Your true likeness and real hair texture depend on a clean, well-lit source image.
Next Action: Compare Previews Against Your Source Photo
A professional headshot must convey credibility without technical distractions. Before committing to a photo for your website, directory, or resume, review the complete AI portrait quality checklist to evaluate edge sharpness, tonal balance, and background integration.
Use LookScene previews for comparison and inspect against the original photo to ensure your hair edges retain their authentic structure, directional lighting remains believable, and your headshot presents an honest, professional standard.
Style options to compare
Use these illustrated directions to plan what to try. They are not verified before-and-after results; inspect the review checklist on each page.
- Clean studio portrait — Compare the eyes, jaw, hairline and skin against the original. Crop for your intended profile size after reviewing.
- Warm studio — Check that warm background color does not unnaturally tint the face.
- Garden light — Inspect hair edges and ensure foliage does not cross the face.


