
Before you start
When you take a portrait on a modern smartphone and attempt to upload it to an employer portal, conference directory, or corporate human resources system, the platform often rejects the file immediately. You may see a generic error message such as "unsupported file format," "corrupted image data," or simply an upload failure bar that stalls midway through the process.
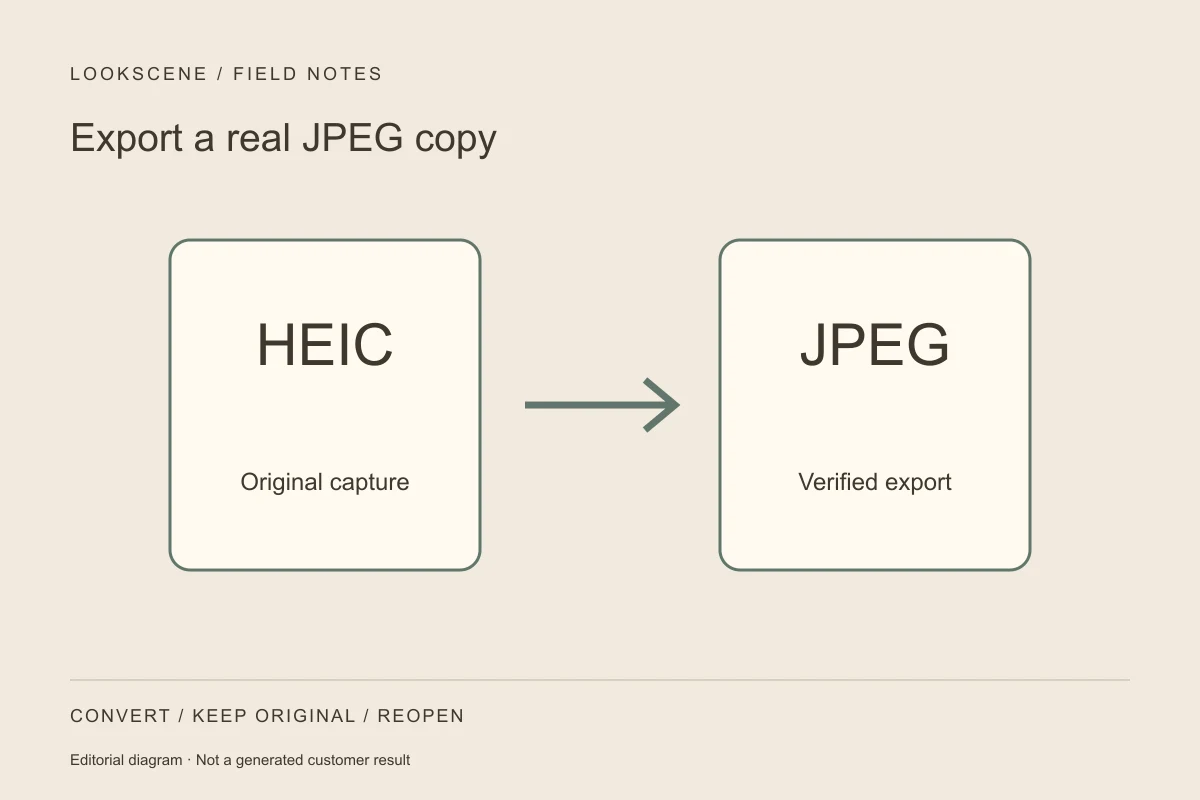
An unsupported HEIC file is one possible cause. First check the portal's stated formats, dimensions, file-size limits and the actual error; an upload failure alone does not identify the cause. To resolve the issue, you must export an authentic JPEG copy from your master photo rather than attempting a cosmetic workaround.
Why Renaming the File Extension Does Not Work
A common first reaction to a rejected upload is renaming the file extension in your desktop file explorer—changing headshot.heic to headshot.jpg. This workaround fails because a file extension is merely an operating system label; it does not change the underlying byte structure or encoding standard of the file.
HEIC packages image streams using High Efficiency Video Coding (HEVC) compression within an ISO base media container format. In contrast, a true JPEG file is encoded according to the Joint Photographic Experts Group standard and begins with distinct binary markers (the Start of Image marker, FF D8).
When an upload portal processes an incoming file, its parser may examine file signatures or try decoding the data—often referred to as magic numbers—rather than relying solely on the file extension. If the parser detects an HEIC container while expecting a JPEG data stream, it registers a decoding error and terminates the upload. Changing the extension cannot perform a format conversion, even if a form accepts the filename.
How to Export an Authentic JPEG Copy
Creating a usable upload requires re-encoding the image data into a baseline JPEG format while preserving your master capture. Never overwrite or discard your original HEIC file, because it preserves the original captured file; HEIC is not necessarily uncompressed, and HDR properties vary.
On macOS
- Open your headshot in the native Preview application or within the Photos app.
- Select File > Export (in Photos, select File > Export > Export 1 Photo).
- Set the export format dropdown to JPEG.
- Set the quality level to high (choose a setting that meets the actual portal limit after inspecting the output; quality scales differ between exporters).
- Ensure the color profile is set to sRGB to prevent browser color shifts.
- Click Save to write a new derivative file to your desktop or designated folder.
According to Apple's technical guidance on HEIF and HEVC compatibility, native macOS and iOS applications provide built-in conversion controls during export and sharing to ensure files function across non-Apple software and operating systems.
On Windows
Use an installed image application that can decode your particular HEIC file and export JPEG. Codec support and menus vary by Windows and app version. Choose an actual JPEG export, save a new copy, reopen it in another compatible viewer and check the destination requirements; do not merely rename it.
On iOS (Direct from Mobile)
If you are uploading directly from your mobile browser, you can often configure your device to convert files automatically:
- Open your Settings app, scroll to Camera, and tap Formats. Selecting "Most Compatible" forces the camera to capture future images in JPEG, though this uses more storage.
- For an existing photo, use a supported conversion/export workflow or transfer it to Photos or Preview on a Mac for JPEG export. Save to Files by itself does not guarantee conversion, and Camera > Formats does not retroactively convert existing photos.
If you captured your professional headshot at home using an iPhone, keeping your camera in High Efficiency mode while exporting isolated JPEG derivatives for web submissions allows you to balance phone storage efficiency with upload reliability.
Target Platform Requirements and Checklist
Before submitting your headshot, match your export settings against the destination platform's technical constraints:
| Destination Portal | Typical Accepted Formats | Recommended File Size Limit | Target Color Space | Key Verification Step |
|---|---|---|---|---|
| Enterprise HR & ATS | JPEG, PNG | Read the actual HR portal limit | sRGB | Confirm binary extension matches internal encoding |
| Professional Profiles | JPEG, PNG | Read the actual profile limit | sRGB | Inspect circular crop framing at 100% zoom |
| Directory / Badges | JPEG | Read the actual directory limit | sRGB | Verify clarity when downscaled to thumbnail size |
Pre-Upload Verification Checklist
- Preserve the master: Confirm your original
.heicfile remains untouched in your archive. - Verify true encoding: Ensure the exported file was converted via an export dialog, not manually renamed.
- Check dimensions: Match the destination's stated pixel dimensions and crop requirements; there is no universal web-profile size.
- Inspect file size: Keep the file within the actual upload limit; smaller size alone does not diagnose a timeout.
- Confirm sRGB conversion: Verify skin tones do not appear dull or greenish due to an unconverted Display P3 wide-gamut profile.
A Practical Walkthrough: Marcus Prepares an Application
This is a hypothetical example. The 85% export setting and successful upload are illustrative, not a test of a particular portal.
Consider a practical scenario: Marcus captures a sharp headshot in natural window light using his smartphone. When he attempts to upload the portrait to an enterprise job application portal, the system rejects the file with an "Invalid media format" warning.
Checking the file properties, Marcus notes the filename ends in .HEIC. Rather than attempting to change the file extension in his file browser, Marcus opens the image in his desktop photo viewer, selects the export utility, and specifies JPEG at 85% quality with an sRGB color profile. He names the output marcus-headshot-web.jpg.
Upon re-uploading the newly generated JPEG copy, the portal accepts the submission instantly. The image renders sharp facial contours, accurate skin tones, and consistent contrast without compression artifacts.
Potential Pitfalls and Image Quality Trade-Offs
Converting an image format introduces specific trade-offs that require attention:
- Generation Loss: JPEG uses lossy compression. Re-exporting a JPEG from an existing JPEG repeatedly degrades fine details such as individual hair strands and fabric weave. Always generate your JPEG export directly from the original HEIC master.
- Color Space Shifts: HEIC files captured on modern mobile devices frequently use the Display P3 color space. If your export tool strips color metadata without mapping values into standard sRGB, some viewers or processing pipelines may interpret the color differently, making your skin tones appear desaturated.
- Over-Compression: Selecting an overly aggressive compression setting (the relevant threshold depends on the encoder and image) to meet strict file-size limits can introduce blocky compression artifacts around high-contrast edges. To verify that your final image maintains clean lighting and realistic focus before submitting, review our AI portrait quality checklist.
Next Steps: Inspect and Compare Your Results
Once you have exported your JPEG, open it at 100% scale alongside your original HEIC capture. Verify that facial features remain sharp, lighting gradients across the cheekbones remain smooth, and no color banding appears in the background.
If you are evaluating different wardrobe colors or lighting setups for your professional profile, LookScene provides photo-based style previews to help visualize variations. Use LookScene previews for comparison and inspect against the original photo to ensure your core identity and natural hair texture remain consistent and authentic across every professional channel.
Style options to compare
Use these illustrated directions to plan what to try. They are not verified before-and-after results; inspect the review checklist on each page.
- Clean studio portrait — Compare the eyes, jaw, hairline and skin against the original. Crop for your intended profile size after reviewing.
- Warm studio — Check that warm background color does not unnaturally tint the face.
- Garden light — Inspect hair edges and ensure foliage does not cross the face.


