
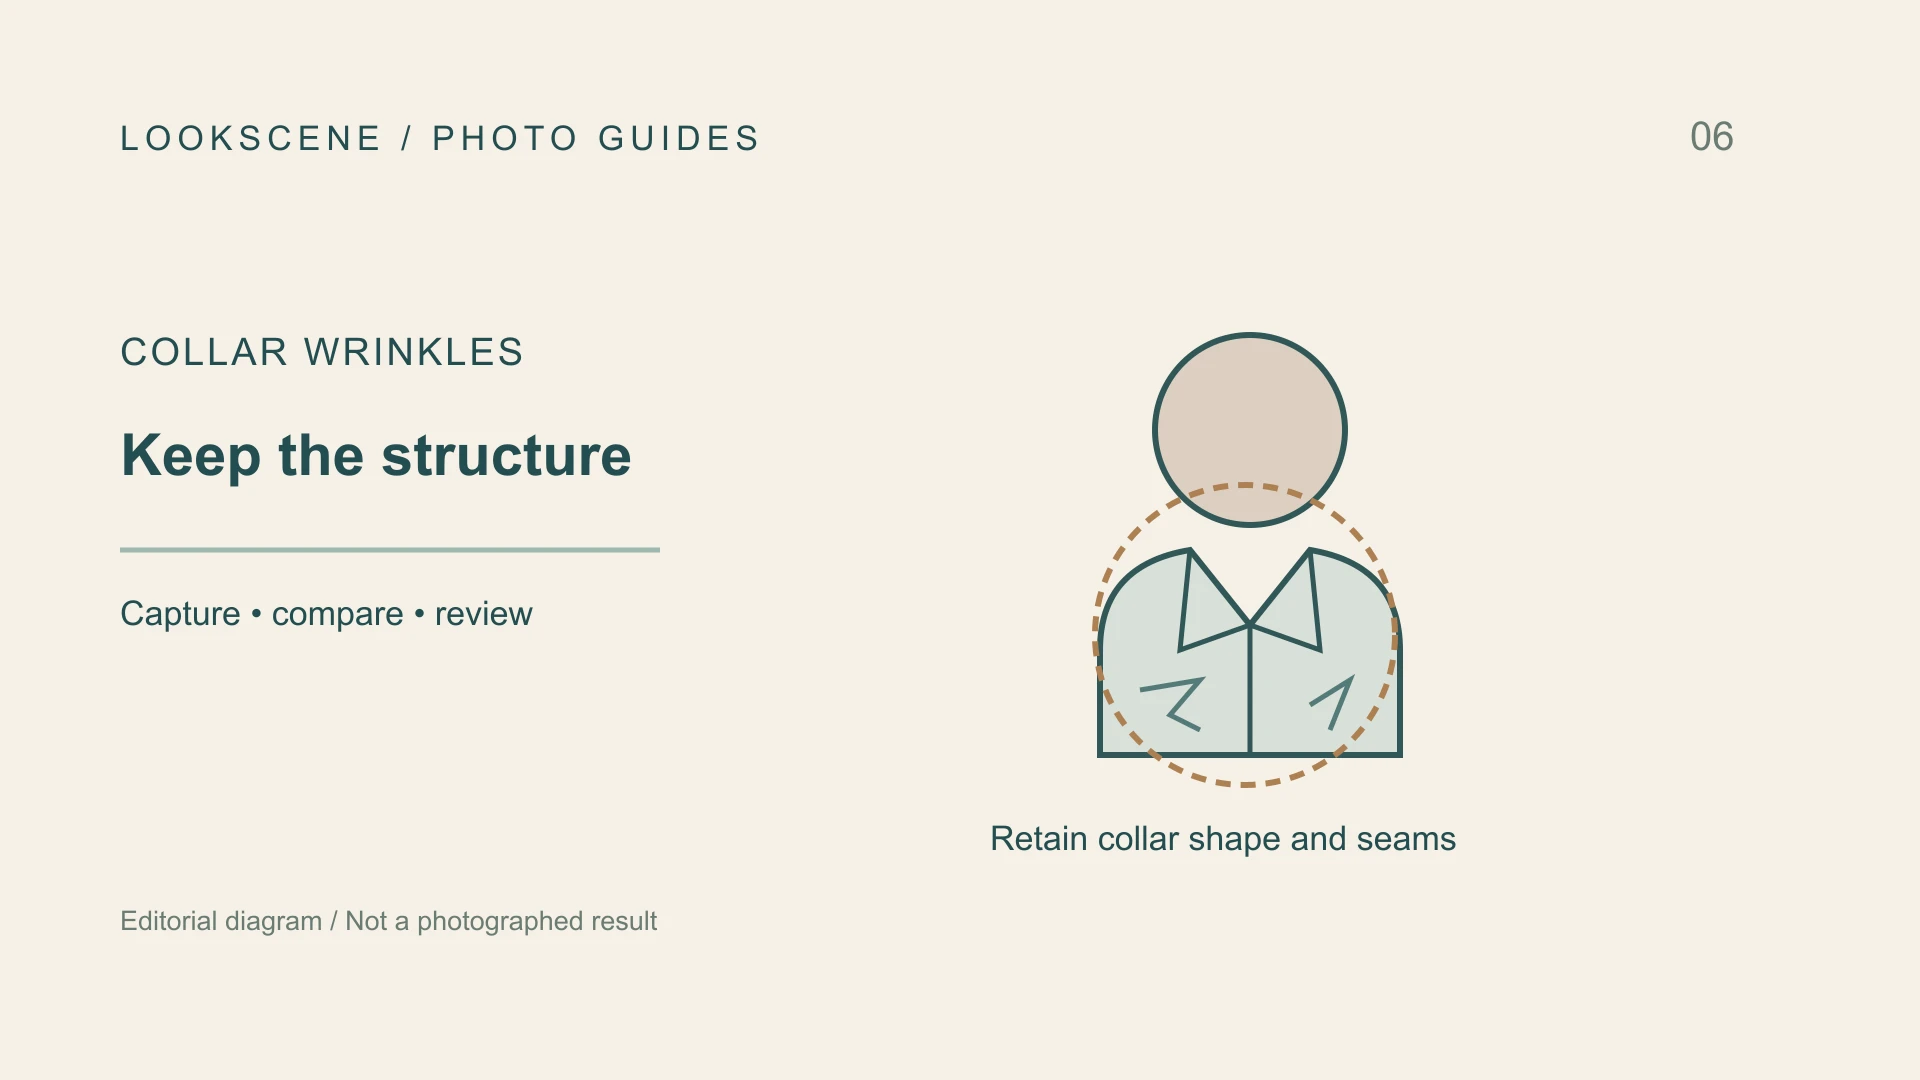
Before you start
By LookScene editorial team · Updated October 1, 2026. AI-assisted editorial guide; examples and cover images are illustrative, not product test results.
When an uneven collar or sharp fabric crease appears in a headshot preview, attempting to repair it digitally is often the first impulse. Relying on post-capture software to smooth clothing, however, frequently introduces noticeable visual distortions. Erasing deep wrinkles or straightening collar points digitally tends to strip away authentic textile weave, leaving shirts and jackets looking like featureless, plastic planes.
The practical solution is straightforward: adjust the garment physically on your body before capturing the photograph. Straightening collar stance, smoothing fabric drape, and checking garment alignment before pressing the shutter preserves your natural silhouette and avoids destructive digital edits.
The Mechanics of Fabric Texture and Wrinkle Shadows
Clothing is not an abstract graphic element; it is constructed from textured fibers such as cotton, wool, or linen that react directly to light and movement. When fabric bunches or shifts, it creates directional shadow gradients that define depth and clothing fit.
Digital retouching tools—including cloning brushes, frequency separation, and automated smoothing filters—often treat wrinkle shadows as simple color variations to be flattened. When an algorithm or brush removes those shadows:
- Woven grain disappears: The fine weave of the textile gets blurred into a uniform, artificial smudge.
- Collar architecture warps: Reshaping an asymmetrical collar digitally can distort the neckline, making the collar points appear disconnected from the neck and altering perceived body symmetry.
- Lighting cues clash: Softening a crease digitally without matching the surrounding scene lighting creates flat patches that look pasted onto the image.
As highlighted in Adobe's portrait photography guide, lighting, focus, and framing remain photographic variables without a single universal outcome. When framing clothing around the neckline, shadows formed by bunched fabric depend heavily on directional light placement. Addressing these factors in front of the lens ensures that fabric retains its physical texture under your chosen lighting.
Physical Garment Adjustments to Make Before Shooting
Implementing practical physical checks prior to capture can reduce distracting folds and collar misalignments.
1. Steam or Press Critical Focal Zones
Pay attention to the upper chest, placket, and collar bands, as these areas fall directly within the standard headshot crop. Follow the garment’s care instructions when pressing or steaming; the appropriate method depends on the fabric and construction. This can reduce packing folds and transit creases that directional lighting would otherwise emphasize.
2. Stabilize the Collar Stance
Collars on dress shirts can sag or spread unevenly under a jacket. Use suitable collar stays only if the shirt is designed for them. If wearing an open collar, check that both sides spread at an equal distance from the center of the throat. For button-down styles, ensure both collar buttons remain fastened flat against the shirt body.
3. Align Seams and Plackets
Before posing, center the shirt placket directly with your sternum. Ensure the shoulder seams sit evenly atop your shoulder bones rather than twisting forward or backward.
4. Execute the "Tug and Settle" Routine
Sitting down naturally pushes fabric upward, creating horizontal ripples across the stomach and chest. Gently pull the hem of your shirt or jacket downward from the back and sides after taking your seat, then let your shoulders settle naturally.
Choosing structured, medium-weight fabrics—as detailed in our guide on what to wear for a LinkedIn photo—provides natural resistance to creasing under studio or ambient lighting. If you are setting up a professional headshot at home, capture a test frame specifically to evaluate how your collar rests before taking your final series of portraits.
In-Camera Preparation vs. Digital Retouching
Understanding the trade-offs between physical adjustments and software intervention helps preserve portrait quality:
| Garment Element | In-Camera Preparation Before Capture | Digital Retouching Trade-Off |
|---|---|---|
| Collar Stance & Points | Align collar stays and check lapel balance in a mirror. | Digital warping often distorts collar geometry and alters neckline shape. |
| Placket & Chest Creases | Smooth fabric downward before shooting to prevent bunching. | Blurring folds erases natural textile weave, leaving flat patches. |
| Shoulder Seams | Adjust jacket shoulders so seams rest symmetrically on the frame. | Repositioning seams digitally risks awkward angles along the shoulder line. |
| Fabric Texture & Grain | Preserves native fiber texture (cotton, wool, linen) under actual light. | Aggressive smoothing filters reduce clothing to an artificial, painted texture. |
Hypothetical Scenario: Correcting a Distorted Collar Setup
Consider a hypothetical professional, Alex, preparing an updated portrait in a structured collared shirt and blazer.
- The Issue: After sitting down for an initial test shot, Alex notices that the right collar point has slipped under the blazer lapel, while bunched fabric across the upper chest creates strong, diagonal shadows.
- The Retouching Misstep: Alex opens an image editor and attempts to use a healing brush and warp tool to eliminate the shadow and nudge the collar out. The edited frame shows an unnaturally blurred chest area where the cotton weave has vanished, while the warped collar appears lopsided and rubbery.
- The Physical Adjustment: Alex discards the edit and returns to the physical garment. Alex checks the collar stays, straightens both collar points evenly over the lapel, pulls the shirt hem taut from behind, and rolls the shoulders back into a relaxed posture.
- The Observed Frame: In this hypothetical result, the collar sits symmetrically against the neck, and the fabric displays its natural woven texture without distracting bunched folds.
Retouching Boundaries: What to Clean vs. What to Leave
Post-capture editing has a constructive role, but its scope should remain strictly bounded:
- Permissible Cleanups: Removing a single stray thread, a localized speck of lint, or a minor spot of dust with a small healing brush can be a limited cleanup if the surrounding texture remains intact; inspect the result.
- Avoid Large-Area Smoothing: Never drag a blur or skin-softening brush across fabric to eliminate broad creases. Doing so obliterates the microscopic highlights that make clothing look tangible.
- Preserve Identity and Fit: Altering clothing contours or reshaping collar wings can inadvertently change perceived neck length or shoulder width. Checking an AI portrait quality checklist helps identify when digital modifications have crossed from subtle correction into unnatural distortion.
Next Steps: Compare Style Previews Against Your Original Photograph
For professionals exploring alternate wardrobe options or background settings, style preview tools like LookScene offer convenient visual references. However, automated styling tools are designed to complement a well-prepared photograph, not fix distorted collars or poorly fitted clothing after the fact. LookScene provides photo-based style previews and does not claim dedicated HDR balancing or guaranteed faithful editing; it cannot reconstruct authentic textile weave if a source image was heavily blurred beforehand.
Prepare your garment physically, verify collar symmetry and seam alignment in your initial test frame, and use LookScene previews for comparison while inspecting results directly against your unedited original to ensure your authentic professional presentation remains intact.
Style options to compare
Use these illustrated directions to plan what to try. They are not verified before-and-after results; inspect the review checklist on each page.
- Clean studio portrait — Compare the eyes, jaw, hairline and skin against the original. Crop for your intended profile size after reviewing.
- Warm studio — Check that warm background color does not unnaturally tint the face.
- Garden light — Inspect hair edges and ensure foliage does not cross the face.


