
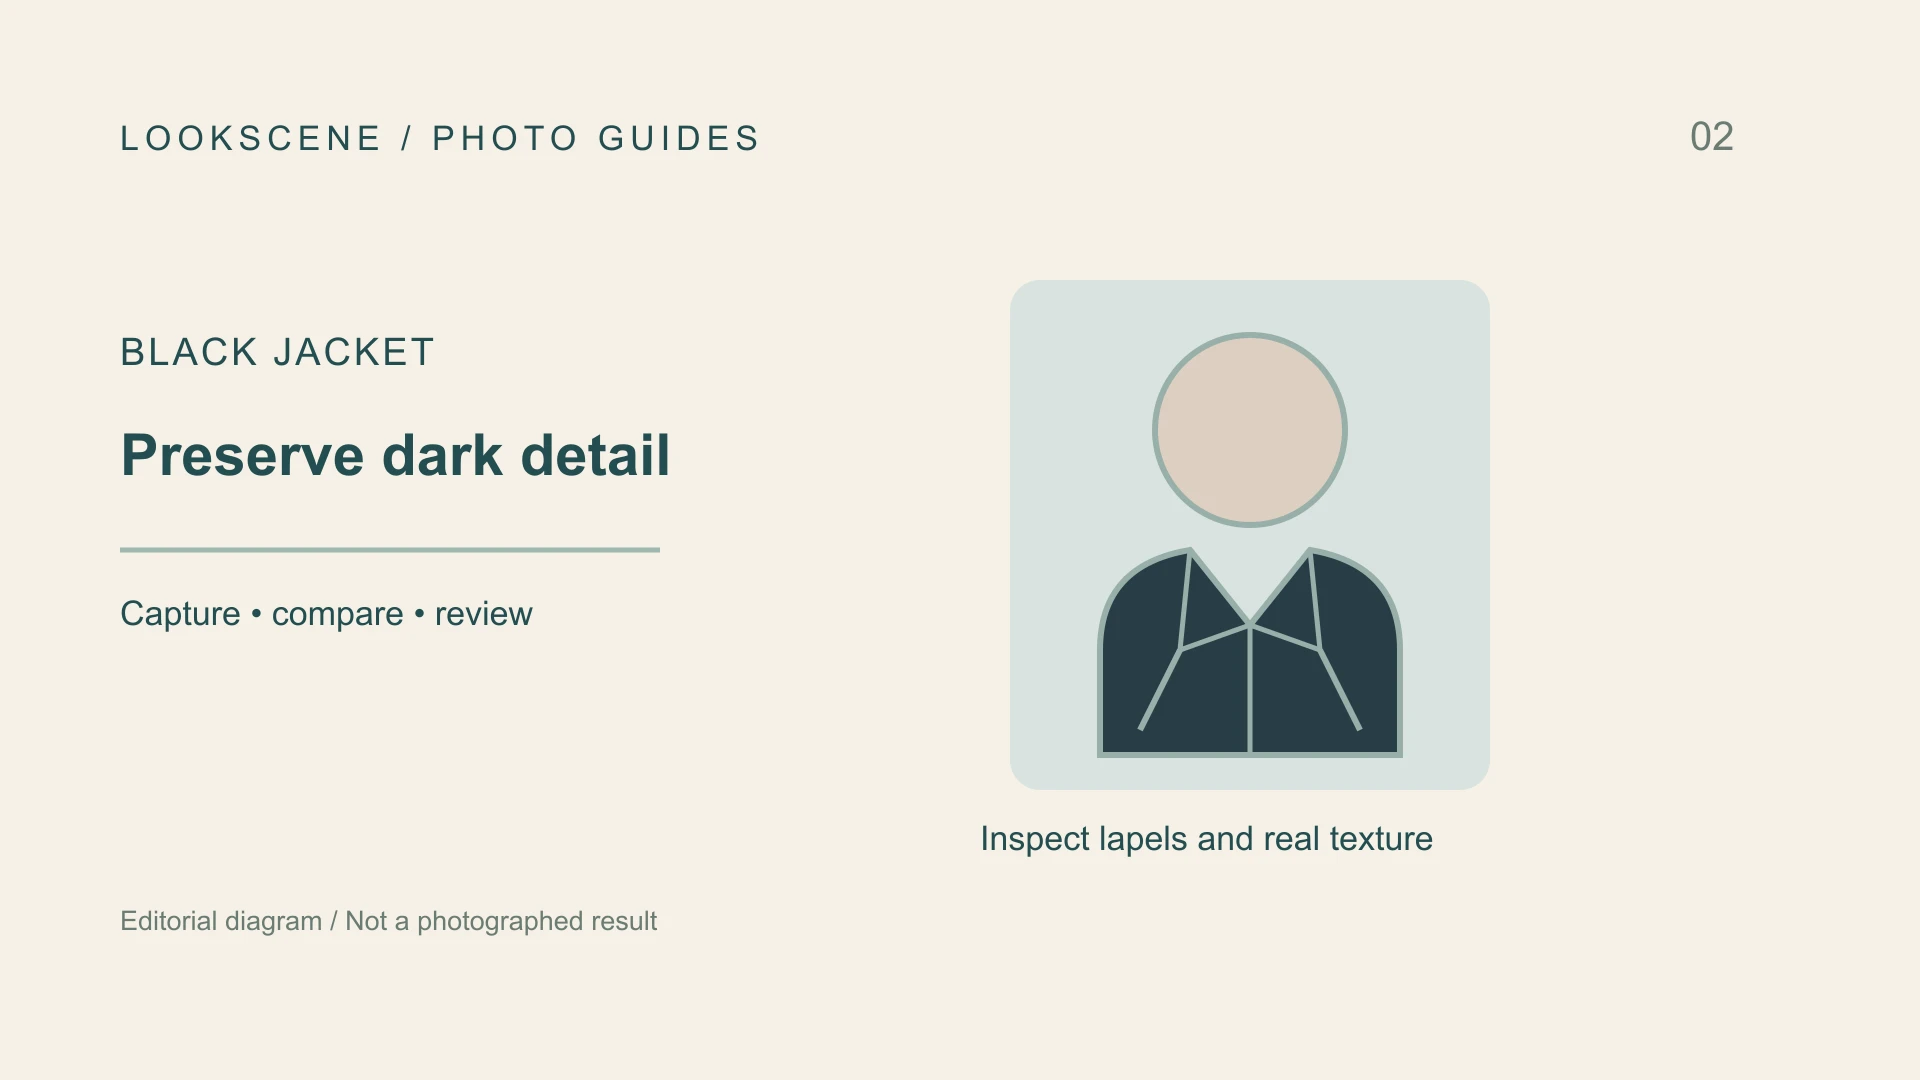
Before you start
By LookScene editorial team · Updated October 1, 2026. AI-assisted editorial guide; examples and editorial diagram covers are illustrative, not photographed product results.
Wearing a black jacket in a professional headshot creates an immediate visual anchor, but it introduces a delicate exposure challenge. Without careful lighting and inspection, dark fabric often collapses into a solid silhouette where lapels, pocket flaps, and seam lines disappear entirely. Conversely, attempting to rescue those lost details by over-brightening the image washes out the fabric into a chalky, noisy gray and overexposes your face.
Preserving fabric definition requires directional light that skims across the garment surface during capture, followed by a rigorous inspection of the actual saved image file rather than a quick glance at a mobile preview screen. By understanding how camera sensors handle deep darks alongside bright skin tones, you can produce a portrait that keeps rich tonal depth while retaining structural tailoring lines.
Mechanism: Blocked Shadows vs. Washed-Out Tones
Digital camera sensors record light across a limited dynamic range. In a headshot featuring a dark blazer, the sensor must simultaneously capture bright skin highlights on your forehead and deep shadows in the weave of your jacket.
When exposure is biased strictly toward facial skin, dark fabric frequently falls into blocked shadows. The pixel values in the garment drop to pure black, flattening the collar, lapel fold, and shoulder line into a uniform shape. When this occurs, no post-capture slider can recover texture that was never recorded; a dark preview alone does not establish that the original lacks detail.
The opposite problem occurs when shadows are aggressively lifted. Strong shadow or exposure adjustments can make dark fabric appear unnaturally bright, depending on the source and settings. This reveals digital grain, flattens contrast, and creates a hazy, washed-out appearance across your torso and a global exposure increase may also clip facial highlights; a shadow-only adjustment need not do so. As Adobe's portrait photography guide emphasizes, lighting, focus, and framing are variable factors with no single best configuration. Rather than seeking an elusive automatic preset, the goal is balancing lighting on set so dark fabric receives enough gentle illumination to define its texture without competing with your face.
When deciding what to wear for a LinkedIn photo, fabric texture plays an equally important role: coarse weaves like wool, tweed, or heavy linen reflect subtle micro-highlights that separate folds naturally, whereas finish, weave and lighting also affect synthetic fabrics; material category alone does not predict the result.
Concrete Steps to Inspect Dark Fabric Detail
Before accepting an image for professional use, examine the source capture and any exported files through a systematic evaluation process.
1. Check Seam and Lapel Separation
Zoom in on the collar, lapels, and shoulder seams. You should clearly perceive the boundary where the lapel rests against the jacket chest. A missing visible lapel edge may reflect lighting, pose, fabric or low contrast; compare the source and histogram rather than treating it as conclusive evidence of clipping.
2. Guard Facial Highlights Against Shadow Lifting
Compare your forehead and cheek highlights before and after any exposure adjustment. If brightening the dark jacket causes your skin to lose subtle tonal gradations or look blown out, revert the change. Proper exposure prioritizes authentic skin tone first, using gentle fill light rather than global exposure boosts to illuminate the fabric.
3. Review the Actual Saved File at Full Size
Mobile screens and editing software often apply automatic display tone mapping that artificially boosts shadow visibility in live viewports. Download the actual exported image file to a desktop display. Open it in a neutral image viewer at full resolution to verify that the fabric remains rich black with visible weave, rather than turning muddy or noisy. If you rely on mobile capture, a structured phone HDR headshot review helps identify whether automatic multi-exposure processing has smoothed away genuine fabric threads.
4. Verify Hair and Collar Boundaries
If you have dark hair that falls near or over the jacket collar, inspect the point of contact. Authentic portraits maintain crisp textural separation between hair strands and woven cloth. Do not smooth or blur this boundary, as maintaining true hair texture is essential for natural likeness.
Dark Detail Inspection Checklist
Use this structured check to assess your jacket's tonal balance before finalizing your portrait:
| Inspection Point | What to Look For | Adjustment Approach | Target Result |
|---|---|---|---|
| Lapel Crease | Visible edge separating the fold from the chest panel | Introduce soft, angled fill light during capture | Crisp physical fold without harsh edge halos |
| Fabric Weave | Discernible texture across the shoulders and chest | Angle light slightly off-center across the fabric plane | Distinct weave pattern without milky gray haze |
| Skin Highlights | Natural gradations across forehead and nose bridge | Restrict brightening adjustments away from face tones | Balanced facial exposure with zero highlight blowout |
| Digital Grain | Mottled color artifacts or speckled noise in shadows | Lower shadow boost; rely on source lighting instead | Deep, clean dark tones free from coarse noise |
| Collar Boundary | Separation between dark hair strands and jacket fabric | Position a subtle rim or accent light behind the subject | Clear textural contrast preserving natural hair details |
Hypothetical Planning Example: A Charcoal Wool Suit
Consider a hypothetical professional, Marcus, preparing a new headshot in a charcoal-black wool jacket. In his initial test shot, the jacket appears as a flat, monolithic silhouette because his single light source is placed directly in front of his face, leaving the sides and shoulders in deep shade.
To correct this without washing out the photo:
- Adjusting Light Angle: Rather than raising global camera exposure, Marcus introduces a broad reflector on his shadow side. This bounces a small fraction of ambient light across the wool's surface, defining the lapel roll and shoulder seam while leaving the fabric fundamentally dark.
- Avoiding Post-Processing Halos: In software, Marcus avoids dragging the generic shadow recovery slider to its maximum setting. Instead, he applies a modest tonal curve that anchors deep blacks while gently lifting lower mid-tones.
- Evaluating the Exported File: Marcus exports the file and views it on a standard monitor at 100% zoom. He confirms that the lapel seam is visible, his hair remains textured where it meets the collar, and his skin retains smooth, natural color.
Common Mistakes and Realistic Limitations
- Relying on Screen Brightness Settings: Judging dark detail on a smartphone set to maximum display brightness gives a false sense of shadow visibility. Check files under standard ambient room lighting.
- Treating Black as Universal: Black garments absorb substantial light. Trying to force a dark wool jacket to show the same tonal breadth as a light gray blazer can distort the intended appearance. Accept that deep crevices should remain dark.
- Platform Editing Boundaries: Style evaluation tools such as LookScene offer photo-based style previews for exploring different outfit and presentation choices. Inspect every preview against the original; it does not certify unchanged identity or recovered source detail. Personal likeness and true hair texture must remain grounded in your original, well-exposed capture.
Next Action: Compare Previews Against Your Source Photo
A balanced headshot showcases your professional presence without drawing attention to technical flaws. Before finalizing your image, consult a comprehensive portrait quality checklist to evaluate overall sharpness and balance. Use LookScene previews for comparison and inspect against the original photo to confirm that your black jacket retains its tailoring and texture while your expression remains clear and authentic.
Style options to compare
Use these illustrated directions to plan what to try. They are not verified before-and-after results; inspect the review checklist on each page.
- Clean studio portrait — Compare the eyes, jaw, hairline and skin against the original. Crop for your intended profile size after reviewing.
- Warm studio — Check that warm background color does not unnaturally tint the face.
- Garden light — Inspect hair edges and ensure foliage does not cross the face.


