
Before you start
By LookScene editorial team · Updated October 1, 2026. AI-assisted editorial guide; examples and editorial diagram covers are illustrative, not photographed product results.
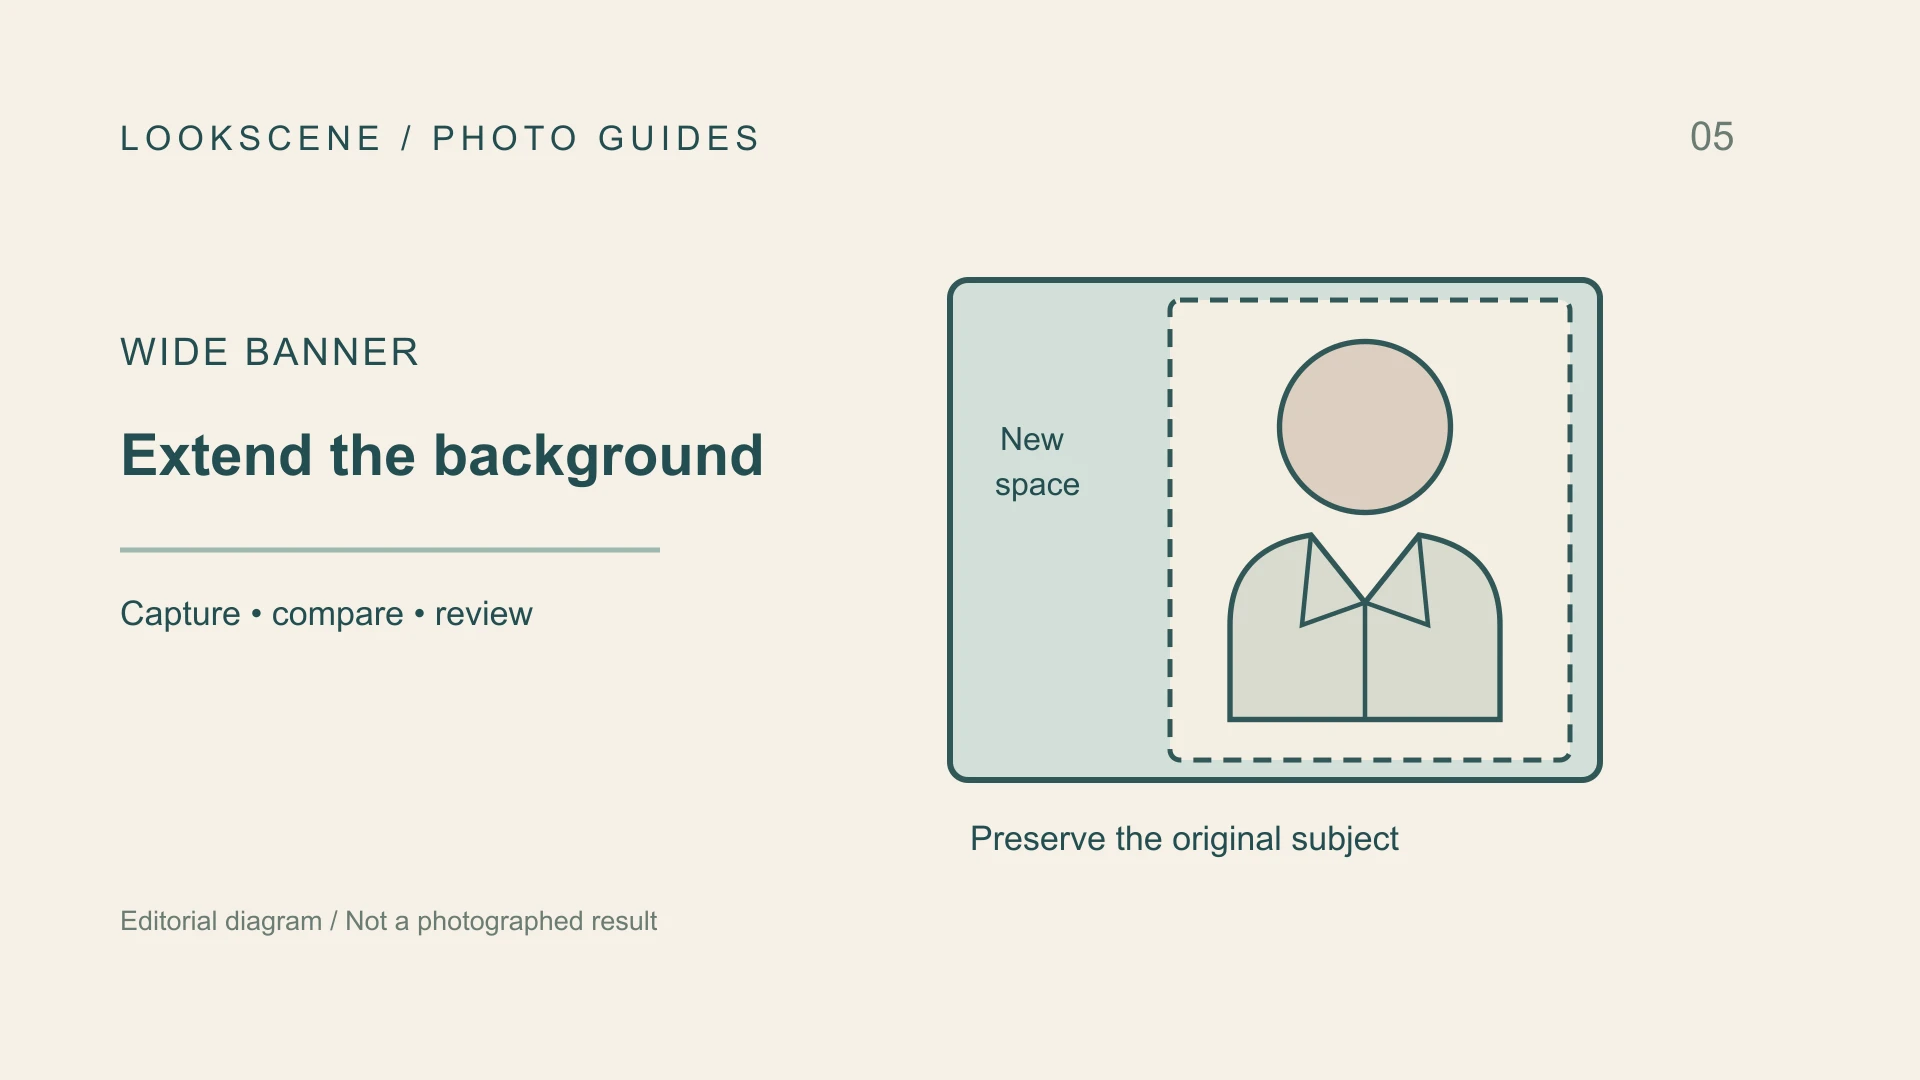
Adapting a vertical or square professional portrait into a wide banner requires expanding the surrounding canvas, not re-rendering the subject. A controlled approach uses an editor that actually preserves original layers or pixels: protect the authentic portrait pixels—including facial proportions, ear contours, clothing seams, and fine hair texture—and generate only the peripheral backdrop needed to fill the horizontal aspect ratio.
When adapting images for website headers, conference speaker cards, or social profiles, standard cropping and resizing a profile photo often forces an uncomfortably tight crop that clips shoulders or hair. Conversely, automated generative tools that attempt to reimagine the full composition frequently rebuild the subject, introducing distorted anatomy, artificial smoothing, or changed facial structures. Keeping the person intact requires both actual pixel-preservation controls and checking a strict boundary between preserved subject pixels and generated background fill.
Canvas Outpainting vs. Generative Reconstruction
Understanding the difference between expanding negative space and reconstructing a portrait prevents common quality failures:
- Canvas Outpainting (Background Extension): Choose an editor that keeps the original on a protected layer or genuinely restricts processing to the selected region. A reference-photo prompt alone does not guarantee this. Generative algorithms sample the ambient color gradient, texture patterns, and lighting falloff already present in the source backdrop to synthesize new negative space along the left, right, or top edges. The subject remains photographic and authentic.
- Generative Reconstruction: An algorithm reads the portrait and creates a brand-new image based on conceptual prompts. This process alters subtle facial geometry, recalculates hair edges, fabricates synthetic suit lapels, or invents impossible anatomy beyond the original crop line.
As noted in Adobe's portrait photography guide, portrait choices depend on lighting, framing, and the intended image use. When your intended use changes from a compact avatar to a wide banner, the framing adjustment belongs strictly in the surrounding space, not in the physical features of the person.
Step-by-Step Guide to Clean Background Extension
Following a disciplined workflow ensures the expanded backdrop integrates smoothly without modifying your appearance.
1. Evaluate Source Edges and Silhouette Clarity
Examine the outer boundary of your original headshot. Note where clothing lapels, shoulders, and hair strands meet the frame. Crisp source edges yield cleaner background blending than heavily compressed or noisy files.
2. Lock the Subject Behind an Uneditable Mask
Use the editor’s actual protection controls for the complete visible person: face, skin, collar, torso, and stray hair fibers. Ensuring this boundary stays untouched supports keeping personal details consistent across AI edits. The expansion tool should operate exclusively on the empty canvas outside this selection.
3. Establish Canvas Proportions and Composition
Position your masked subject deliberately rather than centering by default. Placing the subject along the left or right third leaves cohesive negative space for headline copy, navigational buttons, or presentation titles without crowding the portrait.
4. Sample and Continue Ambient Lighting
Ensure the generated background continues the light direction established in the original photo. If your portrait features soft directional light from the upper left with gentle falloff to the right, the extended backdrop must preserve that gradient slope rather than inventing conflicting shadows.
5. Inspect Seams and Peripheral Anatomy
Zoom in to examine the contact zone where original pixels meet the generated canvas. Check for three potential defects:
- Color banding or abrupt tonal shifts along the original canvas perimeter.
- Soft, blurry halos encircling the outer hair contour.
- Phantom torso extensions, such as an artificially rendered arm or jacket fold that looks mismatched in scale or texture.
Reviewing your result against a structured AI portrait quality checklist helps identify unnatural edge artifacts before publication.
Comparison: Extension Approaches
The following table summarizes the trade-offs between extending the canvas and re-rendering the composition:
| Decision Factor | Strict Canvas Outpainting | Full Image Reconstruction |
|---|---|---|
| Facial Likeness | Preserved if the editor actually retains original pixels; verify before export | High risk of subtle facial and expression drift |
| Hair & Edge Fidelity | Check that original fringe and flyaways were retained | Generates smoothed, synthetic hair clumps |
| Shoulder & Torso Lines | Existing clothing seams locked; minimal extrapolation | Frequently fabricates irregular anatomy or folds |
| Lighting Consistency | Seamless when ambient gradient matches source | Can introduce conflicting virtual light sources |
| Primary Use Case | Wide headers, presentation slides, profile banners | Conceptual art or synthetic avatar generation |
Pre-Export Inspection Checklist
Before using your extended banner in professional materials, verify each checkpoint:
- The face, eyes, skin texture, and clothing fabric match the original in the working document; resizing, color conversion and lossy export can change pixel values even without changing facial structure.
- The seam between original and generated background shows no visible hard lines or blur fringes.
- No phantom limbs, asymmetric shoulder silhouettes, or impossible architectural lines appear in the extension.
- The background blur level (depth of field) in the expanded area matches the focal plane of the portrait.
- Ample unobstructed negative space exists for any text overlays or platform badges.
Hypothetical Planning Example: The Conference Speaker Header
Consider a hypothetical professional preparing a wide banner for an industry symposium website. The available asset is an existing square headshot taken against a muted studio wall, lit softly from the left.
- The Framing Challenge: The conference platform requires a wide horizontal header. Stretching or zooming the square photo cuts off the subject's chin and forehead. Re-running the photo through a generic generative portrait tool changes the frame but introduces an artificial plastic sheen to the skin and alters the collar shape.
- The Controlled Approach: The designer places the original square headshot on the right third of a wide horizontal canvas, keeping the original photo pixels locked.
- Targeted Extension: The generation tool is restricted solely to the empty canvas area on the left and upper margins. It extrapolates the smooth studio gradient and soft light falloff without touching the subject.
- Final Seam Audit: Inspecting the shoulder boundary confirms the jacket seam ends naturally at the edge of the frame, with no synthetic arm contours added. The expanded negative space on the left accommodates the speaker's name and presentation title cleanly.
Common Mistakes and Realistic Limitations
- Allowing the Tool to "Touch Up" Hair: Automated edge smoothers often erase natural stray hairs or blur sharp flyaways into muddy gradients. Keep your original hair contours inside the protected region, excluded from generation.
- Ignoring Environmental Perspective: Extending a plain studio gradient is straightforward, whereas extending patterned office wallpaper or outdoor architectural lines introduces perspective distortion if vanishing points are not aligned.
- Tool Capabilities and Boundaries: LookScene provides photo-based style previews to help compare composition directions against your original photo, without claiming dedicated HDR control or guaranteed faithful editing. Digital previews are useful for evaluating balance and framing, but final outputs require side-by-side inspection against your unedited photo.
Next Action
Place your completed wide banner directly alongside the original headshot at full display resolution. Toggle visibility between the two images to verify that your facial likeness, expression, and clothing remain identical. Use LookScene previews for comparison and inspect against the original photo to ensure your banner delivers a natural, professional presentation.
Style options to compare
Use these illustrated directions to plan what to try. They are not verified before-and-after results; inspect the review checklist on each page.
- Clean studio portrait — Compare the eyes, jaw, hairline and skin against the original. Crop for your intended profile size after reviewing.
- Warm studio — Check that warm background color does not unnaturally tint the face.
- Garden light — Inspect hair edges and ensure foliage does not cross the face.


