Before you start
When preparing for a professional headshot, one of the most common styling questions is whether to wear your hair up or down. There is no universal industry rule mandating one over the other. The ideal arrangement depends on how your hair interacts with your neckline, collar structure, and lighting to frame your face.
A professional portrait succeeds when it presents a recognizable, authentic person who feels comfortable on camera (Adobe). Because tying your hair back, sweeping it over the shoulders, or pinning it up are temporary adjustments, you can evaluate how different arrangements balance your facial framing without altering your haircut, changing your part, or modifying your natural hair density.
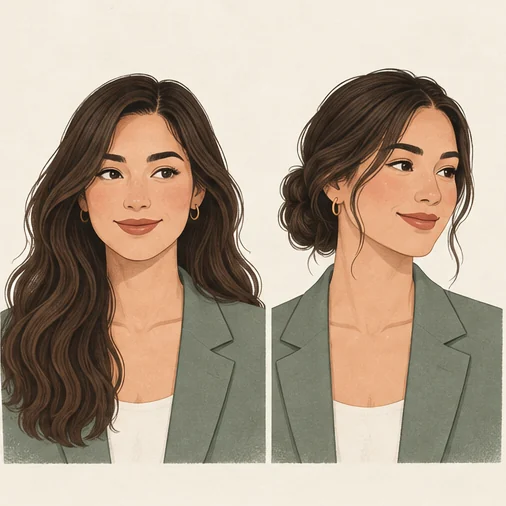
How Hair Up vs. Down Changes Portrait Framing
The difference between wearing hair up or down is primarily optical and compositional. It shifts where lines lead the eye, how shadows fall along the neck, and how prominently your clothing collar reads in the frame.
1. Neckline and Collar Clearance
Wearing your hair down brings hair strands over the shoulders and chest. If you wear a structured blazer with wide lapels or a high collared shirt, long hair falling forward can crowd the fabric, create visual friction, or obscure the clean lines of the garment. Pinning or tying hair up clears the entire neck and chest area, allowing collars, lapels, and jewelry to display cleanly without interference.
2. Facial Silhouette and Ear Visibility
Leaving hair down frames the sides of the face, narrowing the visible width of the background and softening the outer contours of the cheeks and jaw. Sweeping hair up or securing it back exposes the full jawline, ears, and neck. This open silhouette often creates a crisp, uncluttered outline that holds up exceptionally well at smaller display resolutions.
3. Lighting and Shadow Control
In a studio setting, directional key and fill lights illuminate the facial planes. Hair resting forward can cast dark, uneven shadows across the collarbones, neck, and shoulders. Wearing hair up removes those physical obstructions, which may change the shadows; the lighting setup still determines the result.
4. Avoiding Personality and Role Stereotypes
A persistent misconception in portrait styling is that an updo appears strictly formal or conservative, while wearing hair down looks creative or approachable. In reality, both styles work across executive, corporate, technical, and creative roles. Professionalism is conveyed through posture, expression, and overall grooming, not whether hair follicles are gathered into a clip. Focus on physical comfort and garment interaction rather than outdated stylistic formulas.
Online discussions in community forums such as r/headshots and discussions on portrait styling show that many people struggle with this choice because they fear committing to the wrong look. Remembering that styling is temporary removes the pressure of having to change your overall haircut just for photo day.
Step-by-Step: How to Test Both Styles Before Your Session
You do not need to wait until you are in front of a photographer's lens to decide how to arrange your hair. Follow this simple five-step evaluation process using your phone or mirror at home:
- Put On Your Planned Wardrobe: For the final comparison, use your intended outfit. Wear the exact shirt, blouse, or blazer you plan to photograph. The height and stiffness of your collar directly dictate how your hair falls. If you are shooting your own portrait, review practical techniques for capturing a professional headshot at home to mirror studio conditions.
- Capture Matched Test Frames: In front of a neutral wall with balanced, front-facing window light, capture two matched test photos:
- Test A (Hair Down): Arrange your hair as you typically wear it daily, ensuring it is neatly brushed.
- Test B (Hair Up / Secured): Secure your hair in a low ponytail, clean twist, or loose chignon, preserving your natural hairline and volume without pulling the scalp excessively tight.
- Inspect the Fabric Boundary: Zoom in on your shoulders and collar. Does loose hair bunch awkwardly on top of your jacket lapels? Does an updo leave an open collar looking empty? Notice whether your hair and collar fight for visual attention.
- Evaluate at Avatar Scale: Export both images and crop them to standard square and circular thumbnail formats (e.g., 400×400 pixels). Observe which silhouette reads more distinctly at small sizes.
- Consider a Half-Up Compromise: If wearing hair completely up feels too exposed and wearing it down crowds your collar, test a half-up arrangement. Securing the side sections behind the ears keeps the neck and collar clear while maintaining visible length down your back.
Framing Comparison: Hair Up vs. Hair Down
Use this comparative guide to understand the visual mechanics and trade-offs of each arrangement:
| Evaluation Factor | Hair Down | Hair Up (Tied or Pinned) | Half-Up / Tucked |
|---|---|---|---|
| Collar Interaction | Worth testing with simple, open necklines (crew neck, scoop, open collar) | Worth testing with high collars, turtlenecks, and structured blazer lapels | Flexible across most lapel shapes and collared shirts |
| Jawline & Neck | Softens jaw perimeter; may cast shadows onto the neck | Reveals more of the jaw and neck; illumination depends on the lights | Clears side contours while keeping lower perimeter visible |
| Ear & Jewelry Visibility | Often conceals ears, stud earrings, and ear contours | Fully exposes ears, earrings, and side profile angles | Leaves ears partially or fully visible depending on pinning |
| Flyaway Management | Requires frequent smoothing around shoulders between takes | Easier to control with light styling cream; minimal shoulder friction | Moderate control; secures front layers away from the face |
| Thumbnail Impact | Fuller silhouette filling the upper frame sides | Clean, defined head-and-shoulder geometry | Balanced volume with open neck clearance |
Pre-Shoot Styling Checklist
- Wardrobe collar tested against hair fall.
- No hair bunched or caught beneath jacket lapels.
- Natural hairline and crown volume preserved (avoiding overly slicked scalp tension).
- Hair ties, pins, or clips match your hair shade or remain concealed from camera view.
- Thumbnail crop checked at small circular resolution.
A Hypothetical Walkthrough: Evaluating Framing Options
To see how framing adjustments work in practice, consider a hypothetical professional, Taylor, who is updating a company bio and conference speaker profile.
Taylor plans to wear a navy tailored blazer with a crisp notch lapel and has shoulder-length, textured hair. Taylor usually wears hair down and wonders if a change is needed for the camera.
- The Hair-Down Test: Taylor captures a test shot wearing the blazer with hair down. On camera, the ends of Taylor's hair land directly on the blazer lapels, causing the hair to flare outward asymmetrically and covering the collar points.
- The Hair-Up Test: Taylor fastens hair into a low, neat chignon at the nape of the neck, taking care to keep the front roots relaxed rather than slicked back. In the test capture, the collar lines of the blazer show clearly, the neck area is free of dark shadows, and the thumbnail avatar reads cleanly.
- Digital Planning Review: To preview how different necklines and grooming styles look across varying portrait backgrounds, Taylor uses an AI hairstyle preview that still looks like you as an exploratory planning aid, validating that the hair density and hairline remain authentic to real life.
- Final Decision: Because the low twist eliminates friction against the blazer lapels while keeping Taylor's everyday hairline intact, Taylor selects the updo for the session, bringing a clip and spare hairpins to the shoot. Taylor also references an AI portrait quality checklist to confirm that lighting, focus, and framing match professional standards.
Common Styling Mistakes and Practical Boundaries
When choosing between hair up and down, avoiding a few common pitfalls ensures a smooth portrait session:
- Making Irreversible Cuts Right Before Shoot Day: Never schedule an impulse haircut, thinning treatment, or severe trim right before a headshot session. Stick to temporary arrangements—pins, ties, and light smoothing products—that let you explore different framing without altering your base style.
- Pulling Hair Back Too Tightly: An updo should not distort your facial features or flatten your roots. Pulling hair back with extreme tension can stretch the temples and eliminate natural volume, making the head appear disproportionate on camera. Leave modest volume at the crown and let your natural hairline show.
- Ignoring Shoulder Bunching: When leaving hair down, check that it does not drape unevenly over one shoulder while disappearing behind the other, unless that asymmetry is deliberate. Long hair frequently catches on wool or textured fabrics, causing messy tufts.
- Assuming Digital Previews Replace Physical Styling: Digital styling platforms such as LookScene allow you to preview outfits, hair, and scene framing from existing photos to help you explore visual directions. However, digital styling previews serve as visual planning aids, not guaranteed physical garment simulations or haircut blueprints. Do not use a generated preview as proof that body shape or hair details were preserved; compare the output with the source.
- Overlooking Official Destination Requirements: If your headshot will also be used for official regulatory filings, security badges, or passports, verify jurisdiction guidelines. Follow the exact issuing authority’s photo requirements; this styling guide does not establish passport or badge eligibility.
Next Steps: Plan Your Framing and Validate in Real Life
You do not need to guess how your hair will look on photo day. Begin by putting on your planned portrait outfit and taking two simple test shots: one with your hair down and one secured back. Compare how your collar, jawline, and neck shadows respond to each framing.
Use digital tools such as LookScene as a personal planning aid to explore different styling balances alongside your wardrobe. Compare generated previews side-by-side with your original photos to ensure your natural hairline and density remain intact, then confirm your styling in front of a mirror before your shoot. A few minutes of testing beforehand can help your headshot show your authentic professional presence without any last-minute styling surprises.
References and Community Discussions
- Adobe Creative Cloud Photography: Factual guidelines on headshot composition, prioritizing subject comfort and recognizable personal representation (Adobe Headshot Guide).
- Community Headshot Discussions: Real-world inquiries from professionals navigating hair arrangement, collar clashes, and updo framing on r/headshots: Hair Up or Down Advice and r/headshots: Professional Styling Questions.
Style options to compare
Use these illustrated directions to plan what to try. They are not verified before-and-after results; inspect the review checklist on each page.
- Sleek bob — Compare where the edge meets the jaw and whether the neck remains natural.
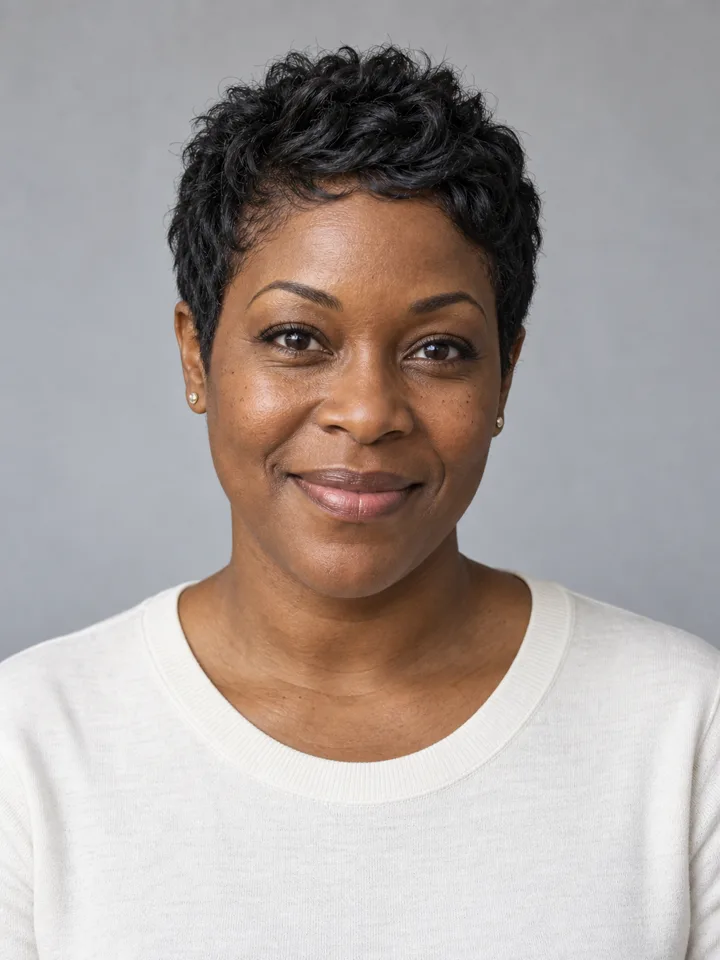
- Pixie cut — Inspect ears, temples and the back-of-neck outline for coherent edges.
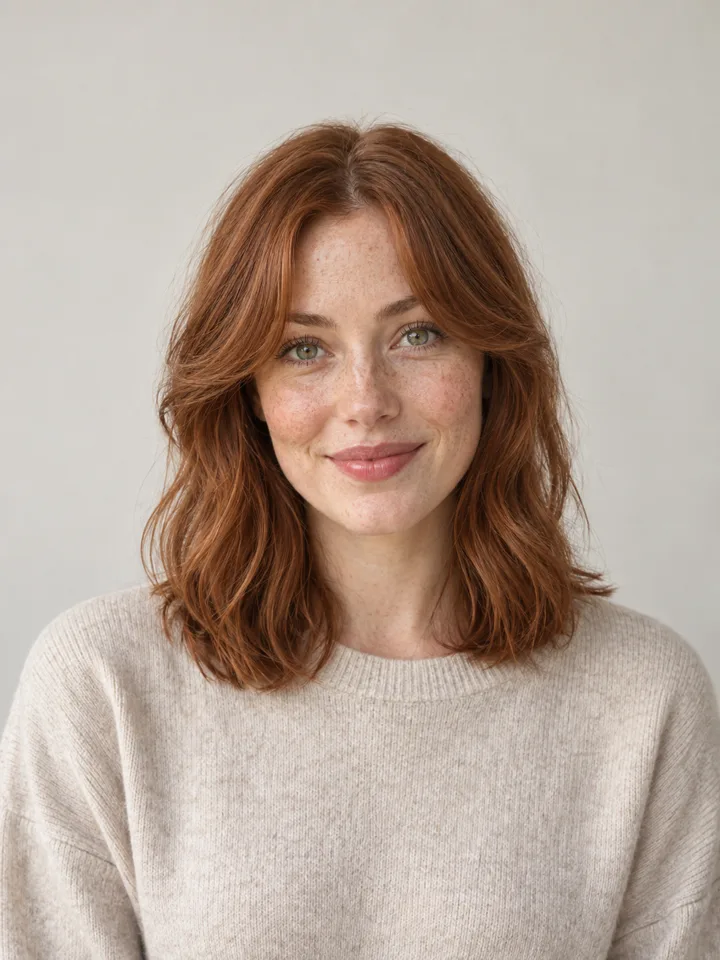
- Shoulder length — Compare the tips against shoulders and keep the original neck length.