
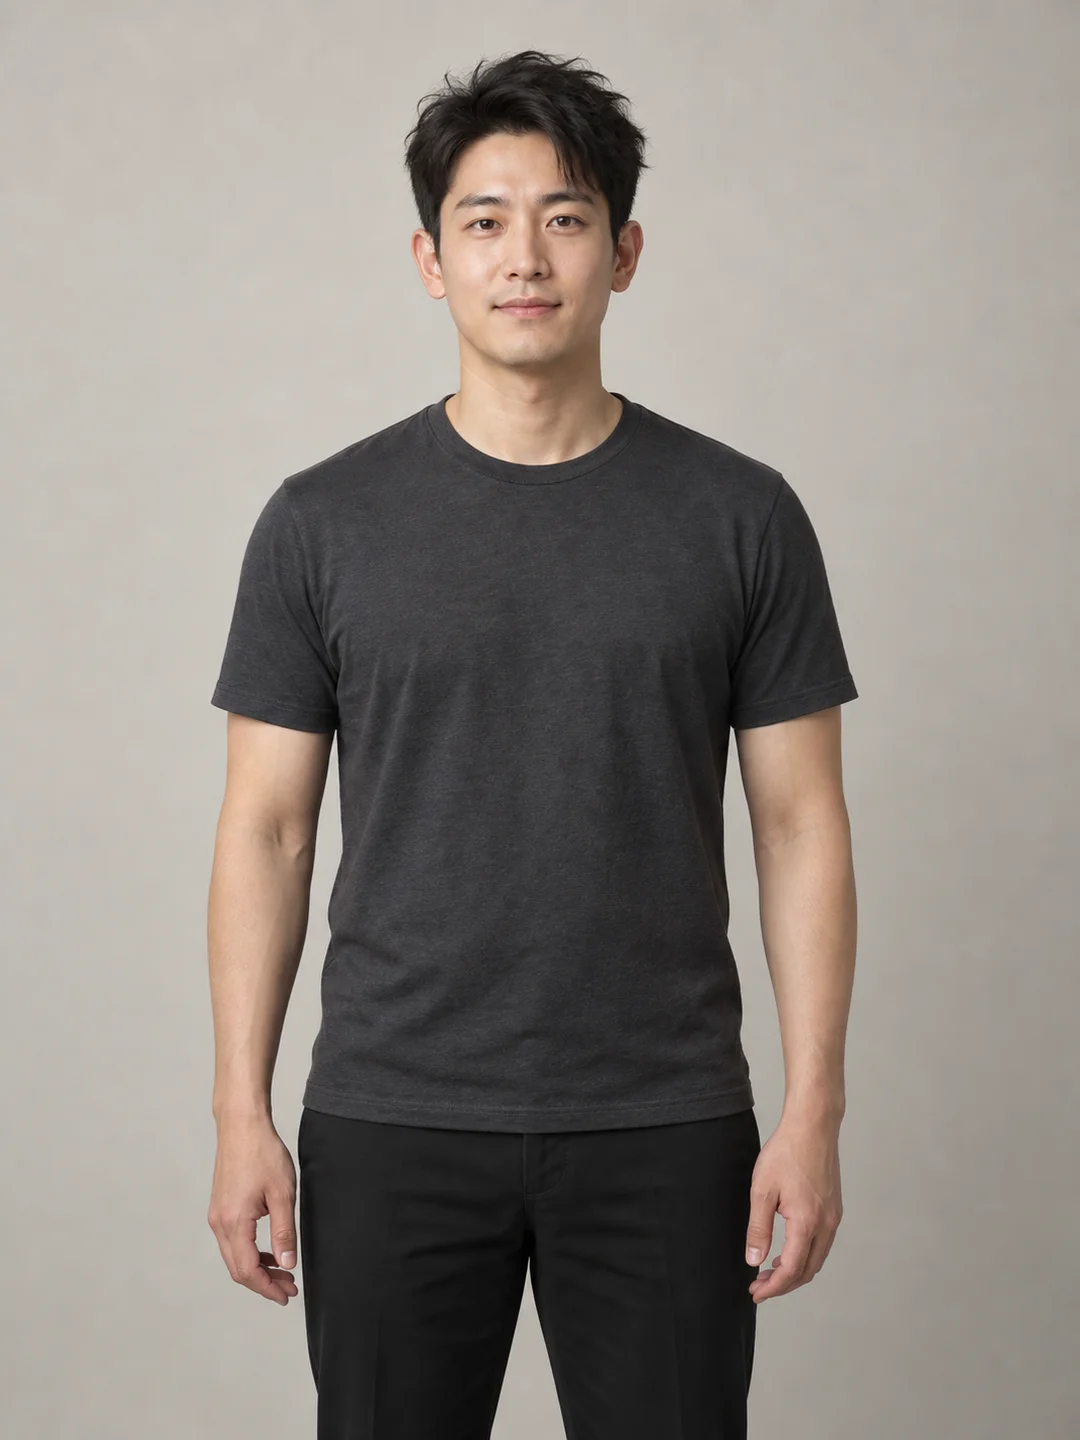
Quick answer
When planning an author headshot, the single most effective strategy is the one-master-image approach: capturing a single, current, authentic portrait framed with generous negative space rather than juggling multiple incompatible photos across promotional channels. Practical author headshot tips prioritize versatility, professional polish, and recognizable likeness. A book jacket, an author website, a bookstore event flyer, and a media press kit each demand distinct aspect ratios and resolutions, yet all four must present the exact same recognizable person readers and interviewers will encounter in real life.
Attempting separate photo sessions for every marketing channel creates disjointed visual branding and administrative friction. Conversely, relying on a single tightly cropped portrait guarantees failures the moment a designer needs horizontal breathing room for a festival banner or vertical margins for a jacket flap. By understanding how to capture, crop, format, and name one master portrait, authors can build an adaptable asset library that satisfies publisher art directors, media outlets, and online readers alike.
Who This Guide Is For (and When to Use Another Method)
This checklist is designed for:
- Debut and indie authors preparing their first publication package for print-on-demand and digital retailers.
- Traditionally published authors submitting high-resolution promotional assets to publisher marketing departments.
- Working writers updating media kits to reflect their current appearance for book tours, podcast interviews, and literary panels.
When Another Method Is Safer
While a versatile master portrait serves 95% of author publicity needs, certain production requirements demand alternative approaches:
- Custom Wrap-Around Editorial Covers: If a publisher's art department contracts an environmental portrait that integrates directly into the front-and-back cover typography, an author must follow the art director's precise lighting and staging brief with a hired commercial photographer.
- Complex Historical or On-Location Shoots: If an author's brand requires specific physical locations (such as an archival laboratory, working farm, or cockpit), a live on-location commercial shoot is necessary.
- Speaking-Focused Professionals: Authors whose primary revenue derives from keynote engagements rather than book sales should review specialized stage lighting and posture requirements in our speaker bio headshot checklist.
What to Hold Constant Before Evaluating Options
Before evaluating camera angles, outfits, or cropping variants, authors must establish four non-negotiable baselines:
[Current Likeness] + [Wardrobe Neutrality] + [Generous Framing] + [Clean Context] = Versatile Master
- Current Likeness ("Still Looks Like Me"): An author photo is an operational identification document. Readers attending a signing, podcast hosts conducting a video interview, and event organizers greeting you at an auditorium must recognize you instantly. If your hairstyle, hair color, facial hair, or eyewear has changed significantly in the past two years, older photos must be retired.
- Wardrobe Neutrality over Costume Branding: Avoid literal, costume-like genre props. A mystery writer does not need a trench coat and magnifying glass; a fantasy novelist does not need a velvet cloak. Genre-costumed photos read as amateurish, date rapidly, and box authors in if they transition between genres. Instead, select solid-color garments with structured necklines (blazers, collared shirts, crewneck sweaters) that contrast gently against your skin and background.
- Framing Margins ("Crop Room"): The most common technical error in author photography is framing too tightly. A master photo must include full head clearance, complete hair volume, and room around both shoulders. Designers can crop in, but they cannot invent missing shoulders or background space.
- Truthful Context and Clean Lighting: Use soft, directional lighting that defines facial structure without harsh specular hot spots or blown-out highlights. Backgrounds should be simple, neutral, and uncluttered—whether a studio backdrop, a softly blurred interior, or gentle outdoor foliage—ensuring the author remains the focal point.
The One-Master-Image Handoff Plan: Step-by-Step
A master author portrait must flex seamlessly into four primary deliverables without loss of quality. Industry guidance from portrait specialists like Capturely and publishing platforms like Luminare Press confirms that providing ready-to-use variants prevents art departments from distorting your image.
flowchart TD
    A["Master Photo Capture (Wide 3:2, 300 DPI)"] --> B["Crop 1: Book Jacket (Vertical 2:3 / 3:4)"]
    A --> C["Crop 2: Author Bio (Square 1:1)"]
    A --> D["Crop 3: Press Kit (Wide 16:9 / 3:2)"]
    A --> E["Crop 4: Social Avatars (Circle / Square)"]
Step 1: Capture the Wide Master File
- Aspect Ratio & Orientation: Shoot in a 3:2 or 4:3 vertical or horizontal frame, keeping the subject's head centered with at least 25% negative space above the crown and around the shoulders.
- Camera Resolution: Capture at maximum camera resolution (minimum 24 megapixels, yielding at least 4000 × 6000 pixels).
- Color Space: Capture in raw or sRGB/Adobe RGB, exported at 300 DPI for print readiness.
Step 2: Generate the Four Core Deliverable Variants
| Deliverable Variant | Primary Use Case | Target Aspect Ratio | Minimum Pixel Dimensions | Resolution & Color |
|---|---|---|---|---|
| 1. Print Jacket / Flap | Hardcover jacket flap, paperback back cover | 2:3 or 3:4 Vertical | 1800 × 2400 px (at 6×8" print size) | 300 DPI, CMYK or high-bit RGB |
| 2. Digital Author Bio | Website About page, Amazon Author Central, Goodreads | 1:1 Square | 1200 × 1200 px | 72–150 DPI, sRGB |
| 3. Media Kit Banner | Press releases, festival programs, editorial feature banners | 16:9 or 3:2 Horizontal | 1920 × 1080 px or 2400 × 1600 px | 150–300 DPI, sRGB |
| 4. Social Media Avatar | Substack, X/Twitter, LinkedIn, Instagram | 1:1 Circle / Square | 800 × 800 px | 72 DPI, sRGB |
Step 3: Implement Standardized File Naming
Publicists and journalists handle hundreds of submissions. If your file is named headshot_final_v2.jpg, it will be lost in a downloads folder. Follow explicit file-naming conventions that include your name, format, resolution, and credit:
LastName_FirstName_AuthorHeadshot_Print_300DPI.jpgLastName_FirstName_AuthorHeadshot_Web_Square_1200px.jpgLastName_FirstName_AuthorHeadshot_PressKit_Wide.jpgLastName_FirstName_PhotoCredit.txt(Contains photographer attribution, copyright terms, and short bio text)
Professional media kit architectures, such as that demonstrated by author Dana Killion's media kit, consistently package these formats alongside a dedicated text file containing photographer credits, permissions, and short/long bio options.
Step 4: Exploring Styling Variables Responsibly
When planning your shoot or exploring how wardrobe colors and necklines interact with your facial structure, digital exploration can help narrow options before investing in studio time. For example, authors can explore hairstyle or outfit concepts using LookScene's AI photoshoot tool.
When using personal AI photo styling tools, strict operational boundaries apply:
- Product Scope: LookScene is an invitation-preview personal AI photo styling tool for adults using their own photos. It supports hairstyle, outfit, and portrait-setting exploration. It does not provide garment sizing, exact-SKU virtual try-on, wardrobe management, human styling, or team administration.
- Likeness Preservation Limits: LookScene does not guarantee identity preservation, real hair textures, fabric accuracy, or body proportions. Examples generated by the tool serve strictly as editorial styling illustrations.
- Pricing & Availability: Paid packages are displayed as planned but are unavailable during the current free invitation preview.
- Workflow Rule: Compare only one variable at a time (e.g., test a navy blazer versus an olive sweater while holding lighting and head position constant). If an AI-styled result alters your facial structure, jawline, or eye shape, reject it immediately.
How to Reject Unusable Results: Pass/Fail Criteria
Before submitting photos to an editor or uploading them to a press kit, apply strict reject criteria:
[ Pass Criteria ]
✔ Natural, unretouched skin texture (visible pores, realistic smile lines)
✔ Generous headroom and shoulder room allowing multi-format crops
✔ Neutral, non-distracting background with distinct subject separation
✔ Solid, non-reflective clothing that avoids moiré patterns
✔ Recognizable likeness matching the author's present appearance

[ Immediate Reject Criteria ]
✖ Over-smoothed, plasticized skin texture or altered facial geometry
✖ Tight framing where the crown of the head or shoulders are clipped
✖ Distracting, highly specific genre costumes or overt digital props
✖ Blown-out highlights on foreheads or heavy flash glare on eyewear
✖ Low-resolution files (<300 DPI for print, <1200px for digital)
Technical Trade-Offs and Real-World Verification
Balancing visual polish with production reality requires understanding key photographic trade-offs:
- Print Resolution vs. File Size: Print jackets require 300 DPI at physical output dimensions (often yielding 15–30 MB uncompressed files). Web bios require lightweight files under 500 KB to ensure fast page loads. Never submit a web-compressed 72 DPI image for a print run; it will pixelate and blur on physical paper.
- Depth of Field vs. Background Context: A wide aperture (f/1.8 to f/2.8) provides pleasing background blur (bokeh), helping the subject stand out. However, an excessively shallow depth of field can leave one eye out of focus or blur hair contours. A moderate aperture (f/5.6 to f/8) ensures the entire face and collar remain razor-sharp.
- Digital Touch-ups vs. Identity Drift: Minor cleanup of temporary blemishes or lint is standard practice. However, altering facial contours, reshaping noses, or smoothing away natural expression lines produces identity drift. Readers notice the discrepancy immediately during in-person readings and video interviews.
Final Author Headshot Checklist
Use this checklist to verify your author headshot package before sending it to your publisher, publicist, or webmaster:
- Current Likeness: The photo was taken within the last two years and reflects your current hair, facial features, and eyewear.
- Single Master Framing: The master capture contains at least 25% negative space around the head and shoulders, permitting vertical, square, and horizontal crops.
- Print Deliverable: High-resolution vertical file (minimum 300 DPI, at least 1800 × 2400 pixels, TIFF or uncompressed JPEG).
- Digital Bio Deliverable: Square crop (1200 × 1200 pixels, 72–150 DPI, sRGB, JPEG or PNG under 1 MB).
- Media Banner Deliverable: Wide horizontal crop (1920 × 1080 pixels or 2400 × 1600 pixels) with the subject offset to one side to accommodate overlaid text.
- Standardized Naming: Files are clearly labeled with your name, format, and resolution (
LastName_FirstName_AuthorHeadshot_Print_300DPI.jpg). - Attribution & Rights Document: A companion
.txtfile containing the photographer's name, copyright ownership, and permission for promotional use. - Wardrobe Check: Solid or softly textured clothing free of busy patterns, high-contrast logos, or costume-like props.
Next Action
Evaluate your current promotional photos against the pass/fail criteria above. If your current portrait lacks crop room, is older than two years, or shows signs of identity drift, capture a new high-resolution master portrait using these framing guidelines. If you are experimenting with outfit tones or neckline styles prior to a shoot, explore styling options with LookScene while holding your likeness and pose constant, or consult a professional portrait photographer for a dedicated session.


