
Before you start
By LookScene editorial team · Updated October 1, 2026. AI-assisted editorial guide; examples and editorial diagram covers are illustrative, not photographed product results.
When preparing a professional headshot, choosing an attractive preset or color filter can be tempting. However, applying a preset to a photo taken in mixed lighting—such as cool window daylight combined with warm indoor room lamps—frequently distorts your natural skin tone. A global preset may not adequately balance different sources across the face; some editing workflows also include local corrections.
Before applying any style preset or automated filter, inspect your skin color across both sides of your face on the unedited source image. Evaluating your true complexion under neutral conditions helps review subsequent adjustments without guaranteeing unchanged identity rather than exaggerating harsh color splits.
Mechanism: Why Mixed Light Distorts Complexion
Digital camera sensors and automated processing systems adjust color balance based on the dominant light source in a scene. When two light sources with different color temperatures illuminate your face at the same time, the image capture software attempts to find a compromise.
The Conflict Between Window Daylight and Indoor Bulbs
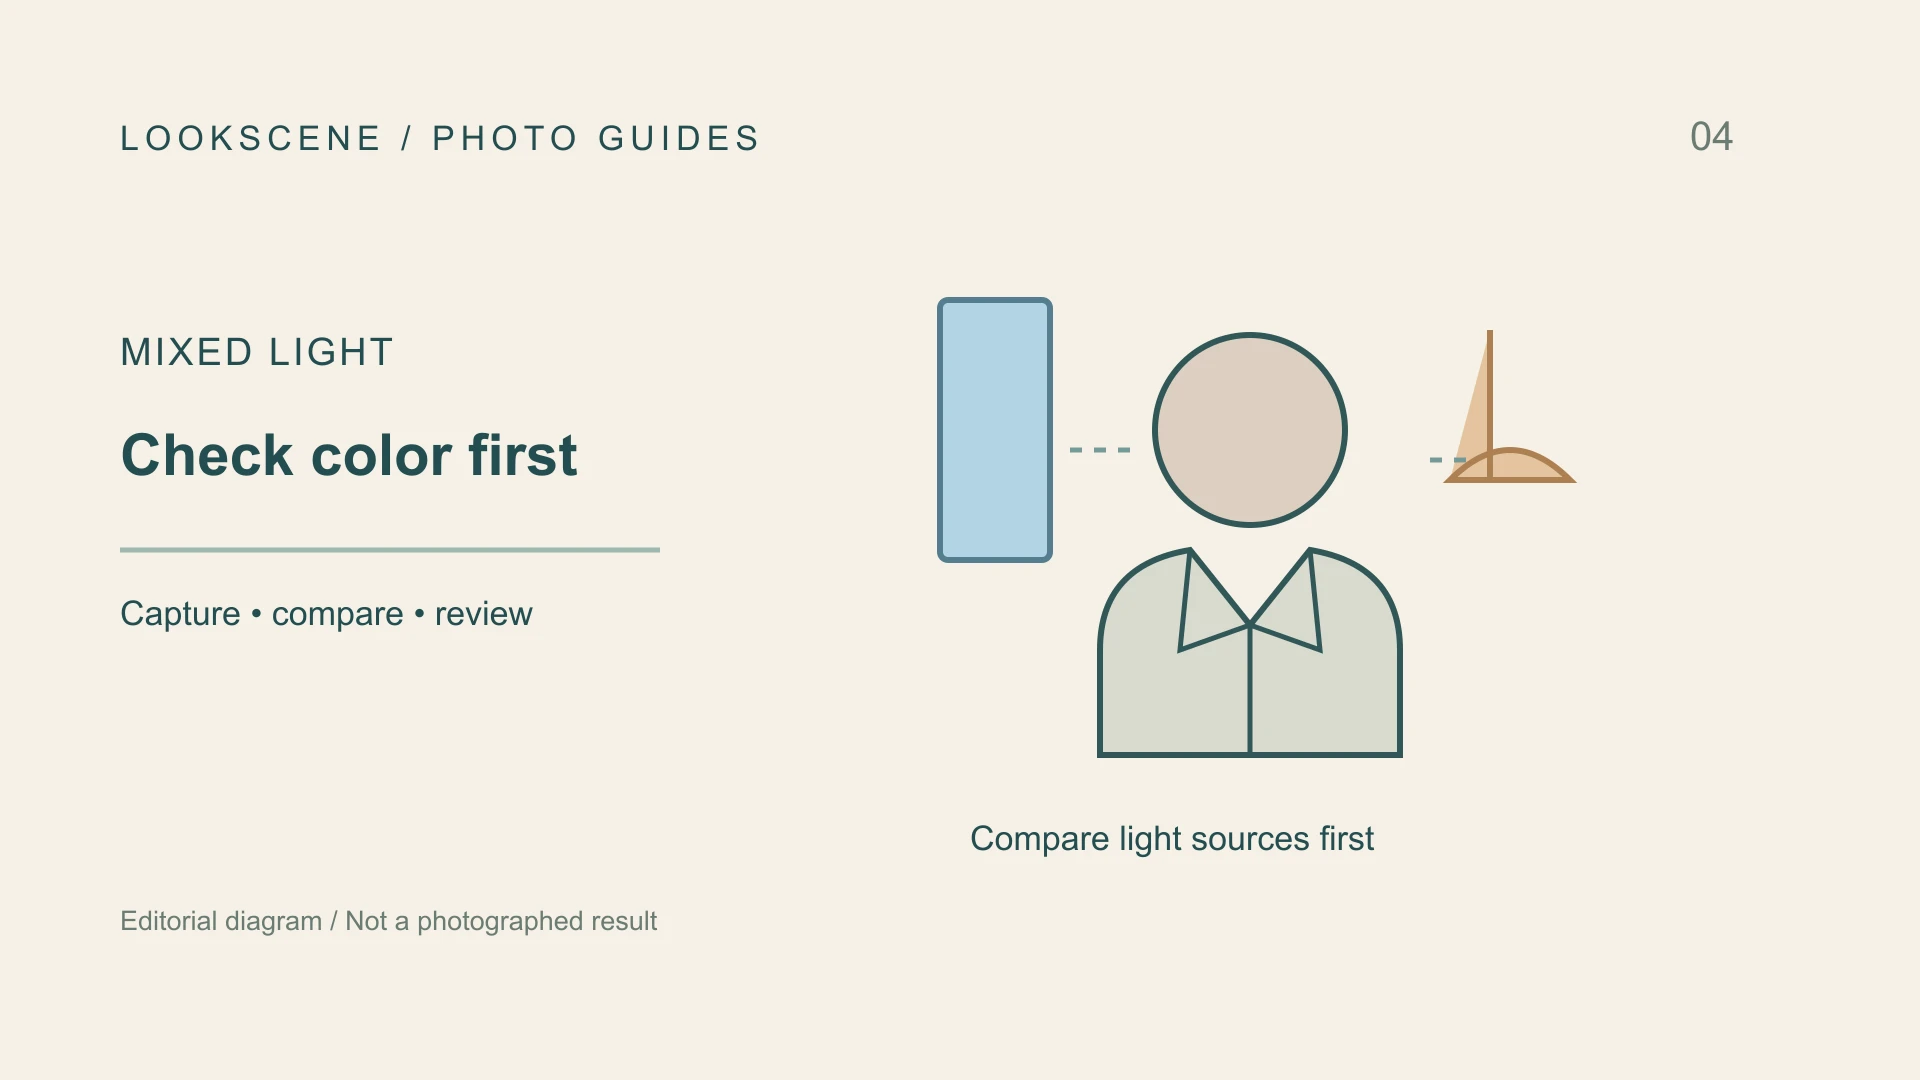
Daylight and indoor lamps can have different color characteristics; daylight changes with conditions, glazing can tint it and indoor bulbs are not universally warm. If you sit near an office window with overhead or desk lighting turned on:
- The window side receives direct or indirect cool daylight, highlighting your forehead, cheek, and shoulder in blue-tinted tones.
- The room side catches ambient warm indoor lighting, casting yellow, orange, or reddish tones across the opposite cheek, jawline, and neck.
As highlighted in Adobe's portrait photography guide, lighting, focus, and framing remain variables without a single best outcome. White-balance processing can leave a local mismatch when balancing the window light—turning the indoor side overly yellow—or neutralizes the indoor light, making the window side look cold and pale.
Why Presets Worsen Split Tones
Many presets apply global hue, saturation and contrast adjustments, though capabilities vary and some include local masks. If you apply a warm preset to counteract a cold window reflection, the side already illuminated by indoor lamps becomes excessively saturated, orange, or muddy. Conversely, selecting a cool preset to tone down warm interior light turns the daylight-lit side dull, ashen, or gray.
Starting with an accurate assessment of your skin tone prevents you from compounding color imbalances that a global adjustment may not selectively repair.
Concrete Steps to Inspect Skin Tone in Mixed Light
Evaluating your original portrait takes only a moment and prevents hours of frustrating color corrections. Follow these practical steps before choosing any style direction:
- View the Original File on a Neutral Display: Open your unedited portrait at native resolution. Avoid viewing on screens with aggressive night-shift modes or boosted saturation settings that alter perceived warmth.
- Examine Both Cheeks Simultaneously: Compare the cheek facing the window with the cheek facing the room. Look closely for sharp shifts in undertone—such as pink or neutral beige on one side and golden or olive on the other.
- Inspect the Shadow Transitions: Look at the bridge of your nose, temples, and jawline where light falls off. In severe mixed lighting, shadow transitions often display unnatural green, purple, or muddy brown casts.
- Identify the Dominant Light Source: Determine whether daylight or indoor light accounts for the majority of the facial illumination. If both sources are equally strong, the color split will remain visible through most style filters.
- Select a Single-Source Capture When Possible: If the color divide is pronounced, choose an alternative capture taken with the room lamps switched off, or review our guide on taking a professional headshot at home using consistent natural illumination.
Evaluating Headshot Lighting: Condition and Preset Impact
Use the following reference to assess how different lighting environments influence skin tones and determine whether a preset will help or harm your final portrait:
| Lighting Environment | Observed Facial Appearance | Preset Impact | Recommended Workflow |
|---|---|---|---|
| Balanced Mixed Light (Equal window and indoor intensity) | Half of face looks cool; opposite side looks warm or amber | Global filters exaggerate one side while partially correcting the other | Turn off warm lamps; retake using window light as the sole primary source |
| Dominant Window Light (Dim background indoor bulb) | Natural skin tones on face; subtle warm tint confined to background | Subtle neutral or warm presets apply cleanly across facial skin | Usable source photo; inspect forehead and jawline to confirm skin tone fidelity |
| Dominant Indoor Light (Distance from window) | Uniform warm glow; minimal daylight influence | Cool presets can soften excessive yellow casts evenly across the face | Usable source photo; verify undertones do not shift into unnatural gray |
| Diffused Indirect Daylight (Overcast sky or sheer curtain) | Consistent color temperature; soft gradations and natural undertones | Presets apply predictably without localized skin discoloration | A useful starting point to compare, with color and exposure still checked |
Hypothetical Planning Example: Evaluating a Home Office Portrait
Consider Marcus, a remote consultant selecting a professional headshot for an upcoming client directory. Marcus sat beside his home office window during the mid-morning while keeping his warm desk lamp switched on.
When Marcus reviewed the uncompressed photo:
- His left cheek, illuminated by the window, matched his natural skin tone with clear highlight detail.
- His right cheek and neck, lit by the desk lamp, appeared noticeably amber with deep, saturated shadows along the collar.
Marcus initially tested a warm portrait preset to soften the cool window light. While his left cheek took on a pleasant golden glow, his right cheek turned unnatural orange, obscuring subtle skin texture. Recognizing the split-lighting issue, Marcus reviewed a second photo taken five minutes later with the desk lamp turned off. The single-source window capture presented consistent color across both cheeks, allowing style adjustments to apply evenly without distorting his complexion.
Common Mistakes and Realistic Limitations
- Attempting to Fix Split Color with Heavy Contrast: Increasing contrast darkens shadows and heightens highlight intensity, which only sharpens the visible boundary between warm and cool zones.
- Relying on Filters to Reconstruct Lost Texture: When strong warm or cool light blows out highlights on one side of your face, style presets cannot rebuild subtle skin pores or natural undertones.
- Confusing Color Casts with True Undertones: A yellow cast from an indoor light bulb does not mean your skin has a warm undertone. Base your assessment on areas receiving neutral, indirect light.
- Overlooking Platform Boundaries: Tools such as LookScene offer photo-based style previews to help you visualize different professional settings and outfit contexts. Inspect every preview against the original; it does not certify unchanged identity or recovered source detail. Preserving your authentic likeness, accurate complexion, and true hair texture begins with an honest, well-exposed source portrait.
Next Action: Compare Previews Against Your Source Photo
A professional headshot must convey credibility and present an accurate likeness of who you are. Before committing to a specific look for your directory, personal website, or resume, review the complete AI portrait quality checklist to evaluate tonal balance, sharpness, and believable lighting. If you plan to make subtle wardrobe or background adjustments, consult our guide on how to keep personal details consistent in AI edits.
Use LookScene previews for comparison and inspect against the original photo to confirm that your skin tone remains natural, lighting transitions look authentic, and your headshot reflects a true professional standard.
Style options to compare
Use these illustrated directions to plan what to try. They are not verified before-and-after results; inspect the review checklist on each page.
- Clean studio portrait — Compare the eyes, jaw, hairline and skin against the original. Crop for your intended profile size after reviewing.
- Warm studio — Check that warm background color does not unnaturally tint the face.
- Garden light — Inspect hair edges and ensure foliage does not cross the face.


