
Before you start
By LookScene editorial team · Updated October 1, 2026. AI-assisted editorial guide; examples and cover images are illustrative, not product test results.
When people review a newly delivered professional headshot, one possible reaction is subtle discomfort: something about the jawline, smile, or eye shape looks unfamiliar compared to daily front-camera selfies. The immediate instinct is often to assume the photographer used an unflattering angle, or to open an image editor to slim features, reshape eyebrows, and smooth skin.
Before requesting structural retouching or digital warping, check a simpler mechanical factor: horizontal image orientation. Most people spend years looking at a mirrored reflection in bathrooms and front-camera previews. A standard portrait taken by another person records the un-mirrored observer perspective. Flipping an asymmetrical human face horizontally changes how familiar features appear, without changing your real-world identity.
Preview vs. Saved Image: Why Selfies Look Different
When you look into a mirror or open a smartphone front camera, the screen displays a real-time horizontal reflection. Raising your right hand shows a hand moving on the right side of the screen. This mirrored preview matches personal habit.
However, standard camera lenses capture the world from an external observer's vantage point. In an un-mirrored capture, your right hand appears on the viewer's left.
Whether a saved smartphone selfie remains mirrored depends on device configuration. In iOS Settings, navigating to Camera reveals the Mirror Front Camera setting. Enabling this option saves front-camera captures in the same orientation as the mirrored live preview, rather than flipping the saved image to an un-mirrored observer orientation. If that setting is disabled, the camera flips the final saved file back to the observer perspective.
Because many camera apps and platforms treat mirroring differently, you may routinely view selfies that preserve your mirror image while a headshot may use the observer view; check the delivered file instead of assuming.
Lettering, Asymmetry, and Facial Familiarity
Human faces are naturally asymmetrical. Brow heights vary, parted hair falls toward one shoulder, smiles engage one cheek muscle more firmly, and small beauty marks sit on one side.
When an image is horizontally flipped:
- Asymmetry shifts sides: A slight tilt or dominant eye switches from left to right.
- Familiarity breaks: You are accustomed to seeing your own features in one orientation, while colleagues and friends are accustomed to seeing you from the opposite orientation. Neither view alters physical shape, but the un-mirrored view can feel unexpected to the person in the photo.
- Lettering exposes orientation: The fastest way to confirm whether an image is mirrored is to inspect background text, book spines, or logo embroidery on shirts. Compare known original lettering or asymmetric objects with the photo. Reversed lettering is a useful clue only if the source lettering and subsequent editing are known.
Questions about portrait differences appear in community discussions, such as inquiries in r/headshots and r/AskPhotography, where individuals wonder why portraits taken by others look strikingly different from their personal photos. These threads illustrate common visual confusion rather than statistical measurements.
Feeling unfamiliar does not by itself prove a flawed headshot or determine attractiveness. Mirroring is one factor to test, not a diagnosis of every uncomfortable reaction.
Mirroring vs. Distance and EXIF Rotation
When assessing portrait differences, separate horizontal reflection from two distinct photographic factors:
- Camera Distance and Perspective Distortion: A short camera-to-face distance can alter the relative appearance of nearer and farther features, which makes central features like the nose appear relatively larger. When taking a professional headshot at home or working with a photographer, test a greater distance while keeping a useful framing. Perspective depends on camera position; focal length by itself does not change perspective from a fixed position. Distance alters facial proportions; mirroring only flips left and right.
- EXIF Orientation Tags: Image metadata includes EXIF orientation tags that tell software whether to display an image vertically or horizontally. The EXIF orientation field can also encode reflected orientations. Check display rotation, horizontal reflection and how the viewer applies the tag separately; a sideways display is not proof of a single metadata fault.
How to Perform a Controlled Flip Comparison
Before requesting edits from a photographer or applying manual retouching, perform a controlled side-by-side check:
- Open the Unedited Headshot: Load the original digital headshot into a standard image viewer on a computer or phone.
- Inspect Orientation Anchors: Look at shirt buttons, pocket placements, collar pins, or background signage to verify the current orientation.
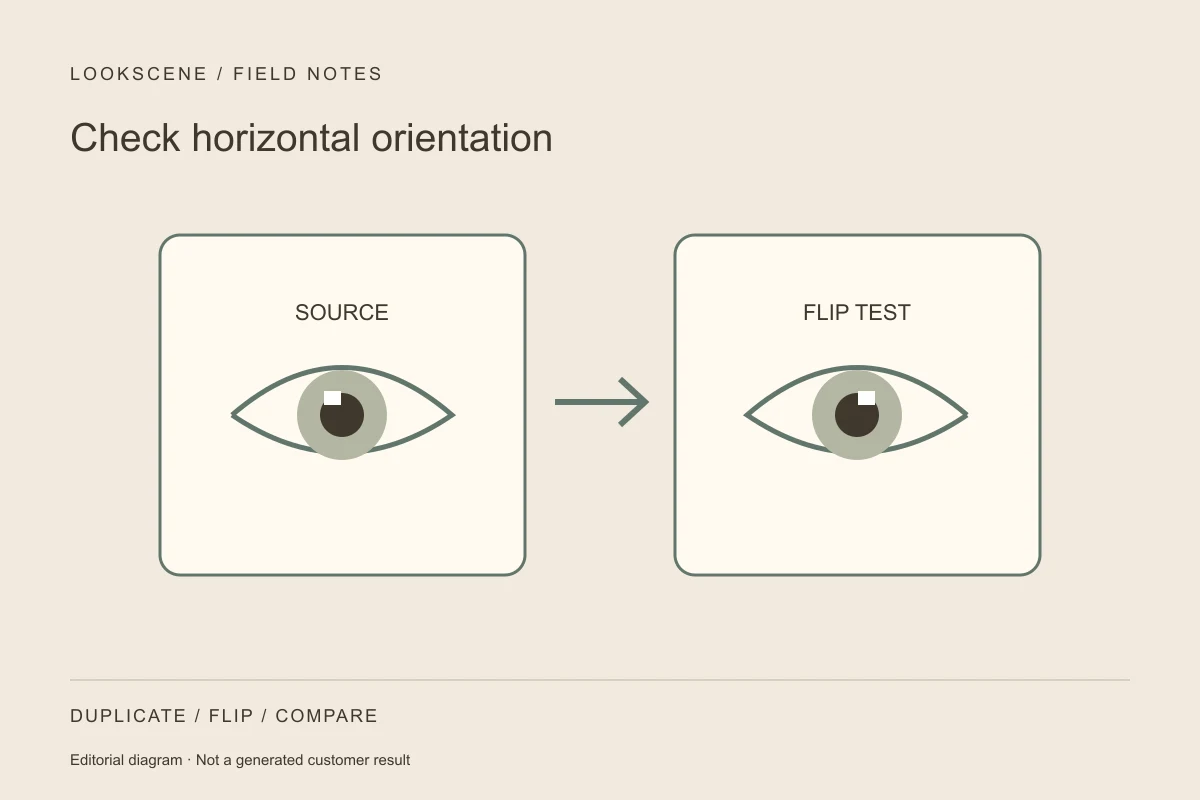
- Duplicate and Flip Horizontally: Create a duplicate file and apply a horizontal flip (often labeled "Flip Horizontal" in basic crop and rotate menus).
- Compare Against Your Familiar Selfie: Place the flipped headshot next to your everyday selfie. If the headshot suddenly feels recognizable and comfortable, orientation may have contributed to the unfamiliar appearance.
- Evaluate Both Versions Objectively: Remember that professional contacts see you in the un-mirrored view every day. Compare it with other known unedited photos before deciding on cosmetic changes.
Orientation Comparison Matrix
| Factor | Saved Mirrored Selfie | Standard Observer Headshot |
|---|---|---|
| Viewer Perspective | Matches mirror reflection | Matches in-person observer view |
| Text & Lettering | Reversed (reads backward) | Normal (reads left-to-right) |
| Typical Distance | Short arm's length (wide perspective) | Moderate to long distance (compressed perspective) |
| Asymmetric Features | Swapped to mirror position | Located at true anatomical position |
| Recommended Action | Keep for personal reference | Use for professional profiles; flip only to test familiarity |
Hypothetical Walkthrough: Checking Orientation Before Retouching
Consider a hypothetical professional, Taylor, preparing a profile photo for a consulting practice.
- The Problem: Taylor receives proofs from a studio portrait session. Looking at the main selection, Taylor feels the smile looks uneven and one eye appears unexpectedly narrow. Taylor considers asking the photographer to digitally warp the jawline and reshape the eyelids.
- The Verification Step: Before emailing retouching requests, Taylor opens the image file, duplicates it, and flips it horizontally.
- The Finding: In the flipped version, Taylor's features immediately align with the familiar reflection seen daily in mirror previews. The comparison made mirroring a plausible explanation in this hypothetical scene; a flip alone does not prove that no other edits occurred.
- The Outcome: Taylor realizes that warping the un-mirrored image to mimic the mirror view would create an anatomically inaccurate representation. Taylor asks for minor color balance adjustments only, keeping the authentic facial contours intact.
Retouching Limits: Protect Identity and Hair Texture
If you decide that subtle post-capture adjustments are necessary, keep editing bounded and non-destructive:
- Avoid Feature Reshaping: Do not use liquefy or warping tools to force symmetry. Real human faces are asymmetrical, and warping bone structure often yields an artificial, uncanny result.
- Preserve Fine Hair Texture: Automated smoothers and aggressive clone stamps frequently blur fine wisps around the temples, hairline, and shoulders, leaving hair looking painted on.
- Reference Quality Benchmarks: Reviewing an AI portrait quality checklist helps identify when automated filters or smoothing passes have erased natural pores and real skin texture.
Next Steps: Compare Previews Against Your Original Portrait
If you need to evaluate different wardrobe colors, backgrounds, or styling options, photo-based style tools like LookScene allow you to test variations before an official session.
Keep tool capabilities in perspective: LookScene provides photo-based style previews. It does not provide dedicated HDR controls, hair removal, identity verification, or guaranteed faithful editing. Automated tools work best when guided by a well-lit, naturally proportioned source portrait.
Before commissioning costly retakes or applying heavy digital filters, inspect your image orientation. Perform a controlled horizontal flip, compare it against your unedited source photo, and communicate clear, minimal adjustments that preserve your authentic professional identity.
Style options to compare
Use these illustrated directions to plan what to try. They are not verified before-and-after results; inspect the review checklist on each page.
- Clean studio portrait — Compare the eyes, jaw, hairline and skin against the original. Crop for your intended profile size after reviewing.
- Warm studio — Check that warm background color does not unnaturally tint the face.
- Garden light — Inspect hair edges and ensure foliage does not cross the face.


