
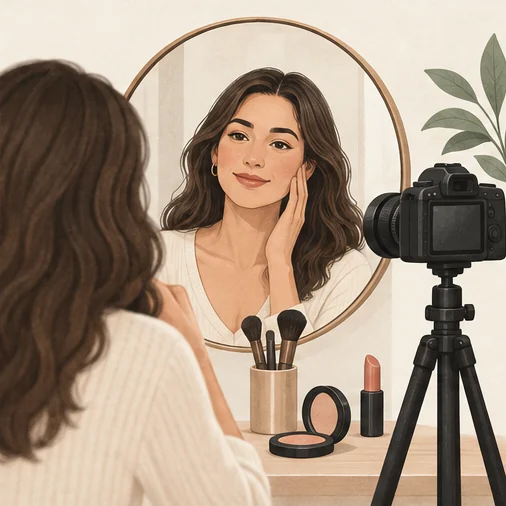
Before you start
The most reliable way to evaluate headshot makeup is to capture a test photo under your planned lighting before the final session. Camera sensors and directional lighting render pigments, skin finish, and contrast differently than household mirrors. Taking a quick trial photo lets you confirm that your everyday styling translates naturally without guessing or adopting an unfamiliar look.
Cosmetic styling for a professional portrait is entirely voluntary, and wearing no makeup is a completely valid choice. The goal of a headshot is authentic recognition—ensuring colleagues, clients, and interviewers recognize you immediately in person. A structured test photo bridges the gap between your real-world reflection and camera capture.
Why Camera Sensors and Lighting Alter Perception
A mirror is viewed continuously under the room’s lighting, which may differ from the planned photo setup. Cameras flatten facial depth onto a two-dimensional sensor under directional key lighting. This contrast can exaggerate specular shine on bare skin, make powder look cakey, or wash out subtle lip and blush tones.
In their guide to professional headshot photography, Adobe notes that authenticity, subject comfort, and intentional lighting are fundamental to an effective portrait. Cosmetic preparation is an editorial planning aid for camera readiness, not clinical or dermatological treatment.
On forums like r/headshots, professionals frequently ask whether they need specialized stylists or heavy cosmetics for corporate headshots. Threads such as this headshot discussion reflect widespread uncertainty over shine and skin finish. A controlled test photo lets you compare the result on your actual equipment.
Four-Step Test Photo Workflow
Follow this structured sequence to test and refine your styling:
- Base the Test on Your Familiar Routine (or None): Do not experiment with new products on shoot day. Start with your regular work routine, or clean, moisturized skin if you wear no cosmetics.
- Replicate Your Planned Lighting: Stand or sit in your intended portrait lighting—whether window light or artificial lamps. If shooting yourself, review our guide to capturing a professional headshot at home to balance directional light and soften harsh shadows.
- Review at Full Resolution and Thumbnail Size: Inspect the image on a computer monitor using an AI portrait quality checklist:
- Confirm eyes have distinct catchlights.
- Verify skin texture looks natural rather than blurred or chalky.
- Scale down to avatar size (around 40 by 40 pixels) to confirm overall balance.
- Adjust One Variable at a Time: If you notice excess forehead shine or faint lips, adjust only that element. Blot oil or apply a subtle tint, then take another test photo immediately.
Styling Evaluation Checklist
Use this reference table to evaluate test images and make measured adjustments:
| Styling Element | What to Inspect in the Test Photo | Targeted Adjustment |
|---|---|---|
| T-Zone Finish | Specular glare on the forehead, nose, or chin | Press an oil-absorbing sheet or apply translucent powder sparingly |
| Eye Definition | Visible lash line and open expression | Soften dark pencil liners; ensure light reaches under the brow |
| Lip Balance | Natural separation from surrounding skin | Apply tinted balm or a neutral shade; avoid sticky high gloss |
| Brow Framing | Natural shape framing the upper face | Lightly comb brows; fill sparse spots with a matching pencil |
| Bare Skin | Balanced skin tone and even light distribution | Test light angle, diffusion and exposure; moving a light farther away does not necessarily make it softer |
Hypothetical Walkthrough: A Single-Variable Test
Consider a hypothetical professional, Elena, preparing for an updated company directory portrait. Unsure whether her daily moisturizer will appear shiny under desk lights, Elena takes a baseline test shot in front of her lamp. Reviewing the image on a monitor, she finds her complexion natural but spots glare across the bridge of her nose.
Rather than applying heavy matte powder, Elena blots her T-zone with a single paper and captures a second test frame. In this hypothetical example, the second shot reduces the glare while preserving her authentic skin texture, confirming her styling is camera-ready without altering her everyday look.
Common Mistakes and Limitations
- Assuming all SPF causes flash reflection: Not all sunscreens produce flashback. Do not infer the camera result from SPF alone: formulation, amount, lighting and exposure all affect appearance. Test your specific daily moisturizer under your actual lights rather than skipping sun protection.
- Overcorrecting skin texture: Aiming for poreless perfection yields an artificial mask. Normal skin variations look human and authentic, whereas heavy layers often crack or settle visibly under sharp studio lenses.
- Relying on digital retouching: Digital retouching cannot easily rescue mismatched tones or harsh glare. Adjusting physical styling during the test photo saves time and preserves likeness.
- Boundary of styling advice: Cosmetic planning is an aesthetic choice, not medical treatment. Persistent skin concerns require evaluation by a licensed healthcare provider.
Next Steps: Validating Your Styling Choices
A test photo provides a comparison image for judging whether the styling feels familiar. If you want to explore how different collar styles, wardrobe colors, or hairstyles complement your headshot, LookScene allows you to preview outfits, hair styles, and backdrops using your existing photos. Use any LookScene preview as a practical planning aid, comparing it directly with your original test photo to validate physical styling while ensuring your portrait remains completely familiar.
Style options to compare
Use these illustrated directions to plan what to try. They are not verified before-and-after results; inspect the review checklist on each page.
- Clean studio portrait — Compare the eyes, jaw, hairline and skin against the original. Crop for your intended profile size after reviewing.
- Warm studio — Check that warm background color does not unnaturally tint the face.
- Garden light — Inspect hair edges and ensure foliage does not cross the face.


