
Before you start
By LookScene editorial team · Updated October 1, 2026. AI-assisted editorial guide; examples and cover images are illustrative, not product test results.
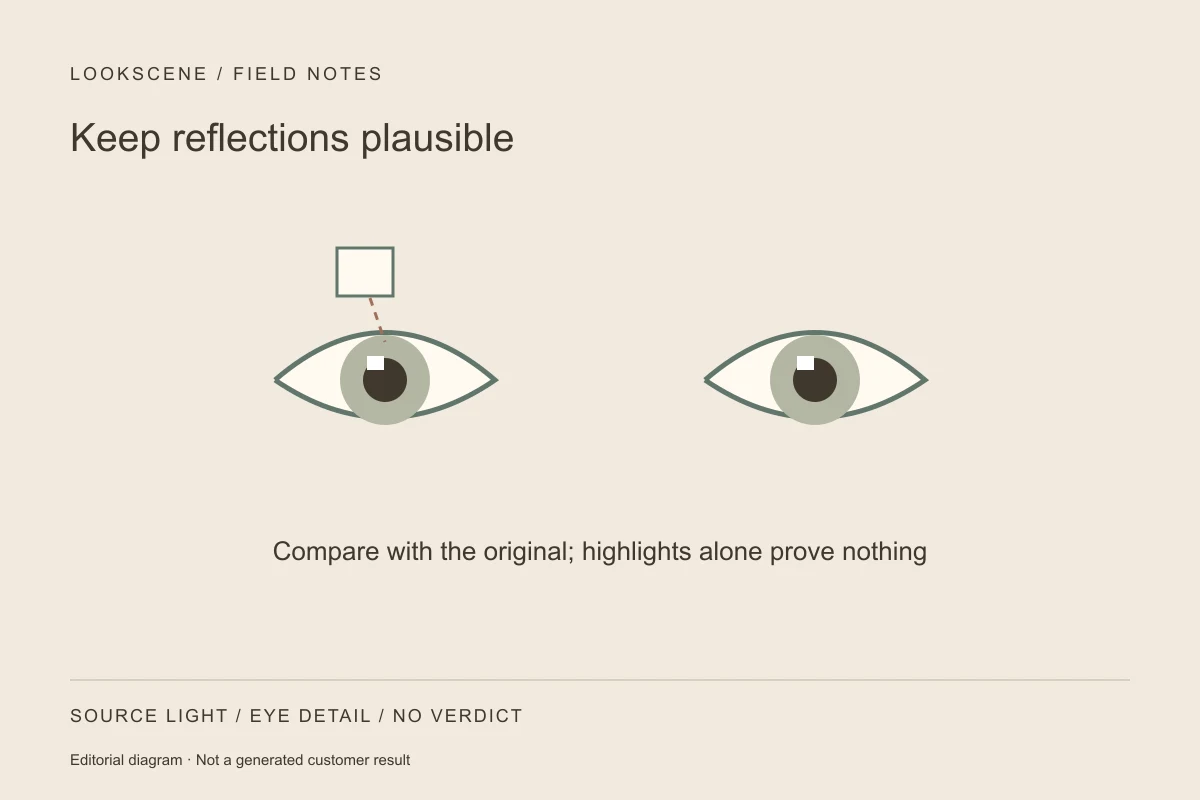
When evaluating a professional headshot, you may inspect the eyes closely. The small, bright glints of light mirrored on the surface of the eyes—known as catchlights—can contribute in making a portrait look engaged, dimensional, and alive.
However, during post-capture retouching or AI-assisted portrait processing, eye reflections can be changed. Some automated tools blur them away entirely, while heavy-handed manual edits paint artificial dots that look pasted on. Keeping catchlights plausible does not require rigid symmetry or an arbitrary single highlight. Instead, it requires reflections that match the physical light sources in the scene while preserving the natural shape and texture of the iris and pupil.
What Catchlights Are (and What They Are Not)
Understanding what generates these reflections helps prevent accidental over-editing:
- Corneal Reflections vs. Red-Eye: Catchlights are specular reflections bouncing off the smooth, moist outer surface of the cornea. They mirror whatever light sources are in front of the subject, such as a window, a softbox, or an open sky. Red-eye, by contrast, is an internal reflection caused by a camera flash firing too close to the optical axis of the lens in dim lighting, illuminating the blood vessels of the retina. Catchlights are an intentional and natural feature of portraiture, whereas red-eye is an optical artifact.
- Specular Highlights vs. Optical Sharpness: A catchlight is a specular highlight, not a direct indicator of lens sharpness or depth of field. A portrait can feature a razor-sharp iris alongside soft, diffused catchlights created by an overcast window. Conversely, a slightly soft-focus portrait can still exhibit pin-sharp reflections from a small, bare LED bulb.
- No Universal Symmetry Requirement: Human faces are rarely positioned dead-center to all ambient fixtures, and the eyes themselves are curved spheres set into distinct anatomical sockets. Light naturally strikes each eye at slightly different angles. Requiring catchlights to be perfectly symmetrical or identical in size across both eyes creates an artificial, robotic appearance.
As the Nikon portrait technical guide outlines, intentional light placement can yield catchlights that add depth to a subject's expression, though exact angles and modifiers vary based on the desired mood.
Lighting Geometry: Why Catchlight Shapes Differ
The shape and count of your catchlights mirror the environment in which the photo was captured:
- Window Light: A large window typically creates a soft, rectangular or trapezoidal highlight positioned on the upper half of the iris. When taking a professional headshot at home, compare positions relative to an indirect window while checking the actual reflection without requiring studio strobes.
- Studio Softboxes and Umbrellas: Square or octagonal softboxes produce structured geometric shapes. Photographers frequently debate how many catchlights look natural in community forums like AskPhotography, where multi-light setups often generate secondary reflections from fill cards or rim lights. These discussions document practical aesthetic preferences rather than absolute rules: multiple catchlights are common in professional studio environments.
- Ring Lights: Ring lights cast a distinctive hollow donut shape directly around the pupil. While popular for video conferencing, prominent ring reflections in a still headshot can look distracting or overly commercial if placed too close to the face.
Decision Checklist: Natural Reflections vs. Over-Edited Eyes
Use this comparison table to inspect eye reflections in your source portraits and post-edit previews:
| Attribute | Plausible Physical Catchlight | Over-Edited / Artificial Artifact |
|---|---|---|
| Shape & Direction | Matches visible light sources and shadow angles on the face. | Clashes with facial shadows (e.g., top-down shadow with a bottom-up reflection). |
| Count & Placement | Reflects actual sources (single key, or key plus fill/reflector). | Disjointed clusters of random white dots or severed, geometric rings. |
| Iris & Pupil Boundary | Sits naturally over the iris without warping the circular pupil line. | Distorts the roundness of the pupil or smears the intricate striations of the iris. |
| Edge Transition | Features a subtle, microscopic falloff corresponding to the source diffusion. | An added hard edge that differs from the source; a naturally clipped white highlight alone is not proof of editing. |
| Left vs. Right Eye | Shared general light direction with organic variations in size and angle. | Cloned pixel-for-pixel between eyes, or absent entirely from one eye without shadow cause. |
Step-by-Step: Evaluating Eye Reflections in Your Portrait
Before finalizing an edit or choosing a source headshot, follow these practical steps:
1. Match Highlights to Facial Shadow Angles
Check where the light falls across the nose and cheekbones. If the shadow under the nose falls to the bottom-right, the primary catchlight in both eyes should originate from the upper-left quadrant. Other lights, reflectors, head angle and gaze can complicate this relationship. An unexpected highlight is a reason to compare with the original, not proof of a composite.
2. Zoom in to Inspect Iris Striations
Zoom into the portrait at 100% to 200% magnification. A plausible reflection may project over the iris or pupil while leaving the surrounding colored fibers and radial patterns visible. If the iris looks like a smooth plastic disc with a solid white dot stamped on top, compare the source before attributing smoothness to editing.
3. Communicate Limited Retouching
If you are working with a retoucher or editing software, request minimal eye intervention. Community discussions on r/retouching illustrate that while artists often clean up minor secondary reflections from stray studio gear, redrawing catchlights without reference can change the lighting impression. It is far safer to slightly dim an overly bright reflection than to reconstruct the eye surface digitally.
Hypothetical Walkthrough: Reviewing an Uncanny Home Studio Shot
Consider a hypothetical professional, Morgan, reviewing headshot proofs taken in a home workspace.
- The Problem: Morgan set up a circular desk light along with two small supplementary side lamps. Looking closely at the initial test shot, each eye contains three sharp, competing highlights: one circular ring and two harsh white points that cut across the pupil boundary, giving the expression a frantic, distracted look.
- The Failed Edit: Morgan attempts to fix the image in a basic retouching app by selecting an automated "eye enhancement" tool. The tool erases all three original reflections and stamps a single, perfectly centered white dot directly into the middle of each pupil. The result looks glazed, unnaturally flat, and visually disconnected from the real room lighting.
- The Controlled Fix: Morgan discards the automated edit and opens the original capture. Rather than painting new elements, Morgan carefully lowers the exposure of the two small secondary glints while keeping the primary natural reflection. The delicate fibrous texture of the iris remains visible, and the round contour of the pupil is completely preserved. In this imagined scenario, the resulting eyes appear focused and natural, without any artificial glaze.
Trade-Offs, Limits, and Common Misconceptions
When refining your portraits, keep these important boundaries in mind:
- Highlights Alone Do Not Prove AI Generation: While early generative models often struggled with consistent catchlights, irregular or complex reflections also occur in real photographs taken around multiple windows, glass partitions, or complex studio strobes. An asymmetric or unusual catchlight is not definitive proof of AI generation, just as a clean reflection does not prove a photo is unedited.
- Do Not Erase Reflections Without Comparing the Source: Some people attempt to remove all reflections in an effort to minimize shine. Erasing reflections can change the lighting impression; it is an aesthetic decision, not a measure of health or authenticity.
- Protect Identity and Surrounding Hair: Aggressive eye edits rarely stay confined to the cornea. Smoothing algorithms frequently soften the lower eyelid rim, blur tiny tear-duct details, and erase fine eyelash roots. Reviewing an AI portrait quality checklist helps you verify that facial features and textures have not drifted into plastic territory.
Next Steps: Compare Previews Against Your Original Photo
The most reliable way to achieve believable catchlights in your professional headshot is to capture them cleanly in your source photograph using soft, deliberate lighting.
If you are exploring new clothing styles, background settings, or color palettes, LookScene provides photo-based style previews that let you test different aesthetics quickly. LookScene is designed to preserve your core personal identity and real hair texture, but it does not offer dedicated HDR balancing, automated hair removal, or identity verification. It will not rebuild missing iris details if an aggressive filter erased them beforehand.
Choose a well-lit source portrait with natural eye reflections, keep digital retouching minimal, and always inspect any styled preview side-by-side with your original unedited photo to ensure your eyes remain expressive, authentic, and credible.
Style options to compare
Use these illustrated directions to plan what to try. They are not verified before-and-after results; inspect the review checklist on each page.
- Clean studio portrait — Compare the eyes, jaw, hairline and skin against the original. Crop for your intended profile size after reviewing.
- Warm studio — Check that warm background color does not unnaturally tint the face.
- Garden light — Inspect hair edges and ensure foliage does not cross the face.


