
Before you start
By LookScene editorial team · Updated September 30, 2026. AI-assisted editorial guide; examples and cover images are illustrative, not product test results.
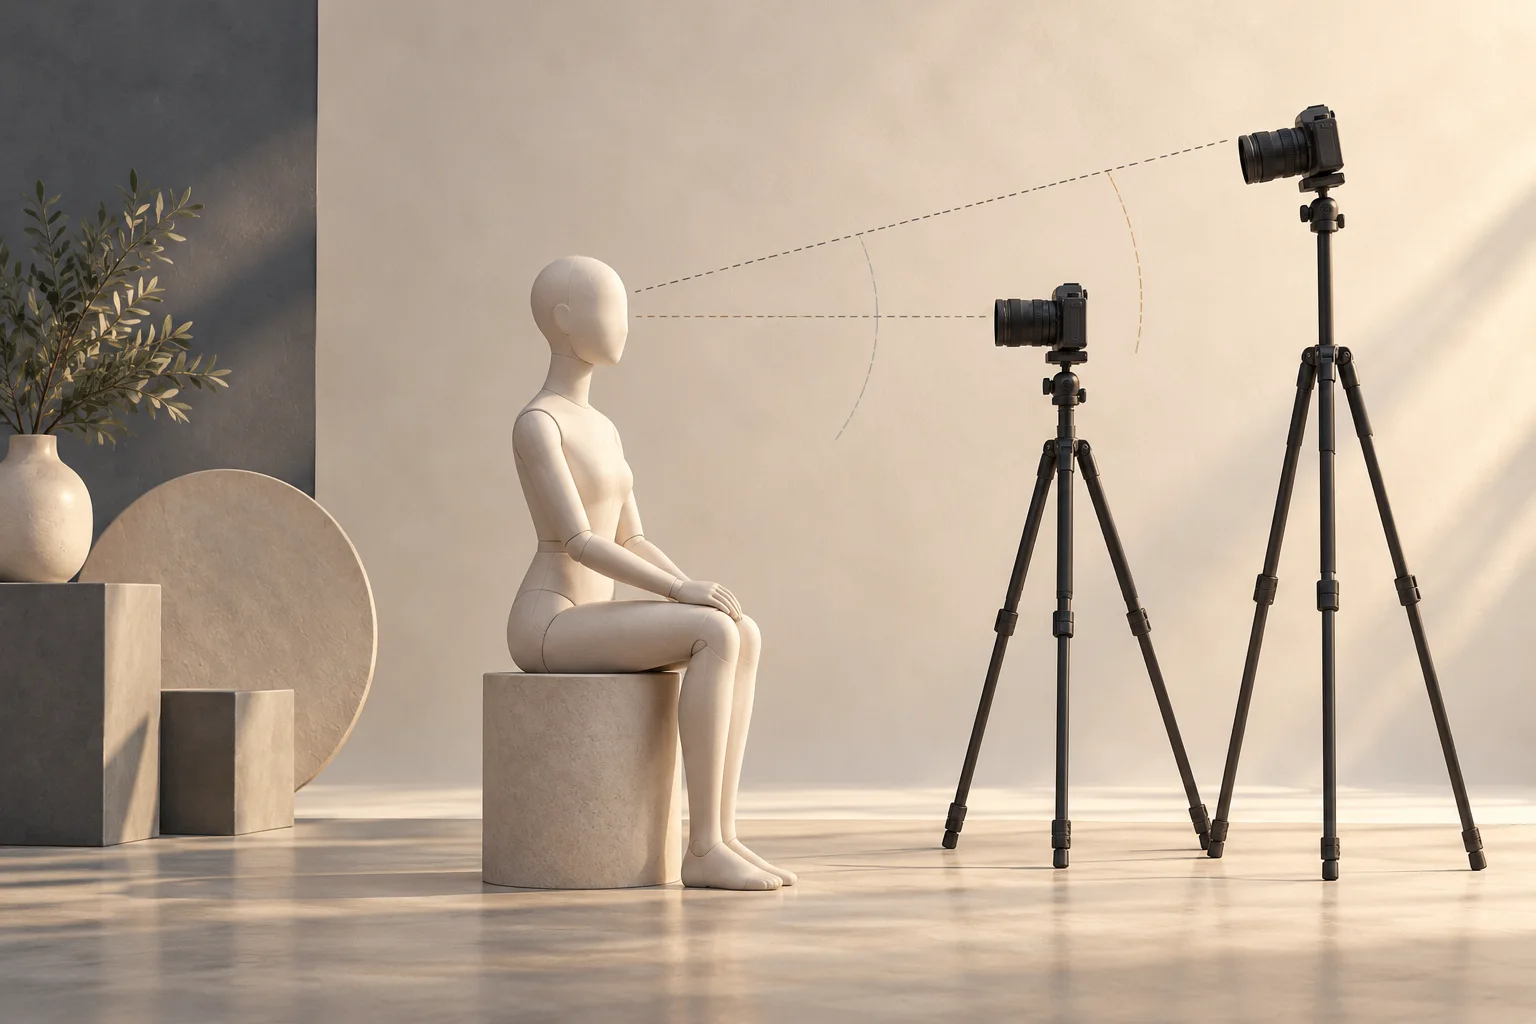
Camera height determines the vertical angle between the lens and your face, establishing how features align relative to one another. In professional headshots, setting the lens at direct eye level provides a neutral, straightforward baseline. Raising the camera slightly above eye level can change the visible proportions of the forehead and neck, whereas lowering the camera slightly below eye level can reveal more of the underside of the chin.
No single camera height is universally superior. The ideal height depends on your posture, glasses, neck position, and how your facial features align under your chosen lighting. To find the right elevation, you must isolate camera height from other variables by keeping camera distance, focal length, crop, and lighting unchanged while testing different heights.
The Optical Mechanism: Camera Height vs. Distance
A common point of confusion is treating camera height as an extension of selfie distance. Distance controls perspective distortion—specifically how large the nose appears relative to the ears—while vertical height controls the angle of view.
When you shift camera height along a vertical axis:
- Perspective alignment changes: Changing the camera position changes the viewing geometry; compare the actual frame rather than assigning a fixed facial effect.
- Background relationship shifts: Lowering the camera tilts the lens upward, showing more ceiling or higher background elements. Raising the camera tilts the lens downward, bringing the floor or lower backdrop into view.
- Surface plane visibility adjusts: Changing height alters the visibility of horizontal surfaces, such as the top of the head, the bridge of the nose, eyeglasses rims, and the underside of the jaw.
As noted in Canon's viewpoint guide, altering camera height changes the viewer's point of observation, and interpretations of angle depend heavily on context rather than fixed personality traits. Older portrait conventions often claimed low angles signal dominance and high angles convey vulnerability. In professional contexts, these interpretations are not universal personality facts. Camera height is simply a geometric tool to render facial geometry and posture comfortably.
Comparing the Three Heights
1. Direct Eye Level (The Neutral Baseline)
Positioning the lens parallel to the subject’s pupils provides a useful starting sightline.
- Geometric Effect: The lens looks straight across the bridge of the nose. Inspect the forehead, chin and neck in the test frame; eye level does not guarantee particular proportions.
- When It Works Best: Standard corporate directories, team pages, LinkedIn profiles, and resumes where neutral presentation is expected.
- Considerations: Direct eye level can catch straight-on glare from spectacles if your light source is placed near the camera axis. Compare a change in the light position or a comfortable small head turn; inspect whether reflections improve.
2. Slightly Above Eye Level (A Modest Test Offset)
As an illustrative test, positioning the lens a few inches above eye level requires tilting the camera gently downward toward the face.
- Geometric Effect: The forehead, eyes, and eyebrows sit closer to the lens plane, giving them visual prominence. The jawline recedes slightly, and the neck is partially hidden behind the chin.
- When It Works Best: Subjects wearing collared shirts that bunch around the neck, or individuals who lean forward into the frame with engaged posture.
- Considerations: Excessive upward placement creates a noticeable downward tilt that compresses the torso, truncates the neck, and distorts shoulder width. Keep the elevation modest.
3. Slightly Below Eye Level (A Modest Test Offset)
As an illustrative test, positioning the lens a few inches below eye level requires angling the camera slightly upward toward the face.
- Geometric Effect: The chin, jawline, and collarbone move closer to the lens plane. The upper forehead recedes, and the line of the neck extends.
- When It Works Best: Taller subjects seated in fixed-height chairs, portraits emphasizing upright posture, or situations where eyeglasses catch overhead ceiling reflection at eye level.
- Considerations: An upward angle can expose the underside of the chin and emphasize nostrils if tilted too steeply. It also risks catching ceiling fixtures in your background.
On community forums such as Reddit's AskPhotography, one discussion provides home-setup context, without establishing how frequently a particular angle occurs. Proper height adjustments require intentional equipment placement.
How to Test Camera Height Accurately
When evaluating camera height, hold all other capture variables constant. If you shift distance or change your room lighting between frames, you cannot determine which adjustment produced the change.
- Lock Your Camera Distance: Set your camera or phone on a stable tripod at a fixed comfortable distance that fits the room and framing; there is no universal minimum here. Avoid handheld adjustments. If you are shooting on your own, review our guide to setting up a professional headshot at home.
- Lock Your Lighting: Choose one usable lighting position after a test frame. Keep the light stationary while moving the camera.
- Take Test Frame A (Eye Level): Align the center of the lens directly with your eyes. Look straight into the lens barrel.
- Take Test Frame B (Slightly Above): For this example, raise the tripod column a small amount, tilt the camera down until your eyes remain in the upper third of the frame, and capture.
- Take Test Frame C (Slightly Below): For this example, lower the lens a small amount below eye level, tilt the camera slightly up, and capture.
- Compare Side-by-Side: Review the three captures on a computer monitor rather than a small phone display to check facial proportions, eye contact, and neck alignment.
Camera Height Comparison Matrix
| Camera Height | Lens Placement | Primary Geometric Effect | Common Application | Watch-Outs |
|---|---|---|---|---|
| Eye Level | Parallel to pupils | Symmetrical proportions; neutral facial plane | Standard corporate headshots, ID cards, speaker profiles | Reflection on eyeglasses from front-facing lights |
| Slightly Above | 2–4 in. above eye level, angled down | Eyes and forehead prioritized; neck recedes | Subjects leaning forward; loose collars | Neck shortening; unnatural downward tilt |
| Slightly Below | 2–4 in. below eye level, angled up | Elongated neck line; stronger jawline presence | Upright posture; avoiding overhead room light glare | Nostril visibility; unflattering shadows under chin |
Hypothetical Example: Setting Up a Home Workspace Headshot
Consider a professional named Marcus who needs an updated headshot for a company rebrand. Marcus sits at his desk using a smartphone mounted on an adjustable desktop stand.
- Initial Attempt: Marcus places the stand directly on his desk surface. The lens sits at chest height, roughly 8 inches below his eye line, angled upward. The resulting test photo shows prominent ceiling light fixtures, shadows under his chin, and an unnatural upward gaze.
- Adjustment 1 (Eye Level): Marcus places two books under the stand to raise the lens to pupil height. The frame immediately balances: his neck relaxes, the background shows his neutral wall space, and his gaze connects naturally.
- Adjustment 2 (Slightly Above): Marcus extends the stand's neck another 3 inches, tilting the lens down 5 degrees. The eyes appear slightly more open, but his shoulders appear narrow due to his forward-leaning chair position.
- Decision: Comparing Frame 1 and Frame 2, Marcus selects the eye-level capture because it preserves natural shoulder width and balanced posture.
Common Mistakes and Limitations
Tilting the Head Instead of Moving the Camera
A frequent mistake is adjusting chin elevation rather than adjusting the tripod. Changing head position also changes the portrait, making the height comparison harder to interpret. Use a comfortable posture. Keep your head level and move the physical mount.
Confusing Height Adjustments with Focal Length
If your face looks compressed or bulbous, changing camera height will not solve the problem. A close camera position can exaggerate near-to-far facial proportions; focal length alone is not the perspective cause. Compare a greater camera distance with suitable framing. A phone’s “2x” button does not necessarily select an optical telephoto camera.
Expecting AI Tools to Correct Perspective
Generative AI and pose-editing software can adjust background elements or smooth minor lighting inconsistencies. However, 2D AI editing cannot reconstruct the optical parallax of a portrait captured from the wrong vertical angle. If an original photo was taken from waist height, synthetic angle modifications risk distorting genuine facial landmarks. Before moving to post-production, inspect your raw photo against an AI portrait quality checklist to confirm that the physical capture perspective is sound.
Reviewing Your Headshot
Once you capture your test shots at eye level and modest vertical offsets, pick the image that reflects natural posture without straining your neck or distorting your features. If you want to preview how that baseline photo looks across different professional clothing options or background settings, LookScene offers photo-based style previews for comparison; identity and hair details must be checked in each generated result. Always inspect the generated preview side-by-side with your original capture to ensure your physical headshot perspective remains faithful.
Style options to compare
Use these illustrated directions to plan what to try. They are not verified before-and-after results; inspect the review checklist on each page.
- Clean studio portrait — Compare the eyes, jaw, hairline and skin against the original. Crop for your intended profile size after reviewing.
- Warm studio — Check that warm background color does not unnaturally tint the face.
- Garden light — Inspect hair edges and ensure foliage does not cross the face.


