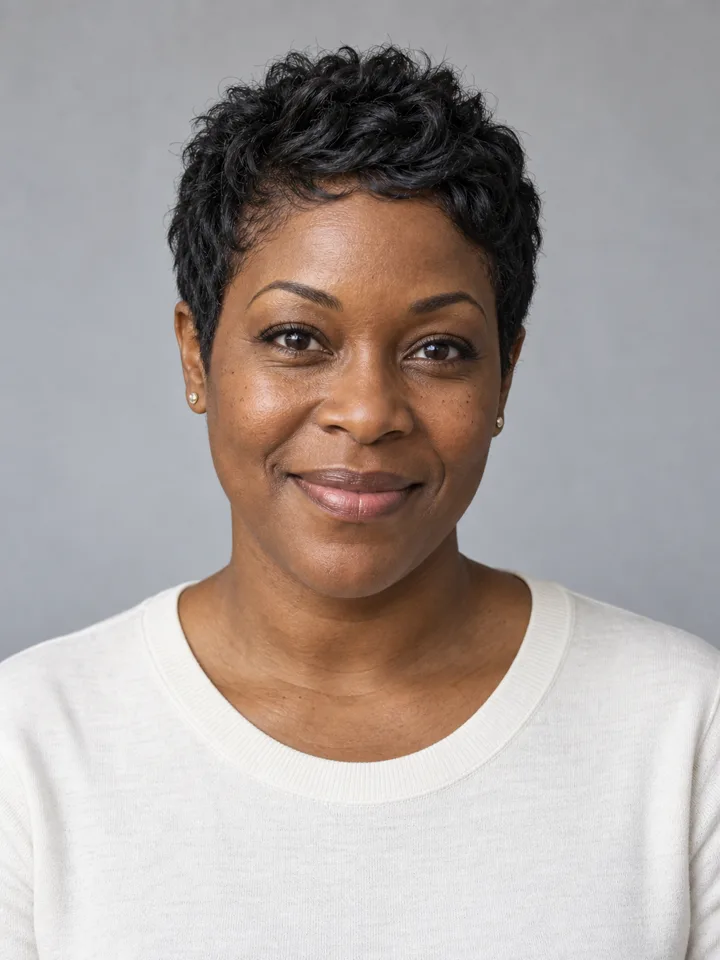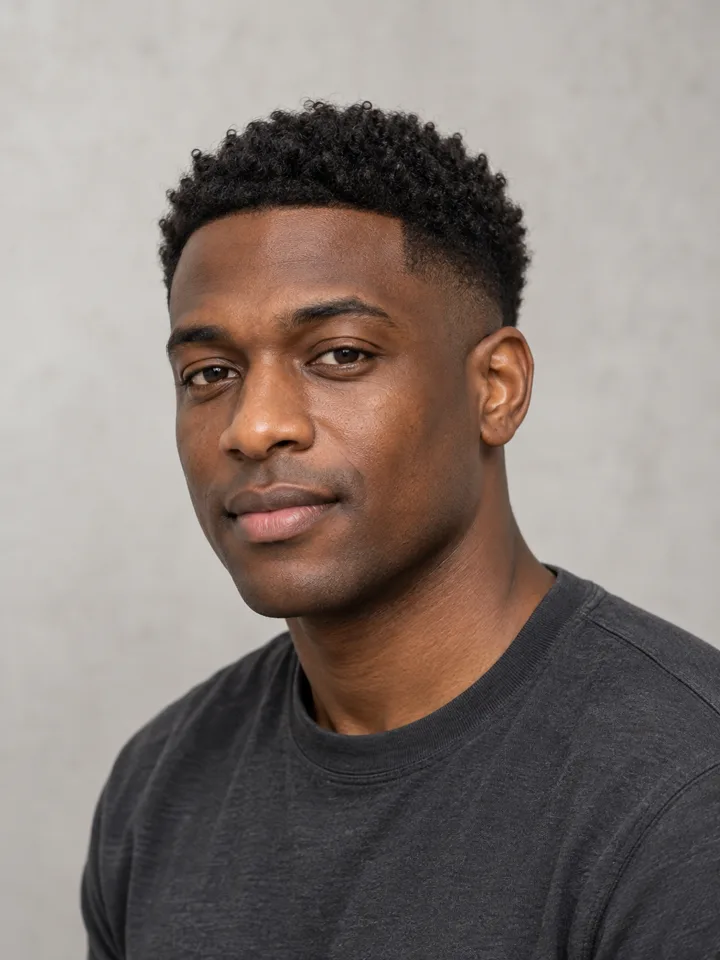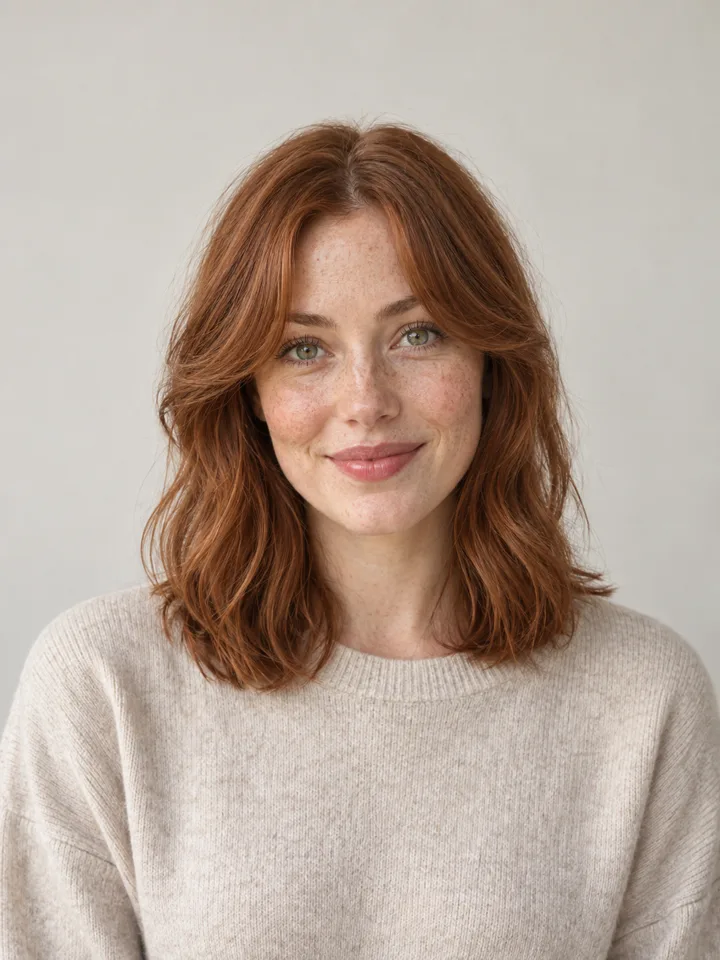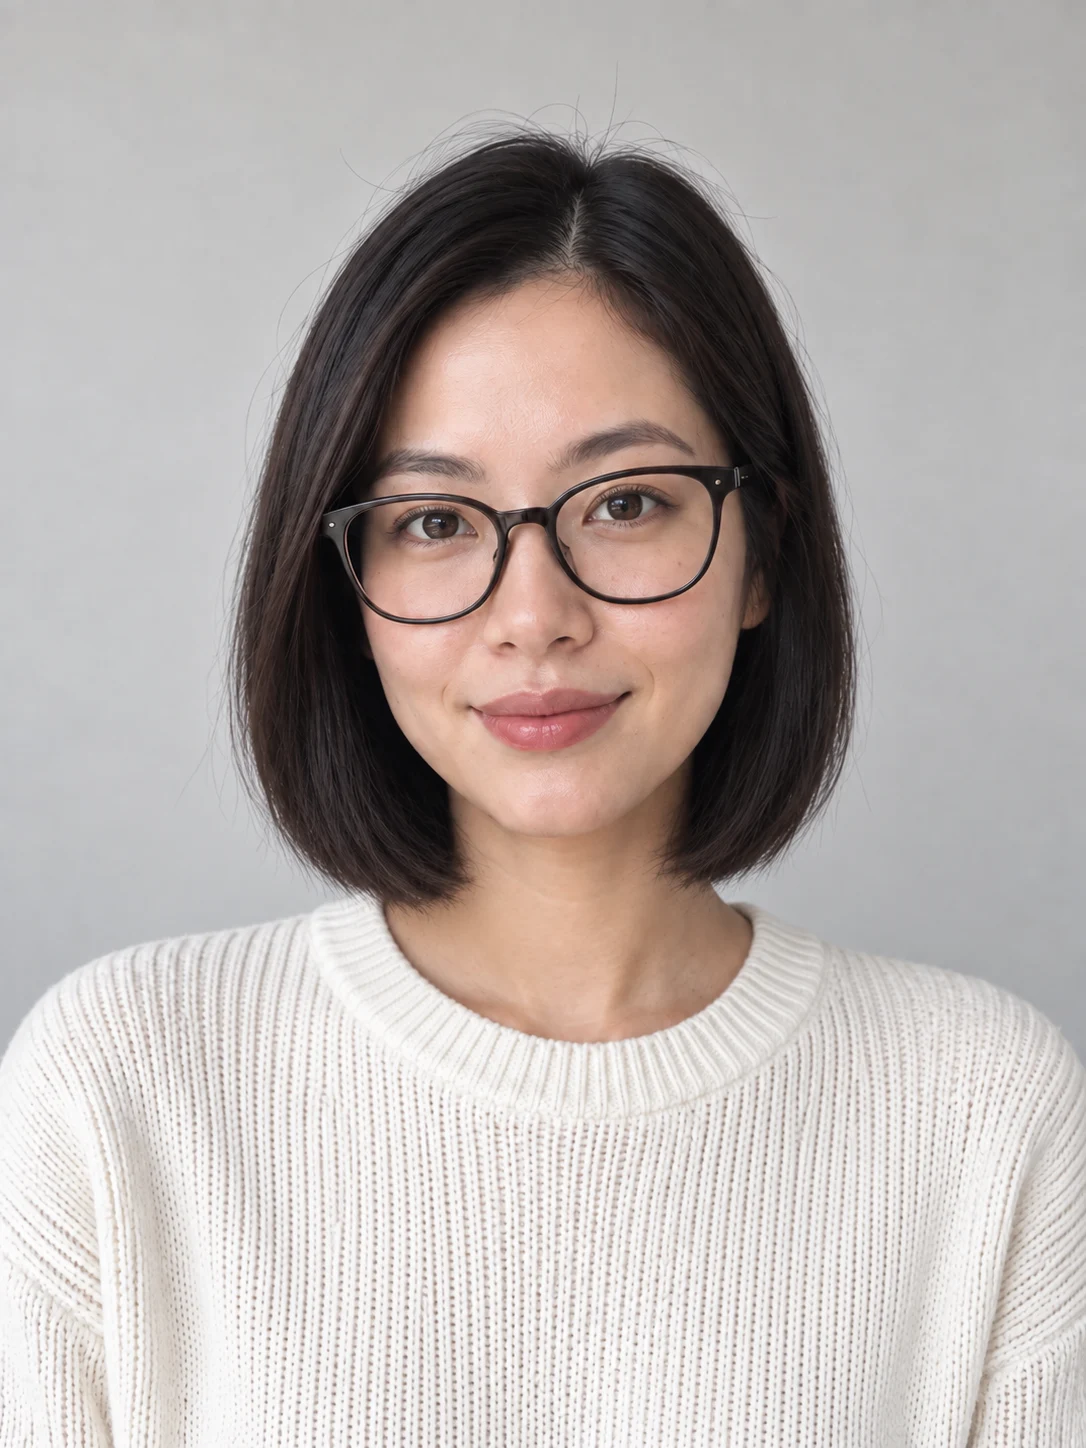
Quick answer
To preview hair color before dyeing without getting misled, you must evaluate color direction on a neutral-light photo baseline and immediately reject any edit that alters your skin tone, facial features, or ambient shadows. The goal of a digital preview is not to predict the exact molecular outcome of hair dye, but to test whether a warm, cool, lighter, or darker direction complements your natural complexion.
Most virtual try-ons fail because they modify the entire image rather than isolating the hair. When software brightens your face, warms your skin tone, or removes under-eye shadows to make a new shade look flattering, it creates an illusion that real dye cannot reproduce in your bathroom mirror. By locking down a single daylight baseline photograph, testing controlled variations, and applying strict pass/fail criteria, you can determine your best color direction before scheduling a salon service or mixing formula.
Who This Workflow Is For (and When to Skip Digital Previews)
This workflow is designed for anyone considering a noticeable change in hair color—such as shifting from warm golden tones to cool ash, transitioning to a deeper espresso, or experimenting with red undertones. It helps you answer a single, critical question: Does this tonal family harmonize with my actual skin tone and features under ordinary lighting?
However, digital previews have strict operational boundaries. A preview is a visual reference for conversation, not a chemical formula. You should skip digital simulation and proceed directly to a professional salon consultation in the following situations:
- Corrective color situations: If your hair has bands of old permanent dye, uneven bleaching, or metallic salts, an app cannot account for how different sections of your hair shaft will react to developer.
- Major level shifts (more than 3 levels lighter): Lifting dark brunette or black hair to platinum or pale blonde requires progressive lightening stages, toner, and structural maintenance. A screen preview renders blonde as an instantaneous RGB overlay, ignoring underlying orange and yellow contributing pigments.
- Compromised hair health: Digital tools cannot assess hair porosity, elasticity, or tensile strength. If your hair is damaged, whether it can physically withstand chemical lift requires physical evaluation by a licensed colorist.
If you are planning a cut alongside your color change, evaluate your length and silhouette first. For structural adjustments, see our guide on what to consider before you try a new haircut.
What to Hold Constant Before Comparing Options
Accurate visual comparison requires experimental control: change only one variable at a time. If you upload a selfie taken under warm indoor tungsten lighting and compare it to an outdoor shot taken at sunset, your eye cannot separate the hair color from the environmental light cast.
To establish an honest baseline, prepare a source photo that holds these five elements constant:
- Neutral daylight baseline: Stand 3 to 5 feet away from a window during indirect daytime light (overcast skies or open shade). Avoid direct sunlight, which blows out highlights, and avoid overhead bathroom bulbs, which cast yellow or green color casts onto your skin and hair.
- Current likeness: Use a photo taken within the last two weeks that reflects your current hair length, texture, and starting base color. Never use an old headshot from when your hair was chemically straightened, relaxed, or previously highlighted.
- Neutral facial expression and head angle: Look straight into the camera lens with your chin level. Angled poses or tilted heads introduce uneven neck shadows that distort how hair frames your jawline.
- Bare shoulders or neutral clothing: Wear a plain white, off-white, or heather-gray top. Brightly colored shirts (such as hot pink or royal blue) bounce colored light onto your neck and jawline, confusing both automated tools and your personal perception.
- No makeup filters or skin smoothing: Turn off portrait mode softening, beautification filters, and auto-enhancing lenses. Your real skin texture, undertones, and natural redness are the exact reference points against which the hair color must be judged.
Step-by-Step Workflow: Testing Color Direction
Once your neutral baseline photo is captured, follow this structured four-step process to generate and evaluate candidate colors.
+──────────────────────+      +──────────────────────+      +──────────────────────+
|  1. Daylight Capture  | ───> | 2. Paired Variations | ───> |  3. Drift Inspection |
|  - Indirect window   |      | - Same source photo  |      | - Check skin tone    |
|  - No beauty filters |      | - Warm vs. cool tone |      | - Check face shadow  |
+──────────────────────+      +──────────────────────+      +──────────────────────+
                                                                        │
                                                                        ▼
                                                             +──────────────────────+
                                                             | 4. Pass/Fail Verdict |
                                                             | - Reject if shifted  |
                                                             | - Consult colorist   |
                                                             +──────────────────────+
Step 1: Document Your Starting Level and Tone
Examine your current hair at the roots and mid-lengths. In professional cosmetology, hair depth is measured on a level system from 1 (black) to 10 (lightest blonde). Note whether your natural base leans warm (golden, copper), neutral, or cool (ash, smoky). Knowing your starting point prevents you from testing impossible single-step transformations.
Step 2: Generate Controlled, Paired Variations
When using preview software such as the LookScene hairstyle changer, upload your calibrated source image and test one specific color pair at a time. The most effective comparison pairs are:
- Warm Chestnut vs. Cool Ash Brown: Tests whether golden/red undertones brighten your eyes or cause your skin to appear flushed.
- Neutral Level 6 Light Brown vs. Level 4 Deep Brown: Tests whether deeper contrast sharpens your features or creates an overly harsh frame.
- Copper Red vs. Auburn/Burgundy: Tests whether yellow-based reds or blue-based reds better complement your natural undertones.
Product transparency note: LookScene is an invitation-preview personal AI photo styling tool for adults using their own photos. It supports hairstyle, outfit, and portrait-setting exploration. It does not provide salon color formulas, exact dye SKU matching, human styling advice, or guarantees about real-world hair behavior or identity preservation. Generated examples are illustrative simulations. LookScene is currently available as a free invitation preview; paid packages are displayed as planned features and are not active or billable during this preview.
Step 3: Inspect the Lighting Response
Hair color does not look identical in all environments. As documented in specialized lighting studies such as HairMuse's guide on comparing hair color in different lighting, pigments that appear rich and balanced under diffused daylight can read significantly darker indoors or flare overly brassy under warm artificial lamps. When assessing your preview, consider how the proposed shade will translate from your screen to the spaces where you spend your time.
Step 4: Validate Against App Instructions and Color Cards
If you are cross-referencing mobile matching tools, consult standard procedural guidelines like the Hair100 Hair Colour Match App User Guide. Standard app matching protocols emphasize holding physical shade references at eye level under standardized lighting rather than relying on uncalibrated phone screen brightness.
The Pass/Fail Realism Checklist: How to Reject Misleading Results
Before you save any preview to show your hair stylist, put the image through a strict pass/fail inspection. If the preview fails any of the following checks, reject the image immediately. Do not use it as a reference.
| Inspection Check | Verification Method | Pass Condition | Reject Condition (Immediate Disqualification) |
|---|---|---|---|
| Skin Tone Drift | Compare the forehead, cheek, and neck color between the original and preview. | Skin tone, saturation, and undertone remain identical to the source capture. | Skin appears tanner, paler, airbrushed, or warmed up to complement the hair. |
| Facial Geometry & Identity | Toggle rapidly between original and preview while looking at eyes and nose. | Eye shape, iris size, nose bridge, and lip contours are completely unchanged. | Facial features have subtly morphed, slimmed, or adopted an AI-generated likeness. |
| Shadow & Contrast Integrity | Inspect under-eye circles, nasolabial folds, and neck shadows. | Natural ambient shadows remain untouched in depth and placement. | Shadows have been erased, diffused, or repositioned by generative lighting. |
| Hair Boundary & Root Line | Zoom in to 200% along the hairline and part line. | Color starts cleanly at the scalp without bleeding onto forehead skin. | Color halos bleed onto the forehead, ears, or surrounding background. |
| Texture & Dimension | Check individual hair strands and natural light reflections. | Hair maintains realistic strand separation, frizz, and specular highlights. | Hair appears as a flat, painted helmet or an overly glossy, blurred mass. |
Why AI Drift Is Dangerous for Hair Decisions
Generative AI models are trained to produce visually pleasing portraits. When an AI tool detects that a cool platinum hair color makes an olive or warm-toned complexion look washed out, its neural network often attempts to "fix" the image by subtly warming the skin tone, adding digital blush, or brightening the eyes.
If you do not catch this drift, you will walk into a salon believing platinum blonde will give you a radiant glow, unaware that the software altered your entire face to make the color work. Rejecting drifted edits protects you from expensive salon regrets.
Physical Constraints: Screen RGB vs. Salon Chemistry
A digital preview operates in RGB pixels (light emitted by a screen). A hair salon operates in chemical pigments, developer volume, oxidation, and structural biology. Understanding this divide prevents miscommunication with your colorist.
+─────────────────────────────────────────+─────────────────────────────────────────+
|         Digital Screen Preview          |           Physical Salon Dye            |
+─────────────────────────────────────────+─────────────────────────────────────────+
| Additive RGB light                      | Subtractive chemical pigment            |
| Instantaneous transformation            | Multi-hour process; variable lift rate  |
| Ignores starting underlying warmth      | Exposes underlying red/orange/yellow    |
| Perfectly uniform saturation            | Porosity causes uneven uptake           |
| Zero structural or chemical damage      | Requires conditioning and bond building |
+─────────────────────────────────────────+─────────────────────────────────────────+
1. The Starting Level Barrier
To go lighter, chemical dye does not simply deposit color; it must lift (bleach) existing natural or artificial pigment. If your hair is currently a Level 3 (Dark Brown) and your preview shows a Level 8 (Honey Blonde), reaching that shade requires stripping two to three layers of underlying orange and yellow pigment. If your hair has previous dark box dye, lifting it cleanly without banding may take multiple sessions across several months.
2. Screen Color Calibration
Mobile phone screens and computer monitors display colors with varying levels of saturation, brightness, and blue-light filtering (such as TrueTone or Night Shift). A shade that looks like a smoky mushroom brown on an OLED phone display with warm filters active may look flat gray or green under neutral salon mirrors. Always turn off night-shift display filters when reviewing candidate shades.
3. Hair Porosity and Underlying Warmth
Every human hair reveals warm undertones when lifted. Levels 1–4 reveal dark red; levels 5–7 reveal orange; levels 8–10 reveal yellow. Toners neutralize these warm tones temporarily, but regular washing and environmental exposure gradually reveal that underlying warmth. A screen preview shows a permanent, frozen state; real hair requires ongoing maintenance, purple or blue shampoos, and gloss refreshes every 4 to 6 weeks.
How to Present Your Preview to a Stylist
When you have one or two previews that pass your realism check, use them as conversation starters, not rigid blueprints. Stylists appreciate visual references when they are framed properly.
- State the tonal direction, not the formula: Say: "I used a digital preview to test undertones on my face. I noticed that cooler ash brown makes my skin look clearer than golden brown. Can we aim for this cool tonal direction?"
- Show the baseline photo alongside the preview: Show your stylist the unedited daylight baseline photo first, then show the preview. This demonstrates that you evaluated the hair against your real face rather than a filtered glamour shot.
- Ask about maintenance and lift requirements: Ask your colorist:
- "How many levels of lift are required to reach this lightness from my current base?"
- "Will this require regular gloss appointments to keep the brassiness away?"
- "Is my current hair health and porosity suitable for this transition in one appointment?"
Final Review Checklist
Before booking your color service, run through this final operational checklist:
- Source image was captured in natural, indirect daylight without direct sunlight or yellow bulbs.
- No beauty filters, makeup smoothing, or portrait-mode blurring were applied to the source.
- You tested both a warm and a cool variation of the target depth.
- You zoomed in to confirm skin tone, under-eye shadows, and facial features were not altered by the software.
- You verified that your phone's display settings (Night Shift, TrueTone) were disabled during evaluation.
- You identified your natural starting level and understand how many levels of lift are involved.
- You have framed the preview as a discussion of tonal direction rather than an expectation of an exact dye match.
If you want to explore different tonal directions and silhouettes on your own calibrated photo, try the LookScene hairstyle changer during the free invitation preview. Always review the results against your daylight baseline, reject any outputs that shift your facial features or skin, and verify your final plan with a licensed hair professional.